Showing posts with label Scrapbooking. Show all posts
Showing posts with label Scrapbooking. Show all posts
Wednesday, February 8, 2017
Hi all,
So here I am with the Swirlydoos January 'Delicate' Kit Reveal.
This is my last kit reveal on the Swirlydoos DT as my term has come to an end, and for now, family commitments have had to take priority. I have had an amazing time with this very talented design team and they have been an absolute pleasure to work with. I'm not going far though as I will still be around in the forums, a Swirly girl at heart!
But what a gorgeous kit to finish with - beautiful papers from Lemon Craft, in pretty blue tones, florally and girly! And the Project Kit this month is probably my favourite ever!
To start with we are going to look at the January Sketch Challenge.
Here is the Sketch created by our very own Kim Heard!

And here is my take on the sketch

This was my favourite paper from the Lemon Craft collection.
I distressed, punched and inked with Weathered wood Distress Ink and matted onto blue cardstock.
My photo of my DS is also matted on the blue cardstock.
I stamped on the background with a Finnabair bubble wrap stamp ad ten a quote and butterfly stamp from my stash.
In the background is the translucent texture paste with a flourish stencil.
I used a Ice Resin piece from the Prima IOD moulds from last months kit in my flower cluster altered with the Maya Gold Ice Blue paint.
I also used this paint to gently paint/ blend around the edges of the flower cluster and the photo to soften the look.
And I just loved the pretty Lemon Craft badges!


↭↭↭↭↭
Next up is my layout for the All Thats Flutters Challenge on the Swirlydoos Forums which you can find here

On the background of this layout I used two panels from the panelled PP across the layout.
I then used the Transparent texture paste and a white texture paste with two different stencils, gesso splatting and some small pieces of lace to create the mixed media background.
There is also some stamping with Finabair butterfly stamps with Prima chalk pad 'Tin Can'.
The Creative Embellishments chippy butterflies are covered in a white embossing powder.
The leafy flourish die and the lime roses are from my stash.


↭↭↭↭↭
In the embellishment kit was a lovely sheet from Lemon Craft of
floral cards. These just screamed a Shabby Chic Mini Album to me!


This mini album is so easy to put together, it is just layers!
The floral cards are mounted on the copper glitter card. This is then backed by a piece of brown distressed cardstock. On this piece of cardstock I have then used two layers of a nesting frame die from X-Cut in two different browns to create the mount to add the photos. I have slotted in pieces of doily into the layers on a couple of the pages.
↭↭↭↭
We had a metal and glass Antique Frame in the kit which I altered into a present from my daughter to my mother for her birthday, Holly was sat with me whilst I put it together giving me her opinion of its progress. Thankfully she was very happy with the result and so was Granny!

Inside the frame is a piece of PP the same size as the glass with a little lace detail down the side on both sides.
I then used the round floral pictures from the card sheet, distressed them and matted them on distressed brown cardstock and stuck them on the PP, one on both sides.
On the front I added my flower cluster, some pearls and a 'Grandma' chippy from my stash which I then 'wrote' on with the Ranger white enamel accents.
A pretty ribbon bow and Voila!
↭↭↭↭↭
This layout uses the Heidi Swapp Invisibles resist feature paper.


I used three Distress Inks on the background of this blending together Tattered Rose, Milled Lavender and Tumbled Glass.
I mixed some of the Ferro turquoise paint with some texture paste for the stencilled background with a TCW stencil.
The Creative Embellishments chipboard border I painted in gesso and then highlighted with the Maya Gold Ice Blue paint.
I used the die of the month, Spellbinders 'Feathers'
↭↭↭↭↭
And now for my favourite Project Kit - this gorgeous MINI HUTCH from Kaisercraft.
This is how I altered it.


There is a Snapguide Tutorial available for this project.
It is rather long! But it goes through my complete process of putting the hutch together through to decorating it.
You can find the tutorial here:
↭↭↭↭↭
Lastly I have a last layout to share with you.


This layout I wanted to be a bit stronger as it is about two 'men', so I have deepened the colour by doing a lot of darker inking with Vintage Photo distress ink.
There is no mixed media on this page keeping a cleaner look because I liked the wood paper with all its nail heads so much!
This layout is just about layers with some fussy cut floral pieces from another Pattered paper in the collection popped up on the sides with foam pads.
↭↭↭↭↭
I hope you have enjoyed looking at my projects made with this January kit.
Ginny :)
Please come and check us out at www.swirlydoos.com, visit our scrapbook store at www.swirlydoos.com/store, and If you’re ready to start getting perfectly coordinated, top of the line scrapbook kits delivered to your door, please visit us at www.swirlydoos.com. Be sure to mention my name (Ginny) when you subscribe and you’ll receive 10% off your first kit, AND a coupon good for 30% off your entire purchase in the Swirlydoos.com store!

Saturday, October 1, 2016
Hello everyone, welcome to my Reveal of the 'Creamsical' Kit and my SATURDAY TUTORIAL featuring a canvas!
Its my turn today to reveal my Design team projects for the reveal of the September kit 'Creamsicle' From Swirlydoos Kit Club.
This kit features BoBunny paper collection Bella Rosa. These papers had a wide range of colours in them as you will see from my projects, enabling some really different layouts!
Here's the first layout, as always, for the Sketch Challenge. You too can enter this challenge too, on the forum. This runs until the 31st October 2016.
This is the beautiful sketch by Beggahuna.

Here is my take on the Sketch.


Next up is the All That Flutters Challenge. This challenge is also open until the 31st October 2016.
This is what I came up with for this challenge.



Now for another layout featuring the 'oranges' in these papers and my gorgeous Labradoodle, Evie!


This last layout goes with a completely different colour scheme. This Core'dinations paper was also in the main kit and I teamed it up with the Anna Griffin Die cut paper.
I have done a SNAPGUIDE TUTORIAL showing you how I created this really simple layout.
Here is the link to view - https://snapguide.com/guides/create-a-layout-with-swirlydoos-september-kit/


Now for the Technique Kit!
*** SATURDAY TUTORIAL ***
I did get 'carried away' with my canvases this month. I ended up creating 3 canvases!
This is the canvas created with the technique kit and the Tim Holtz Distress Crayons - I LOVE these!!!

There is a SNAPGUIDE TUTORIAL available for you to watch to show you how I created this canvas.
Here is the link to view - https://snapguide.com/guides/create-a-canvas-with-swirlydoos-september-tech-kit/


This is the other canvas I created that is also featured in the SNAPGUIDE tutorial and used the stamps etc in the Distress Crayon Watercolour Ink kit.


And then I created this one too, to show you another version using a photo. You can see I enjoyed doing these ?!


Please come and check us out at www.swirlydoos.com, visit our scrapbook store at www.swirlydoos.com/store, and If you’re ready to start getting perfectly coordinated, top of the line scrapbook kits delivered to your door, please visit us at www.swirlydoos.com.
Be sure to mention my name (GINNY) when you subscribe and you’ll receive 10% off your first kit, AND a coupon good for 30% off your entire purchase in the Swirlydoos.com store!
Ginny :)

Its my turn today to reveal my Design team projects for the reveal of the September kit 'Creamsicle' From Swirlydoos Kit Club.
This kit features BoBunny paper collection Bella Rosa. These papers had a wide range of colours in them as you will see from my projects, enabling some really different layouts!
Here's the first layout, as always, for the Sketch Challenge. You too can enter this challenge too, on the forum. This runs until the 31st October 2016.
This is the beautiful sketch by Beggahuna.

Here is my take on the Sketch.


This layout is made entirely from the Main kit with just the addition of some texture paste and distress ink...........

................ and embossing powder on the chipboard filmstrip. I used the BFS embossing powder 'Mushroom' from last months kit.

Next up is the All That Flutters Challenge. This challenge is also open until the 31st October 2016.
This is what I came up with for this challenge.


The torn paper edges were inked with Frayed Burlap Distress ink.
The metal trinket was covered with the Vintaj Patina Turquoise and then had the Artisan Powder rubbed into it as did the BoBunny Chipboard pieces.
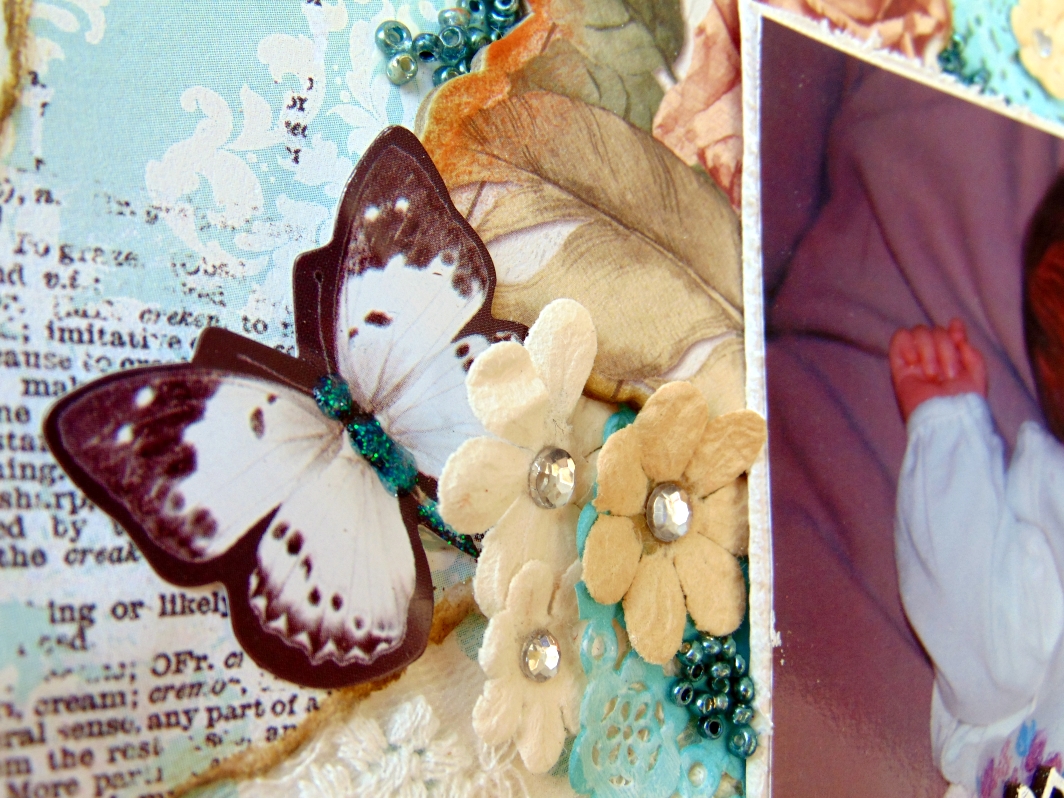
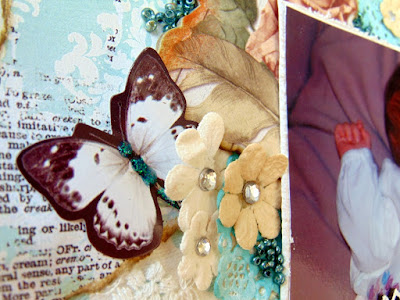
I used the Nuvo on my butterfly centres (Butterflies from last months kit) and added the seed beads with soft mat gel.

I covered the chippie in a white embossing powder and finished it off with some of the Memory Hardware Pearls.
Now for another layout featuring the 'oranges' in these papers and my gorgeous Labradoodle, Evie!


I used the die of the month 'Cascading Circles' on this layout.
The chipboard filmstrip was dabbed several times with Walnut Stain Distress Ink.

And some stamping with Distress Ink Black Soot.

The heart trinket was covered with the Vintaj Patina Sandstone.
This last layout goes with a completely different colour scheme. This Core'dinations paper was also in the main kit and I teamed it up with the Anna Griffin Die cut paper.
I have done a SNAPGUIDE TUTORIAL showing you how I created this really simple layout.
Here is the link to view - https://snapguide.com/guides/create-a-layout-with-swirlydoos-september-kit/


I inked around the edges with Prima Chalk ink pad Farmers Jeans.
I added a Kaisercraft Die Title and some Teal Petaloo flowers from a previous Swirlydoos kit.

Now for the Technique Kit!
*** SATURDAY TUTORIAL ***
I did get 'carried away' with my canvases this month. I ended up creating 3 canvases!
This is the canvas created with the technique kit and the Tim Holtz Distress Crayons - I LOVE these!!!
There is a SNAPGUIDE TUTORIAL available for you to watch to show you how I created this canvas.
Here is the link to view - https://snapguide.com/guides/create-a-canvas-with-swirlydoos-september-tech-kit/

I used the Memory Hardware Pearls and torn pieces of the glitter tape.

The feature butterfly card was created from the Tim Holtz Distress Crayon Watercolour Ink Kit.

This is the other canvas I created that is also featured in the SNAPGUIDE tutorial and used the stamps etc in the Distress Crayon Watercolour Ink kit.


And then I created this one too, to show you another version using a photo. You can see I enjoyed doing these ?!


Please come and check us out at www.swirlydoos.com, visit our scrapbook store at www.swirlydoos.com/store, and If you’re ready to start getting perfectly coordinated, top of the line scrapbook kits delivered to your door, please visit us at www.swirlydoos.com.
Be sure to mention my name (GINNY) when you subscribe and you’ll receive 10% off your first kit, AND a coupon good for 30% off your entire purchase in the Swirlydoos.com store!
Happy Scrapping!
Ginny :)
Subscribe to:
Posts (Atom)

Be sure to "LIKE & FOLLOW" Swirlydoos for special FB only deals and promos
Follow this blog with bloglovin

Scrapbook Sketches

see all of our sketches here
Keep Tabs On Our Blog!


 Posts
All Comments
Posts
All Comments

Popular Posts
-
 Welcome to Swirlydoos' Mystical Winter kit reveal Blog Hop Block Party!! Happy New Year and Welcome!!! This month's kit,...
 -
 Welcome to Swirlydoos' February Blog Hop Block Party!! Welcome to Swirlydoos February Kit Reveal Blog Hop BLOCK PARTY!!! ...
 -
 Welcome to Swirlydoos December Kit Reveal Blog Hop BLOCK PARTY!!! We are having a party and you are all invited. We have some amazing projec...
 -
 Welcome to Swirlydoos November Kit Reveal Blog Hop BLOCK PARTY!!! That's right, we are having a party and you are all invit...
 -
 Welcome to Swirlydoos' March Kit Reveal Blog Hop Block Party!! We have some amazing projects for you to see today and as a bonus...
 -
 Welcome!!! Today is a beautiful day to reveal our April kit, Whispers of Spring. Take a look at how pretty this kit is! I have to tel...
 -
 It's the big re ve al ! Say hello to our December kit! Be sure to check out a video "tour" of the main kit, kit add ons an...
 -
 Welcome back! We have a really fun blog hop all set for you today. Our May kit, So Chic , is well.....just that...so chic! This kit is ...
 -
 Welcome to: Swirlydoos Kit Club February Scrapbook Kit Reveal & Blog Hop! Swirlydoos is proud to bring you our beautiful Febr...
 -
Dear Valued Swirlydoos Subscribers, It is with a very heavy heart that I write this letter to you. Over the past 3 days a nas...