Showing posts with label 49 and Market. Show all posts
Showing posts with label 49 and Market. Show all posts
Tuesday, September 26, 2017
Happy Tuesday,
Swirly Savages! It's my turn to share some of the projects that I've made with
the August 2017 "Sunshine" Kit and Add-Ons.
This kit, featuring
the Wanderlust collection from Blue Fern Studios is perfect for all of your
vacation memories, but it also works so well with vintage photos. And there is the highlight of the Main Kit: an original
sketch created by Swirlydoos Design Team Coordinator Kim Heard.
Here is this
month's sketch.

And my layout,
featuring a vintage photo of my McCormick Great-Aunts taken in 1878. (I've
chosen to leave the image "as is", forgoing the option to touch it up
as I did for a previous layout. (Yes, this is a redo!))

As you can see,
the Sketch seemed to take on a life of its own; I've kept the main design, but
switched out the spots for photos and embellies. I kept the background and
layering very simple, simply tearing a bit of the Moments paper to create two
matting layers.
I adhered the
trim, letting it flow up toward the image. Next came the flowers from the Prima
Amber Moon collection and I still wanted a bit more. I selected a few of the 49
and Market blooms from the Project Kit and gave them a heavy dose of Color
Bloom mist. The Prima swirl was cut apart and tucked here and there around the
cluster. From my stash, I chose a few Vintage Trinkets and filled them with
scraps before adhering the domes. I ran a bit of trim through the tops and
topped them with flowers. A resin frame and a wood icon, also from my stash,
and I called it done!
Here are a few
closeups...


Supplies
*Swirlydoos August
2017 "Sunshine" Kit*
Blue Fern
Studios - Wanderlust Collection - 12 x 12 Double Sided Paper - Memento
Blue Fern
Studios - Wanderlust Collection - 12 x 12 Double Sided Paper - Ocean Voyage
Prima -
Valenciennes Collection - Jeweled Trim - Mercy #547776
*Swirlydoos August
2017 Flower Add-On*
Prima - Amber Moon Collection - Flower Embellishments - Aspen #597023
*Swirlydoos August
2017 Embellishment Add-On*
Momenta - Foam
Word Stickers - 78 pcs
Prima - 7-Inch
It In Pearls - Self-Adhesive Jewel Art - Fairy Wings with Flowers - Antique #535339
*Swirlydoos August
2017 Project Add-On*
49 and Market - Floral Mixology - Champagne #FM-85694
Other Supplies
Prima - Vintage
Hardware - Vintage Trinkets - Bourdeilles #991135
Prima - Wood
Embellishments - Decorative Clocks #554613
Prima - Color Bloom
- Spray Mist - Tea Stain #573836
Ranger - Tim
Holtz - Distress Ink Pad - Vintage Photo
********************
I'm up for the
monthly Anatomy of a Layout, using the Main Swirlydoos Kit and I thought that
this photo of my granddaughter kissed by the sun would be perfect.

This was a quick
and easy layout to assemble; here's the "how to" on Snapguide.
And a close-up...

Supplies
*Swirlydoos August
2017 "Sunshine" Kit*
Blue Fern
Studios - Wanderlust Collection - 12 x 12 Double Sided Paper - Calling Cards
Blue Fern Studios
- Wanderlust Collection - 12 x 12 Double Sided Paper - Seascape
Blue Fern
Studios - Wanderlust Collection - 12 x 12 Double Sided Paper - Souvenir
Blue Fern
Studios - Flower Embellishments - Wanderlust Lilies
Prima - Beaded
Vines - Candy Gems - Blue Berry #549336
Prima -
Valenciennes Collection - Jeweled Trim - Mercy #547776
Prima - Donna
Downey Collection -Flocked Iron Ons - Live #921170
SA Crafters -
Laser Cut Chipboard - C-Circle Borders
Prima -
Watercolor Confections - Hurricane 15 #596125
Darice - Scrappy
Cat - Stamp Effects - Glitter Glue - Yellow w/Rainbow Glitter #SCR712
Other Supplies
Gesso
Matte Medium
Prima - Art
Ingredients - Mini Art Stones #963712
Waterbrushes
********************
My September
Saturday Tutorial was all about DIY flowers using the Watercolor Confections
that were included in the "Sunshine" kit; here's the Snapguide
"How To".
I've created
this page, featuring my son and his family at the Jersey Shore, to showcase
some of my creations.

The Lakeside
sheet, with the newsprint edges made a perfect background, so I left it as is,
simply cutting and tearing up the Road Trip paper for the layers behind my
photo. I dusted off my Weathered Clock die and cut a few shapes to tuck under
the corners and to add a little interest to the design.
In keeping with
the DIY theme, I altered the alphas from the Embellishment Add-On by stamping
with archival ink and coloring with layers of Distress ink.
Here are a few
closeups of my handmade flowers.


Supplies
*Swirlydoos August
2017 "Sunshine" Kit*
Blue Fern
Studios - Wanderlust Collection - 12 x 12 Double Sided Paper - Lakeside
Blue Fern
Studios - Wanderlust Collection - 12 x 12 Double Sided Paper - Road Trip
Prima -
Watercolor Confections - Hurricane 15 #596125
*Swirlydoos August
2017 Cardstock Add-On*
Bazzill Basics -
12 x 12 Grasscloth Texture Cardstock - Truffle
*Swirlydoos August
2017 Flower Add-On*
49 and Market - Seaside Blooms Collection - Paper Flowers - Sea Breeze
#SB-86073
Prima - Amber Moon Collection - Flower Embellishments - Aspen #597023
*Swirlydoos August
2017 Embellishment Add-On*
Momenta - Foam
Word Stickers - 78 pcs
Darice - Adhesive Pearls - Flat Back Self Stick Pearls - Brown #121711
My Minds' Eye - All Things - Die Cuts - Alphas and Numbers - White
#JASDC10
*Swirlydoos August
2017 Mediums Add-On*
Art Anthology -
Stone Effects - Dimensional Medium - Bone
*Swirlydoos August
2015 "Sun Kissed" Kit*
Authentique -
Classique Collection - Petite Diction Journaling Stickers - Beauty
Other Supplies
Stampin' Up - 12
x 12 Cardstock - Whisper White
Unity Stamps -
Christine Tomlinson - Classified Newsprint
Ranger - Archival
Ink - Black
Ranger - Tim
Holtz - Distress Ink - Broken China
Ranger - Tim
Holtz - Distress Ink - Aged Linen
Ranger - Tim
Holtz - Distress Ink - Gathered Twigs
Sizzix - Tim
Holtz - Alterations - Weathered Clock
EK Success -
Paper Shapers - Large Daisy
Silhouette -
Cameo Cut - Lilyflower #26771
Pearls
Stamens
********************
I guess I've
already mentioned how perfect this Kit is for vacation memories. As I was
unpacking my kit, I immediately knew that I'd be using the "B" side
of the Pacific Coast paper to scrap this lovely image of my son and
granddaughter.

Using my paper
trimmer, I cut the strips along the lines of the pattern, then lined them all
up and ran them through my Distrezz-It-All. Next, I glued the strips to a piece
of USPS packaging that I had cut to 11½" x 11½". (If you look very
closely, you can see the print between the "boards".)
I punched two
sides of cardstock and one corner of the bottom Memento layer. It still needed
something, so I grabbed one of my favorite non-scrappy "go-to"s:
corrugated cardboard, stripped it to the ribs and cut and tore it to size.
Next came the
embellishments: 49 and Market blooms from the Flower Add-On and several shells
and bits of vintage costume jewelry from my stash. (The crystal beads were once
part of a dangle earring that I found in an antique shop.) The shells were given
a bit of sparkle with the BFS Glitter from the Mediums Add-On.
The last thing I
did was to adhere the title - part of the Foam Word Stickers from the
Embellishment Add-On.

Supplies
*Swirlydoos August
2017 "Sunshine" Kit*
Blue Fern
Studios - Wanderlust Collection - 12 x 12 Double Sided Paper - Pacific Coast
Blue Fern
Studios - Wanderlust Collection - 12 x 12 Double Sided Paper - Memento
Prima -
Watercolor Confections - Hurricane 15 #596125
*Swirlydoos August
2017 Flower Add-On*
49 and Market - Seaside Blooms Collection - Paper Flowers - Sea Breeze
#SB-86073
*Swirlydoos August
2017 Embellishment Add-On*
Momenta - Foam
Word Stickers - 78 pcs
*Swirlydoos August
2017 Mediums Add-On*
Blue Fern
Studios - Imagine Ink - Glitter - Vintage Jade
Other Supplies
Core'dinations -
12 x 12 Cardstock - Admiral Blue
Martha Stewart
Crafts - Punch Around the Page - Craft Punch Set - Deco Fan
Zutter -
Distrezz It All - Electric Distressing Tool
Packaging
Sea Shells
Vintage Jewelry
********************
I couldn't wait
to unpack the Sunshine Project Kit - a wall hanging made with MDF pieces from
SA Crafters, acrylic paints and crackle medium and several packages of gorgeous
blooms from 49 and Market - because I had the perfect photo to add to the mix:
my grandchildren at the Jersey Shore.

First, I gave
all of the pieces a good coat of the Real Brown paint. Except for the title
piece, I wasn't that careful; I just made sure that all of the pieces were
covered. After allowing it to dry thoroughly, I applied a light coat of the
Crackle Medium to the three main pieces, making sure that I covered all of the
surfaces in one direction. Again, I allowed it to dry thoroughly. (I didn't use
the heat tool; the medium works much better if air dried.) Next, I added the
Antique White paint and watched the crackles form!
Because I added
a photo to my project, I didn't use a lot of embellishments, just most of the
package of the Blossom Blends and a few from the Mixology collection. I wanted
the white flowers to blend in with the browns, so I tried spraying them with
Worn Leather mist. The results were much more gold than I wanted, so I mixed
some Artisan Powder and water in a mister and came up with the perfect shade.
And now for the
assembly: I matted the photo with a bit of cardstock (and some packaging in
between) and glued it to the surface, added the title and arranged the blooms,
leaves and that wonderful tied bamboo piece and I called it done!


Supplies
*Swirlydoos August
2017 Live for Today Wall Art Project Kit*
SA Crafters - MDF Wood - W-Wall Art - Victorian - Live for Today
49 and Market - Blossom Blends - Aloe #BB-86134
49 and Market - Floral Mixology - Champagne #FM-85694
Deco Art - Americana -Acrylic Paint - Antique White #DAO58
Plaid Enterprises - Folk Art - Acrylic Paint - Real Brown #231
Plaid Enterprises - Folk Art - Crackle Medium #694
Other Supplies
Core'dinations -
12 x 12 Cardstock - French Roast
Prima - Color
Bloom - Spray Mist - Worn Leather #573829
Prima - Memory
Hardware - Artisan Powder - La Chapeliere #991203
Ranger Ink -
Inkssentials - Mini Mister
Foam Brush
Aleene's Tacky
Glue
********************
If you’re ready
to start getting perfectly coordinated, top of the line scrapbook kits
delivered to your door, please visit us at www.swirlydoos.com. Mention my name
(Peggy) when you subscribe and you’ll receive 10% off your first kit, AND a
coupon good for 30% off your entire purchase in the Swirlydoos.com store!

Monday, February 13, 2017
Hello, Swirly Savages!
I was pretty excited to get all that gorgeous LemonCraft paper in the January kit of the month, Delicate. Were you?
And, Kim is doing an amazing job with the monthly sketches.
Here's what she created for the January kit.

This is my take of the beautiful sketch.
Just an FYI: you can pop the white part of the faucet handle off and turn it around if the word is not going in the direction you would prefer. I popped off the "love" and turned it around the other way on the faucet handle so it would work with my layout.

Here's a close up of the white crackle texture paste by Finnabair using a Prima stencil.

Look at those gorgeous flowers!

I used the feather dies that were in the die add on this month to cut some feathers from the LemonCraft ribbon. I used the back side of the ribbon.

Here's my All that Flutters layout aka ATF.

I used the Tim Holtz enamel accents in white from the project add on to alter the chippy.

I used a glue pen and two different colors of foil to add some accents to the background paper. The blue beads were included in a past Swirlydoos kit.

Oh, do you see the metal round accent pieces? That was one piece that I broke into 3 different pieces to scatter around the page. The metal trinket with the blue center was part of the Swirlydoos January embellishment add on.


This cute little frame was included in the embellishments add on. I had fun with it.
Here's the front.

This is the inside.

And, here's the back.

Here's the video tutorial.
Let me share the Anatomy of a Layout with you.

You can create this layout using only the main kit for January.

The flowers and leaves on the 49 and Market vine were altered with Prima Color Blooms in Dragonfly Blue and Lime Wedge.

The Kaiser blooms in Cotton with brushed with Ingvild Bolme ink in Cold Ice.

Here's the video for Anatomy of a Layout.
Now, here's a few pictures of the technique kit for January.
I will share the video tutorial with you later.

This was such a fun project!

A sneak peek on the inside.

These are Design Team projects I created for Swirlydoos Scrapbook Kit Club. If you’re ready to start getting perfectly coordinated, top of the line scrapbook kits delivered to your door, please visit us at www.swirlydoos.com. Mention my name (Jan) when you subscribe and you’ll receive 10% off your first kit, AND a coupon good for 30% off your entire purchase in the Swirlydoos.com store!

Saturday, December 17, 2016
Hi there Swirly ladies,
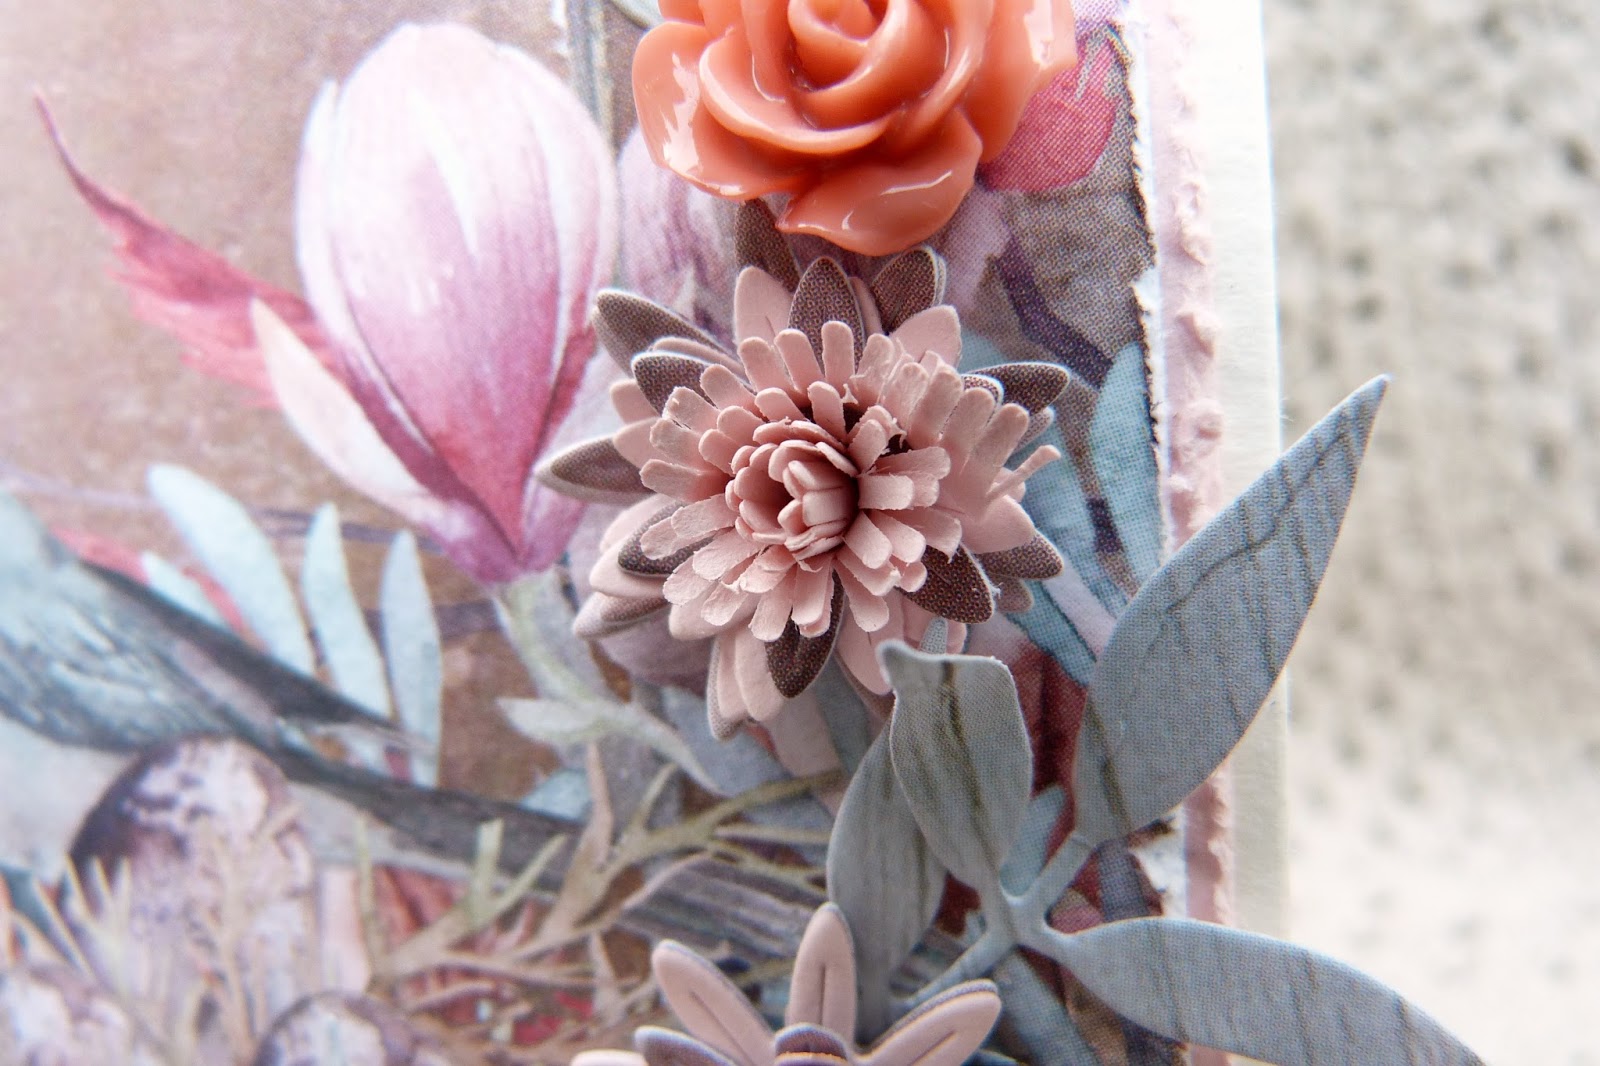
I had one piece of the 49 and Market PP left over from my November kit and thought it would make a lovely card. So this Saturday tutorial is creating a 'Z' fold greetings card with Swirlydoos November Market Street kit.


I had one piece of the 49 and Market PP left over from my November kit and thought it would make a lovely card. So this Saturday tutorial is creating a 'Z' fold greetings card with Swirlydoos November Market Street kit.


There is a SNAPGUIDE Tutorial with this project which you can find with the link below
Here are a few close ups of the Hand Made flowers on the card.


This is a Design Team project I created for Swirlydoos Scrapbook Kit Club. If you’re ready to start getting perfectly coordinated, top of the line scrapbook kits delivered to your door, please visit us at www.swirlydoos.com. Mention my name (Ginny) when you subscribe and you’ll receive 10% off your first kit, AND a coupon good for 30% off your entire purchase in the Swirlydoos.com store!
Enjoy the rest of your day :)

Sunday, December 11, 2016
Hello all,
Today it's my turn to share with you my Design Team Projects for the Swirlydoos Kit Club 'Market Street' Kit reveal.
This kit features beautiful papers from 49 and Market 'Botanical Heirlooms' collection. I adored these papers and as always the kit included some gorgeous embellishments!
I'm going to start with the
SKETCH CHALLENGE.
We have a beautiful new look sketch this month designed by our very own DT member Kim. Details of the challenge are on the forum HERE




Today it's my turn to share with you my Design Team Projects for the Swirlydoos Kit Club 'Market Street' Kit reveal.
This kit features beautiful papers from 49 and Market 'Botanical Heirlooms' collection. I adored these papers and as always the kit included some gorgeous embellishments!
I'm going to start with the
SKETCH CHALLENGE.
We have a beautiful new look sketch this month designed by our very own DT member Kim. Details of the challenge are on the forum HERE

Here is my take on the sketch.

I used the papers 'The Patch' and 'Passage' from the Heirloom Botanicals collection for this layout.
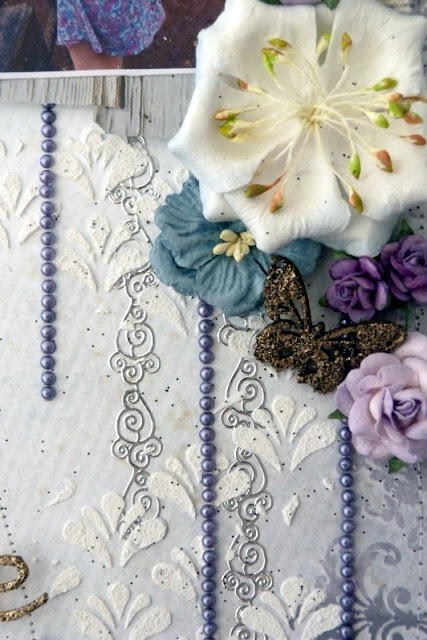
There is some fussy cutting to create the flower embellishments and cutting into the paper to slip in the lace. I have used products from the Main kit, Flower, Embellishment and Mediums Add On kits.


SOMEONE SPECIAL LAYOUT
Next I'm going to show you another layout using the Duty Attic chipboard piece from the Embellishment Add On.

I used paper 'Faded Bloom' for this layout. I altered my chipboard with a Lindys Stamp Gang embossing powder Geranium Coral Blush, from a previous kit.
I used the Prima Memory Hardware Artisan powder 'French sage' in the background of my flower clusters to deepen the cluster and give it some 'undergrowth' background.
I have used the Main, Flower, Embellishment and Mediums Add On kits.


Next up is my
ALL THAT FLUTTERS CHALLENGE LAYOUT
For this challenge use the November 'Market Street’ kit and Kit Add-ons to create a scrapbook layout, OTP project, tag or card including anything that ‘flutters’ somewhere within that project i.e butterflies, dragonflies, bees, ladybugs, birds, fairies
More details of the challenge are on the Forum HERE
Here is my layout

I used the paper 'Oasis' for this layout. I tore the paper into 3 and then turned the middle piece over and used the reverse side in my layout.
The sewing machine came out for this layout!
I used products from the Main, Flower, Cardstock, Embellishment and Medium Add On Kits.


ANATOMY LAYOUT
You may have seen this already in the reveal post but if you haven't this is my anatomy layout.
This layout is made from the Main Kit only.
You can find the SNAPGUIDE tutorial for this layout HERE


Lastly for today is my
TECHNIQUE KIT PROJECT CANVAS

I thoroughly enjoyed this project - a 12x12 canvas and some Bare Basics 'Love' Letters.
I did a Mixed Media background and then had fun with the flowers!
There is a SNAPGUIDE tutorial to go with this to show you my process in creating this.
You can find it HERE
Here are some close ups.


Thank you for stopping by today,
I hope you enjoyed your visit
This is a Design Team project I created for Swirlydoos Scrapbook Kit Club. If you’re ready to start getting perfectly coordinated, top of the line scrapbook kits delivered to your door, please visit us at www.swirlydoos.com. Mention my name (Ginny) when you subscribe and you’ll receive 10% off your first kit, AND a coupon good for 30% off your entire purchase in the Swirlydoos.com store!

Subscribe to:
Posts (Atom)

Be sure to "LIKE & FOLLOW" Swirlydoos for special FB only deals and promos
Follow this blog with bloglovin

Scrapbook Sketches

see all of our sketches here
Keep Tabs On Our Blog!


 Posts
All Comments
Posts
All Comments

Popular Posts
-
 Welcome to Swirlydoos' Mystical Winter kit reveal Blog Hop Block Party!! Happy New Year and Welcome!!! This month's kit,...
 -
 Welcome to Swirlydoos' February Blog Hop Block Party!! Welcome to Swirlydoos February Kit Reveal Blog Hop BLOCK PARTY!!! ...
 -
 Welcome to Swirlydoos December Kit Reveal Blog Hop BLOCK PARTY!!! We are having a party and you are all invited. We have some amazing projec...
 -
 Welcome to Swirlydoos November Kit Reveal Blog Hop BLOCK PARTY!!! That's right, we are having a party and you are all invit...
 -
 Welcome to Swirlydoos' March Kit Reveal Blog Hop Block Party!! We have some amazing projects for you to see today and as a bonus...
 -
 Welcome!!! Today is a beautiful day to reveal our April kit, Whispers of Spring. Take a look at how pretty this kit is! I have to tel...
 -
 It's the big re ve al ! Say hello to our December kit! Be sure to check out a video "tour" of the main kit, kit add ons an...
 -
 Welcome back! We have a really fun blog hop all set for you today. Our May kit, So Chic , is well.....just that...so chic! This kit is ...
 -
 Welcome to: Swirlydoos Kit Club February Scrapbook Kit Reveal & Blog Hop! Swirlydoos is proud to bring you our beautiful Febr...
 -
Dear Valued Swirlydoos Subscribers, It is with a very heavy heart that I write this letter to you. Over the past 3 days a nas...