Saturday, February 7, 2015
Hello everyone,
I would like to share my latest card with you, using the January kit.
One of our members asked me to do a turorial on the card I showed you earlier,
so I thought, why not make another one? And to be honest, I like this one even better.
I hope you do too!
I would like to share my latest card with you, using the January kit.
One of our members asked me to do a turorial on the card I showed you earlier,
so I thought, why not make another one? And to be honest, I like this one even better.
I hope you do too!
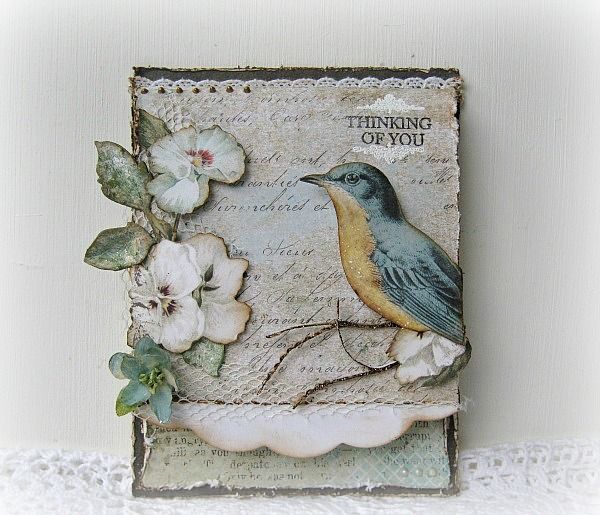
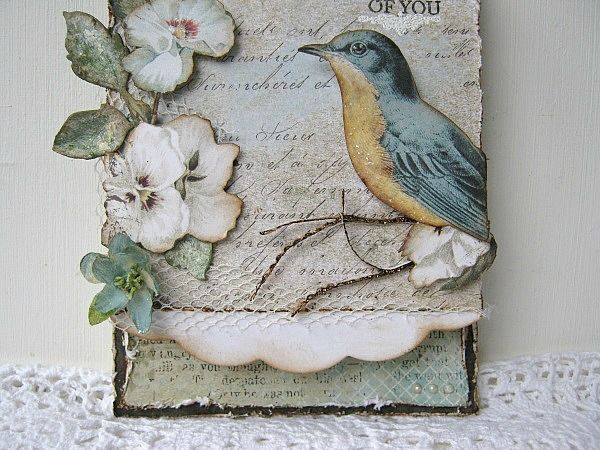
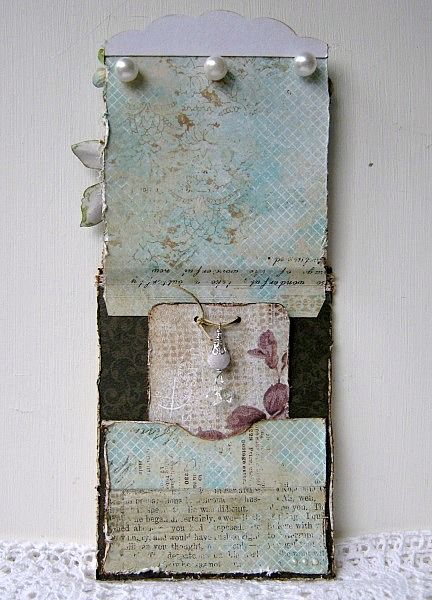
This card opens like a normal card, but it also has a flip up element. The front panel can be lift up and underneath there's a pocket with a tag. Of course you can add whatever into that pocket, but for this tutorial I chose to do a little tag.
The lightning in the photo's are a bit unregular, cause I shoot pictures at night as well as during the day so, I apologize for that. Grab yourself a cup of coffee, cause this tutorial is photo heavy!!! Okay let's get to it!
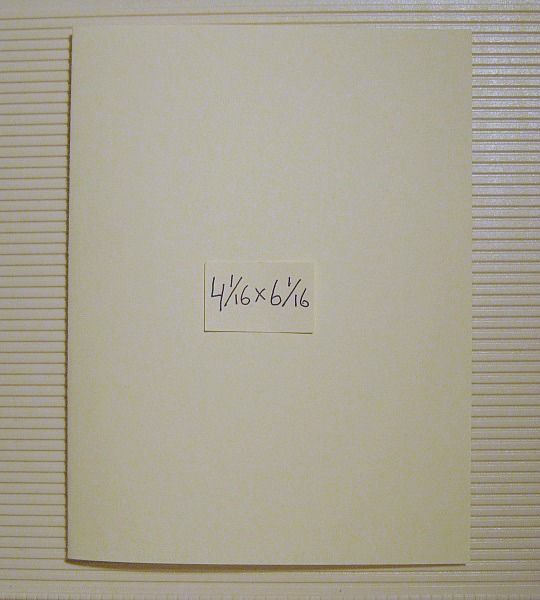
I started out with cutting a base card at 4.1/16 x 6.1/16 My fold is on the left.
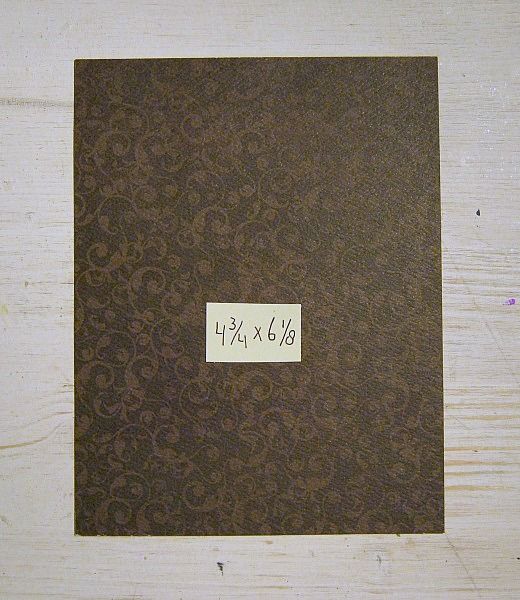
My fisrt layer was cut at 4.3/4 x 6.1/8 slightly bigger than my base card.
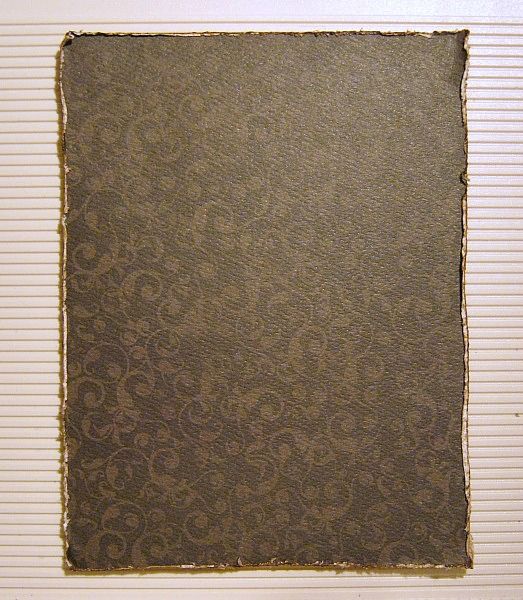
I distressed and inked the edges, and then glued it to my base card.
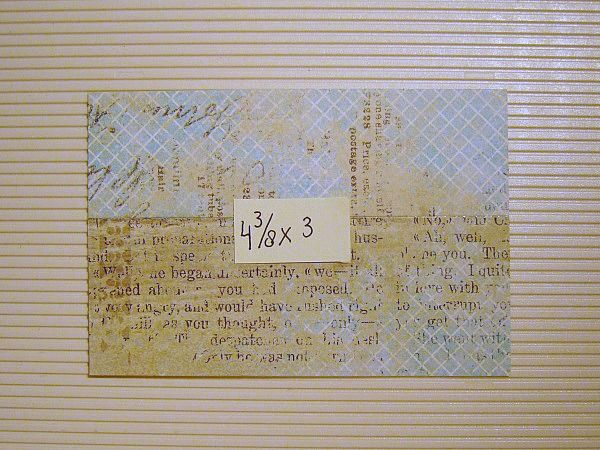
Then I cut this next piece of PP down to 4.3/8 x 3
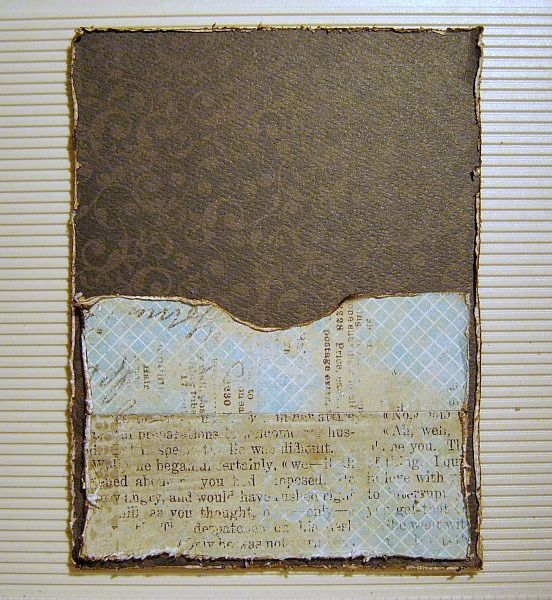
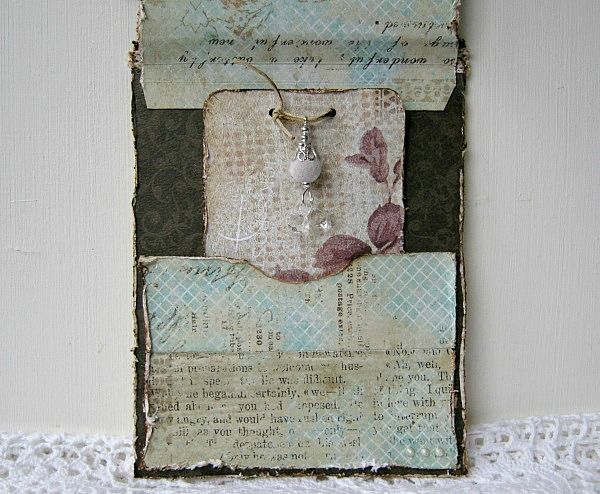
I distressed and inked all the edges and glued the paper like a pocket at the bottom of my card. I used a circle punch, to punch out a half circle, which makes it easier to slide a tag in and out.
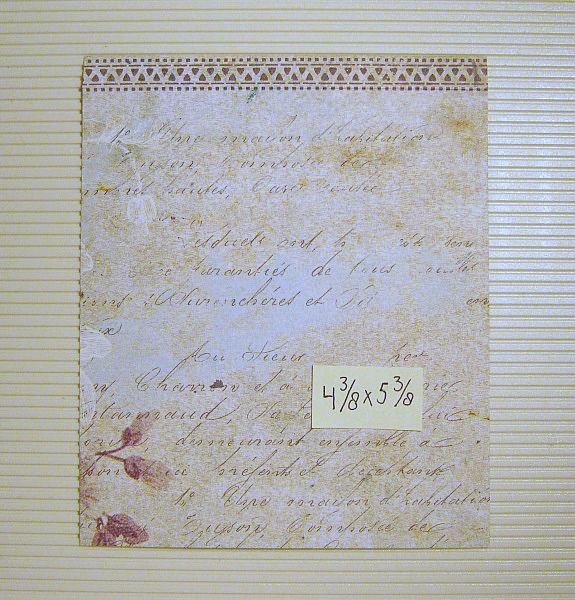
Next I cut this piece of PP at 4.3/8 x 5.3/8 This is going to be my top-background. (I hope this makes sense)
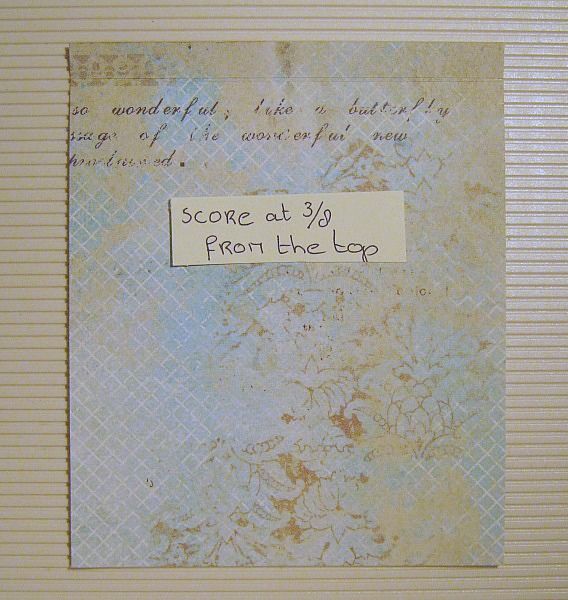
I flipped it over and made a scoreline at 3/8 of an inch at the top. **** I decieded later on that it needed to be 5/8 from the top***
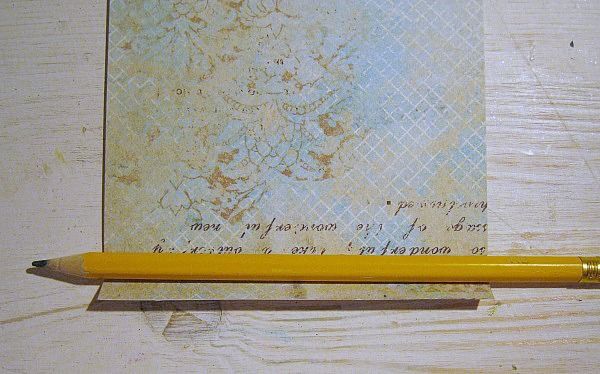
Then I took a pencil, placed it just above (or below, it depends how you look at it) the scoreline and started rolling the paper around the pencil. Not all the way down, just a little, till you get a nice round fold. It will give you lots of dimension.
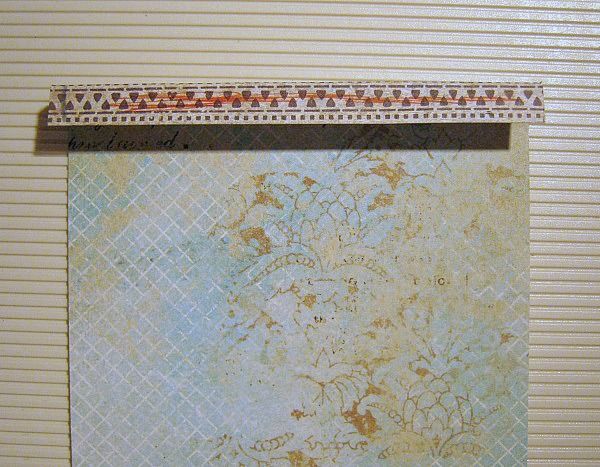
The red-marked strip will be glued to the card later on.
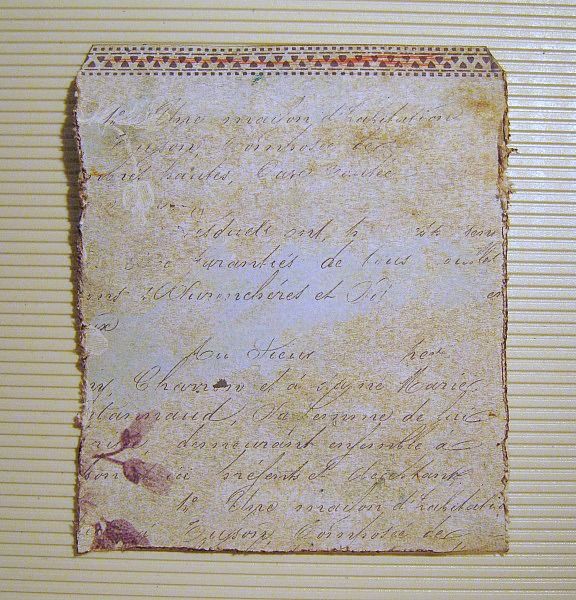
I distressed and inked the edges and at the top, I cut the glue-strip in and angle on both sides.
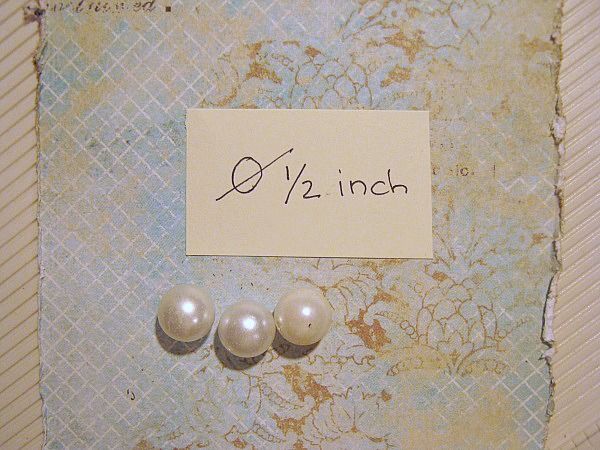
Then I took 3 pearls,
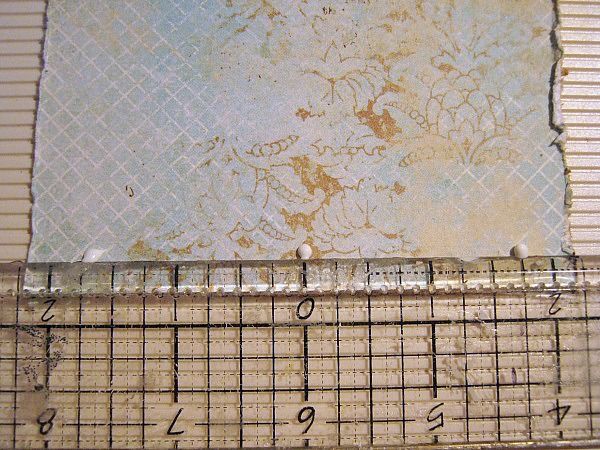
and glued them to the bottom like this. The white dots of glue is where they are going to be placed. I used Beacon Gem-Tac for glueing the pearls.
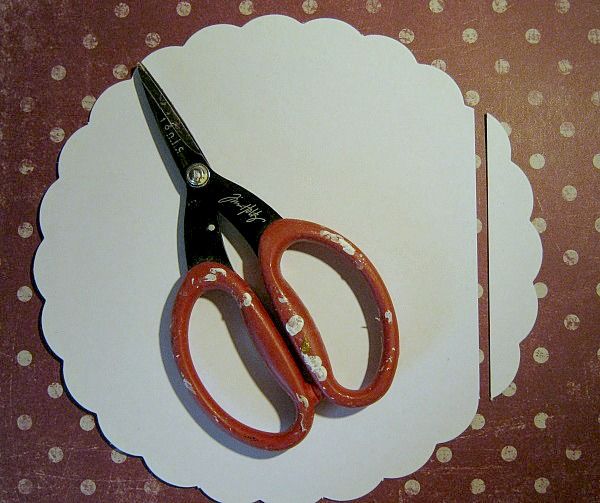
Then I took this die-cut cardboard that I have, (but you can use lace for this part too, or cut a piece of cardboard scallops-wise) and cut off a little piece. Wide enough to fit my card.
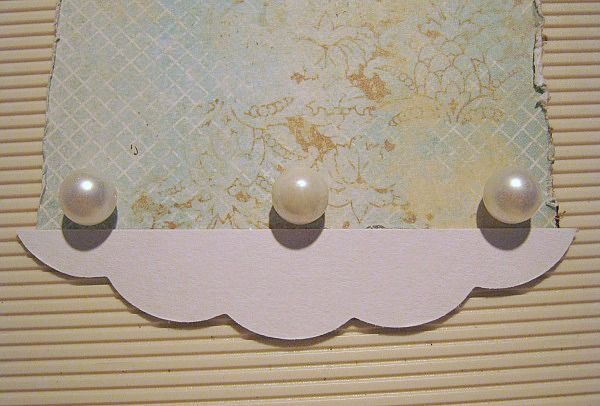
I glued it right under the pearls.
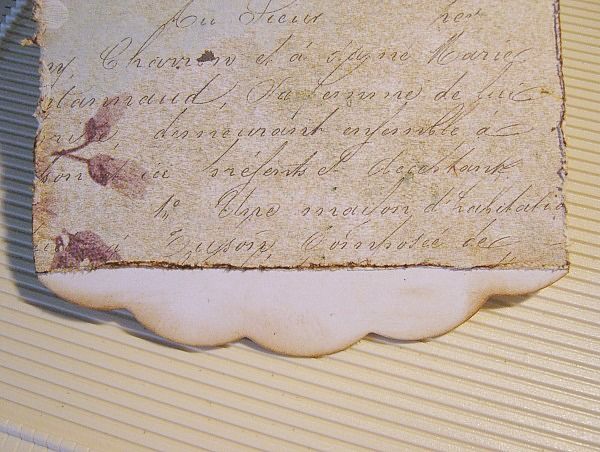
Flipped it over, cut off the excess and inked the edges.
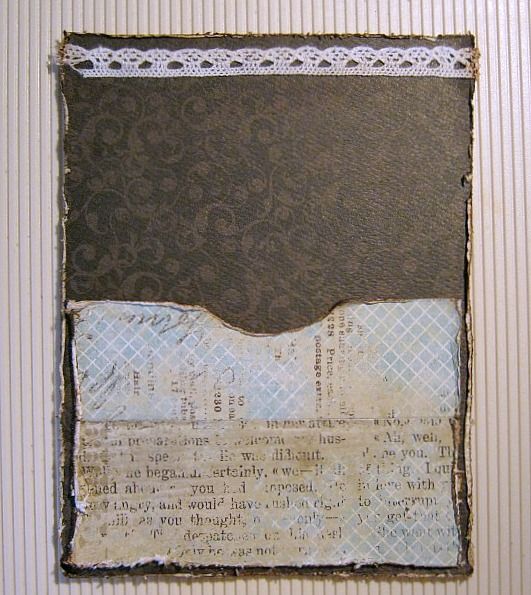
I cut a piece of the lace that came in the kit, and glued it at the top of my card like this.
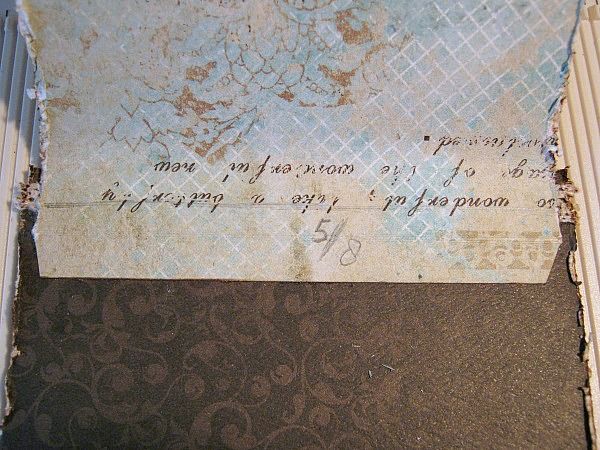
As I said earlier I made a new scoreline at 5/8 from the top (for better hold) and glued that part, just a tiny bit, overlapping the lace.
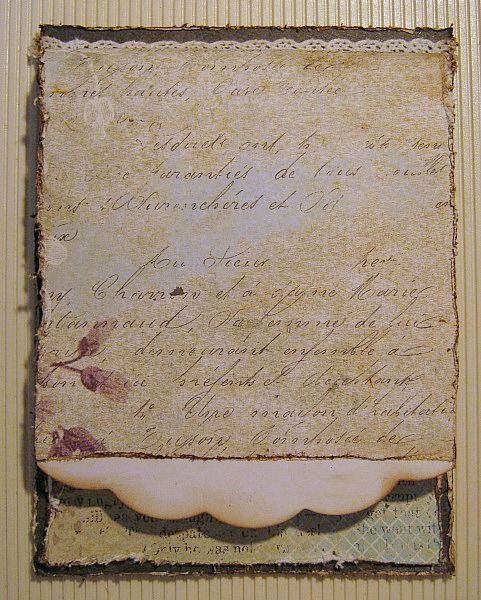
This is how it looks now. The pearls that are glued to the backside of the top layer, holds it perfectly balanced.
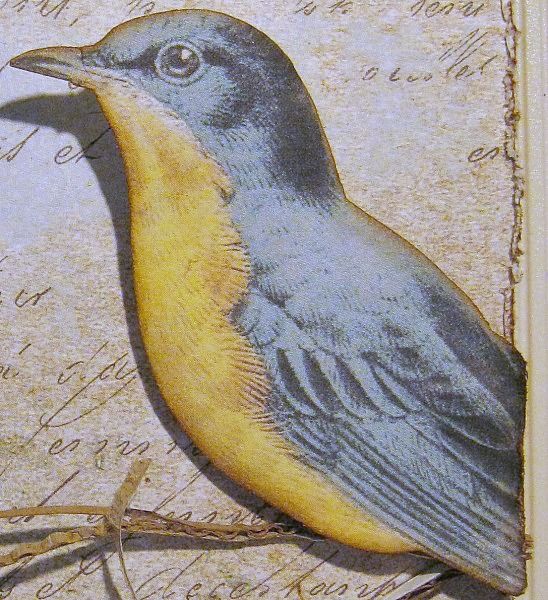
I fussy cut this bird and inked the edges with Gathered Twigs distress ink.
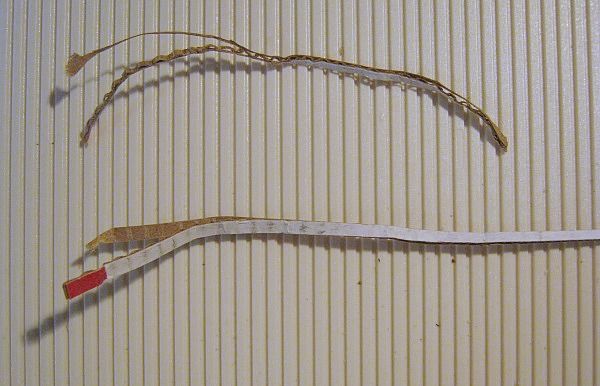
From the box my kit came in, I cut 2 thin strips. Then I split the strips to create some twigs.
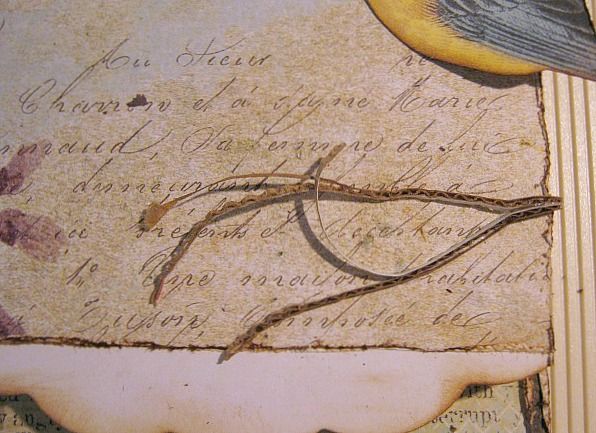
And glued them like this.
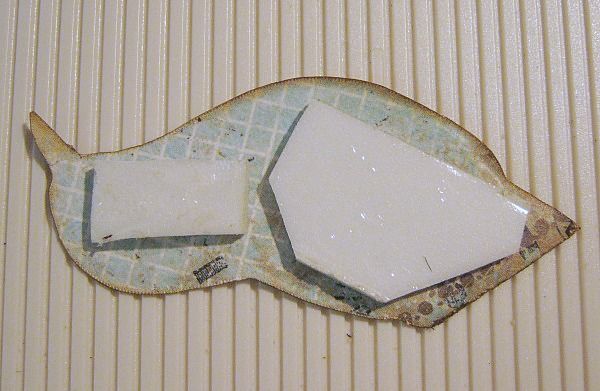
I used foam adhesive to the back of the bird, added some extra glue, just to make sure
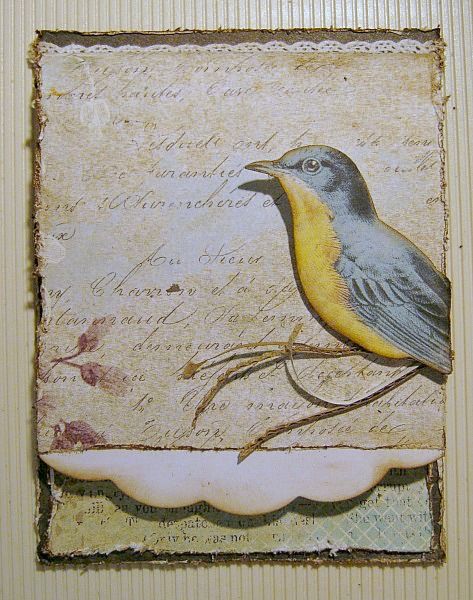
And glued him in place.
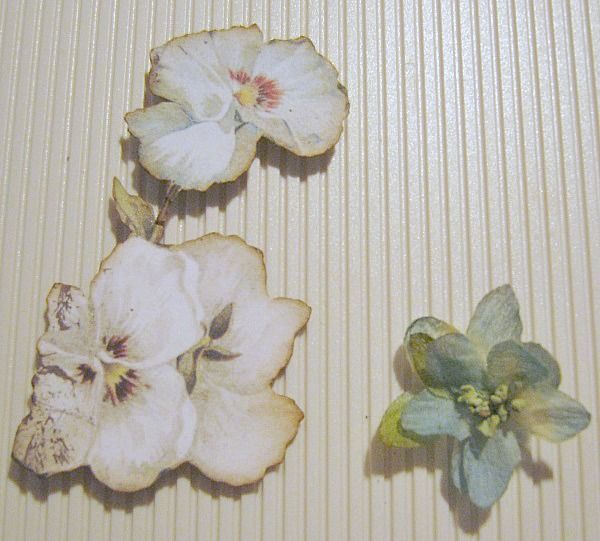
I fussy cut some flowers and inked the edges. I also used one from the flower package that came in the Main Kit.
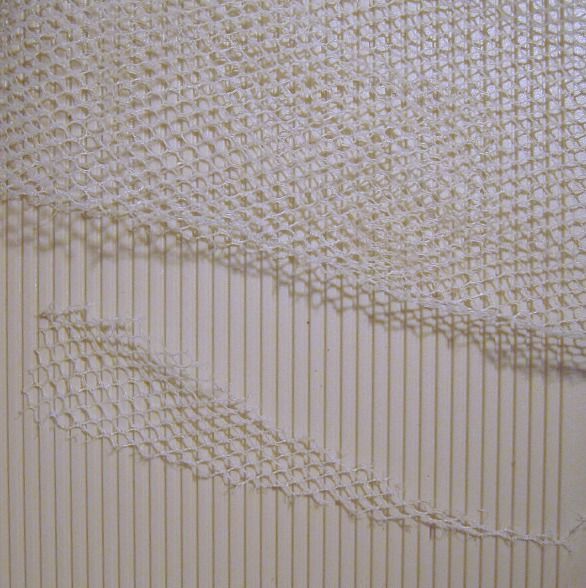
I tore a few pieces of netting
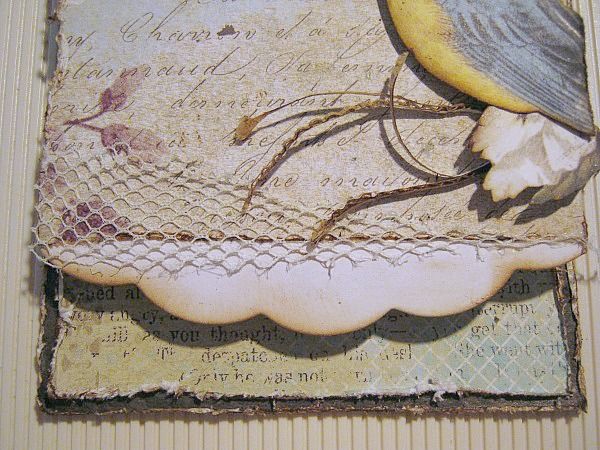
And glued them in different spots on my card, using Beacon's Fabri-Tac.
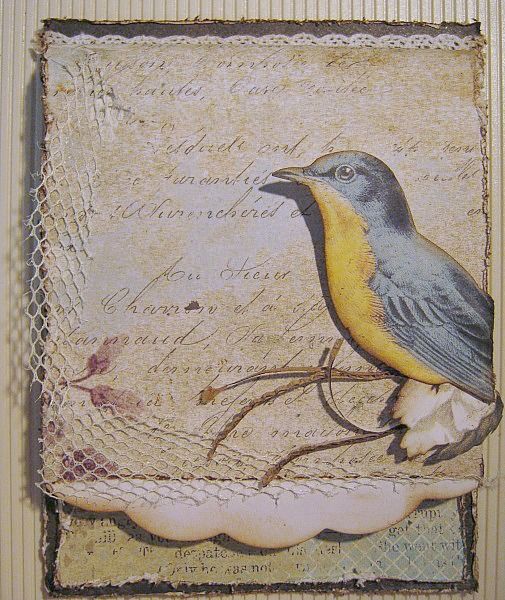
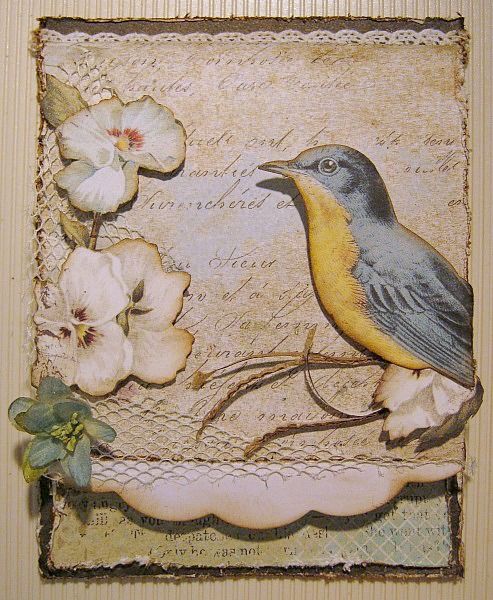
I foam-dotted my flowers and glued them in place.
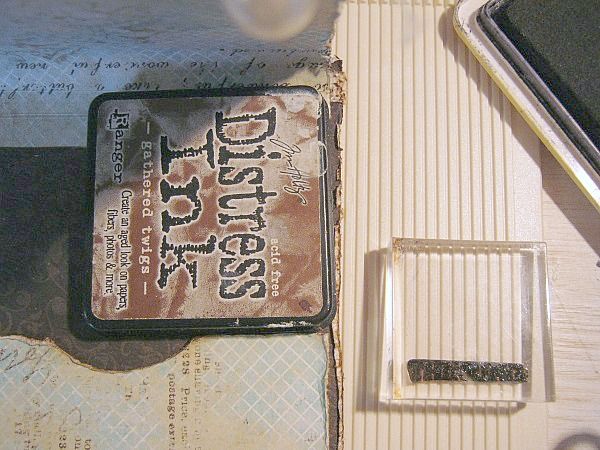
For stamping my sentiment on the front, I need something to, lay under my dimensional front layer. So, I used the lid of a distress inkpad. It was perfect to give me a stable base, for my stamping.
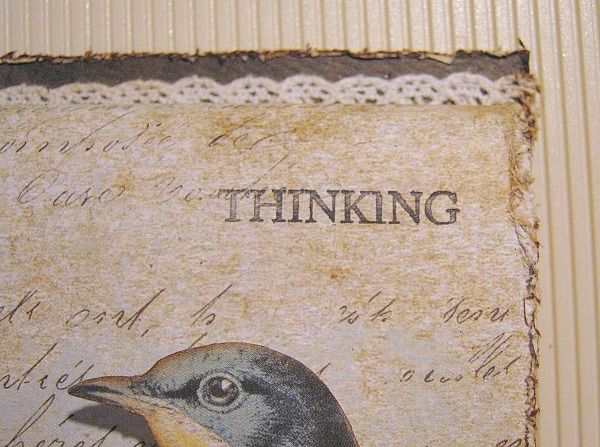
I used Archival ink, in Jet Black, to stamp my sentiment.
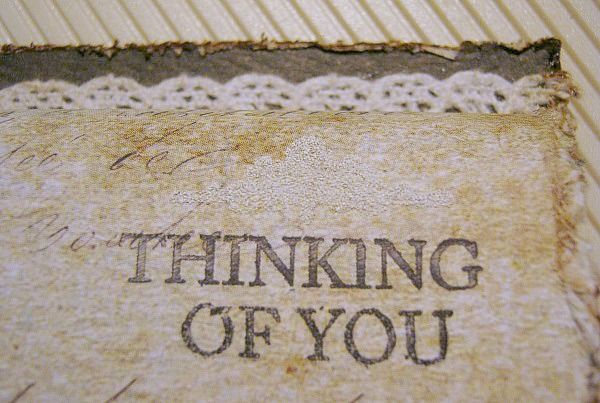
As you look very closely, just above the word Thinking, you can see the white embossing powder.....I wanted to, somewhat, frame my sentiment and I used the stamps that came in the Main Kit.
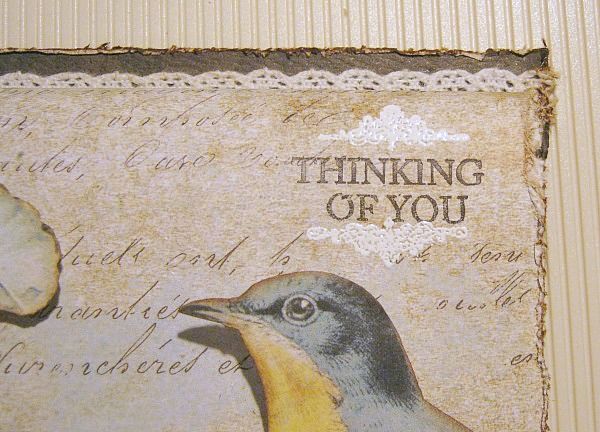
The frame didn't came out perfectly straight, but I was okay with it.
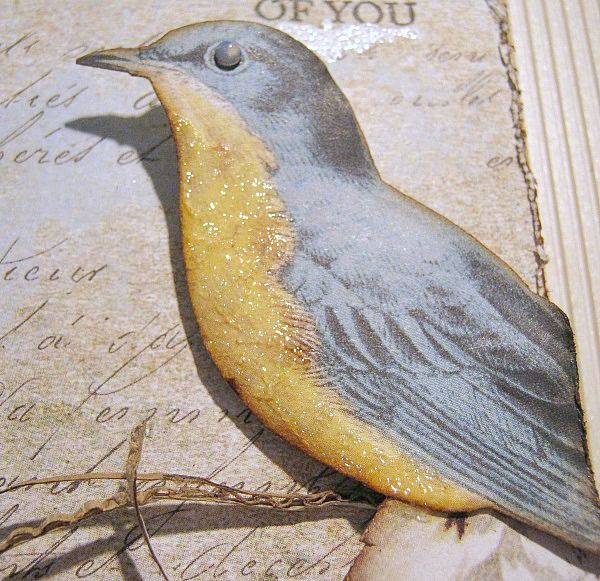
I found that my bird was a little to plain so I added some Rock Candy Distress Stickles to his belly.
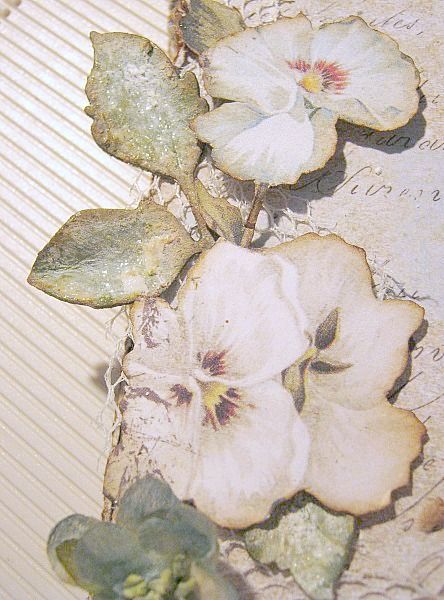
And also to my leaves.
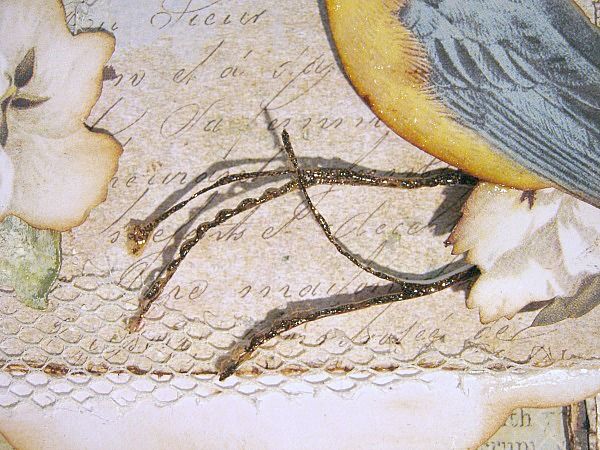
Using the Cinnamon Stickles that came in the Main Kit, I stickled up the twigs that I cut earlier.
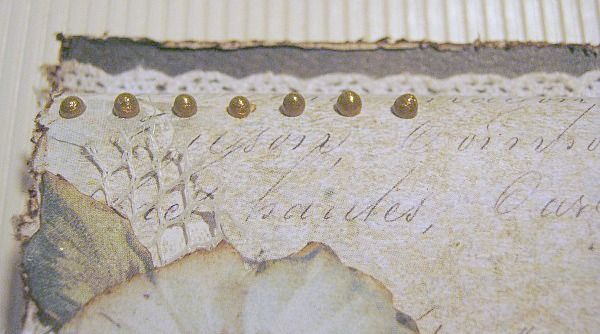
I placed some liquid pearls at the left top of my card
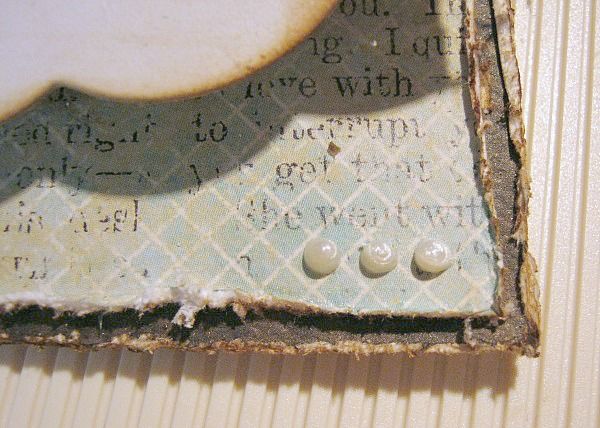
And in a different color, some at the bottom of my card. Set it aside to dry.
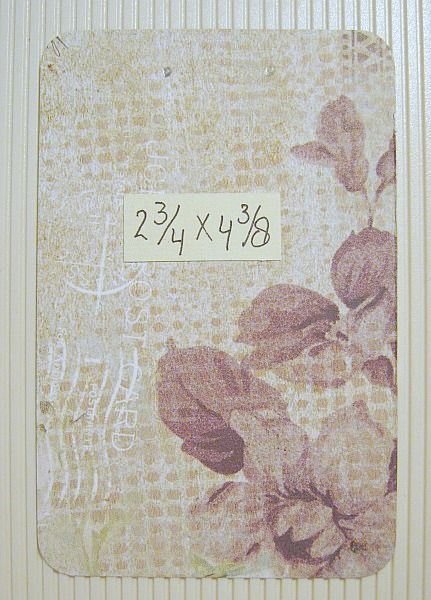
For the tag that is going inside the pocket, I cut a piece of PP at 2.3/4 x 4.3/8 I rounded the corners and made 2 marks at the top, where I want my holes to be.
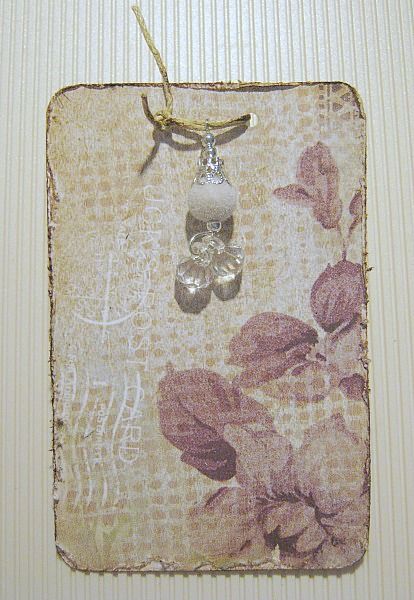
I distressed and inked the edges of my tag, made the holes using a crop-a-dile, and using the cord and a Prima velvety dangling, which both came in the Main Kit, I dressed up my tag.
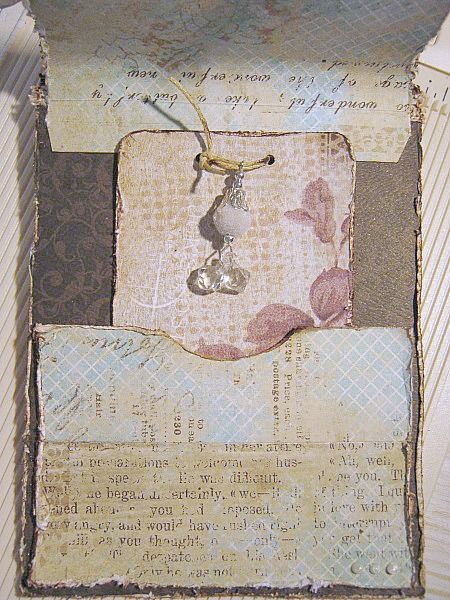
I placed the tag in the pocket like so

and called my card done!
Here are some close up's:
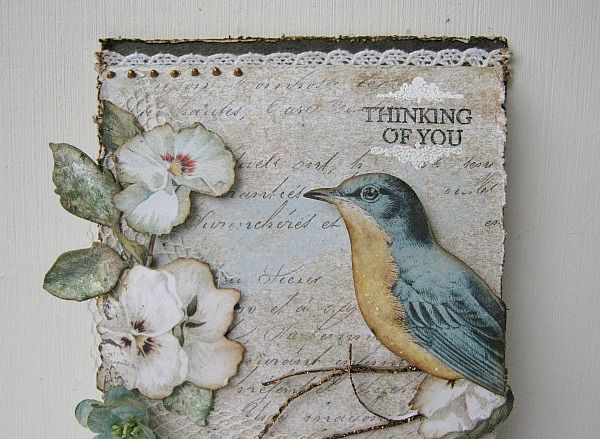
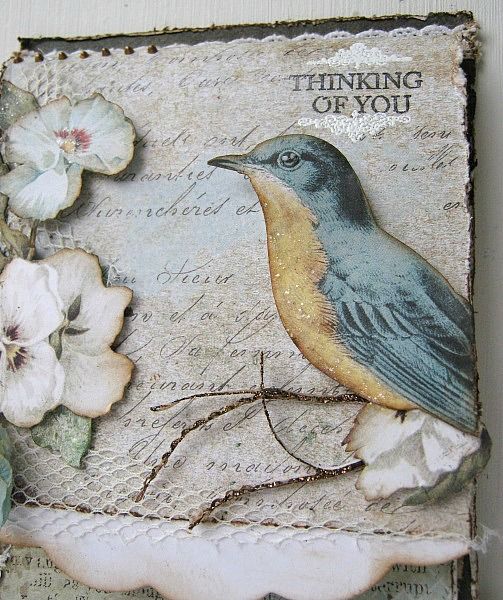
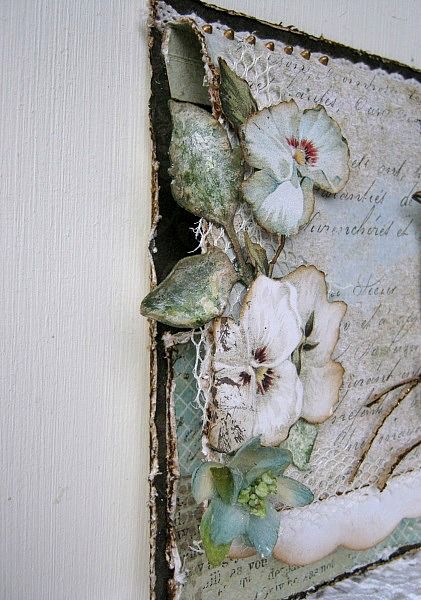
I hope you like it and give it a try! If you do, please share your card here in this thread and of course our Facebook Gallery.
Have a lovely weekend!
Subscribe to:
Post Comments (Atom)
Swirlydoos Site Links
Pin Us!!
Popular Posts
-
Welcome to Swirlydoos December Kit Reveal Blog Hop BLOCK PARTY!!! We are having a party and you are all invited. We have some amazing projec...
-
Welcome to Swirlydoos' Mystical Winter kit reveal Blog Hop Block Party!! Happy New Year and Welcome!!! This month's kit,...
-
Boy, oh boy do we have a stellar hop for you this month!! Just when I think that Krissy couldn't possibly created a prettier ki...
-
Introducing Vintage Fae Check out our home page for details on the kit and the Add On kits! Welcome to Swirlydoos July Kit Reveal Blog ...
-
Welcome!!! Today is a beautiful day to reveal our April kit, Whispers of Spring. Take a look at how pretty this kit is! I have to tel...
-
Welcome to Swirlydoos' June Kit Reveal Blog Hop Block Party!! We are so pleased to show off our June kit, Antiquities!!! This kit...
-
Welcome back! We have a really fun blog hop all set for you today. Our May kit, So Chic , is well.....just that...so chic! This kit is ...
-
Welcome to: Swirlydoos Kit Club November Kit Reveal & Bloghop! Swirlydoos is proud to bring you our November collection: ...
-
Swirlydoos is PROUD to present our April collection Hello Beautiful! Be sure to check out a video "tour" of the main...
-
Welcome to Swirlydoos' February Blog Hop Block Party!! Welcome to Swirlydoos February Kit Reveal Blog Hop BLOCK PARTY!!! ...
Blog Archive
- 2017 (134)
- 2016 (173)
-
2015
(169)
- December(19)
- November(20)
- October(16)
- September(13)
- August(12)
- July(11)
- June(10)
- May(9)
- April(13)
- March(14)
-
February(13)
- Another Artful Blues Layout with Tutorial with Rae
- Artful Blues with Maja
- More Artful Blues inspiration ~ Helena
- More Artful Blues with Angelica
- Layout of the Week: Heather
- Artful Blues Mixed Media Background with Rae
- January Layout of the Month Winner!
- February Blog Hop Winners!
- Swirlydoos Kit Club Feb Savagery tag - Drips, spla...
- February Blog Hop and Reveal
- Saturday - Tutorial day!!!!
- Feburary Challenge Highlights
- Layout of the Week, February 1st, 2015: Sherri
- January(19)
- 2014 (230)
- 2013 (207)
- 2012 (252)
- 2011 (181)
- 2010 (118)
- 2009 (38)


4 comments:
I just LOVE this design, Paulien!!!
It just went on my moost do list!!!!
Thanks for such a wonderful tutorial!
Wow! Beautiful thanks for the detailed instructions!
This is so gorgeous. Thanks for the step by step instruction.
The bird is colored so beautifully. I can see him sitting on a branch outside the window. Great job.