Saturday, October 11, 2014
Hello everyone,
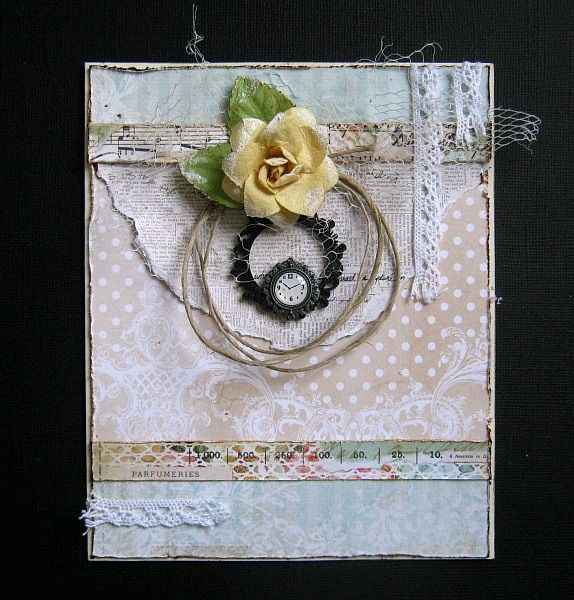
So.... I'm going to give you a bigger sneak, then we already did posted in the announcement thread. This card is made with the, October "Treasured yesterdays" kit.
OMG ladies you will going to LOVE this kit.
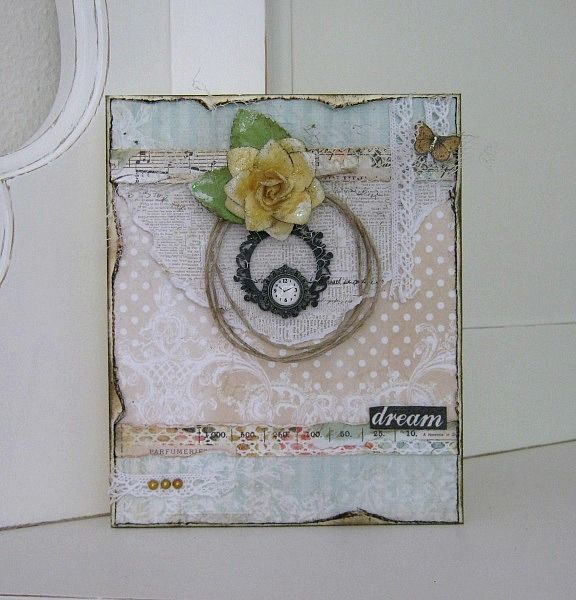
And here is how it came together:
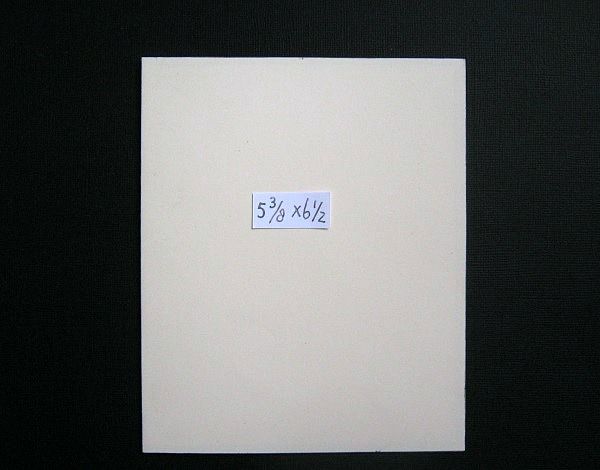
For the base of my card I folded an A4 piece of cardstock double, and trimmed it down to

And here is how it came together:

For the base of my card I folded an A4 piece of cardstock double, and trimmed it down to
5.3/8 x 6.1/2 inch. My fold is on the left side.
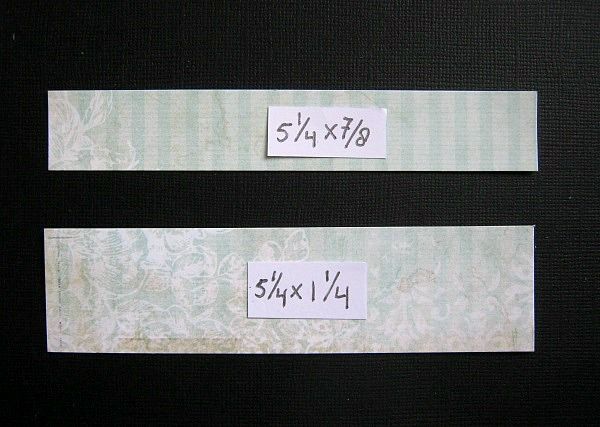
Then I cut 2 strips of PP. 1 for the bottom, 5.1/4 x 1.1/4 inch and one for the top,
5.1/4 x 7/8 of an inch.
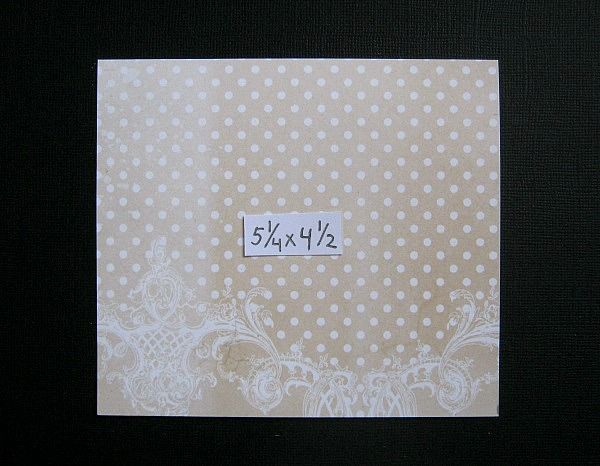
This is the PP I chose for the center piece of my card, and I cut it at 5.1/4 x 4.1/2 inch
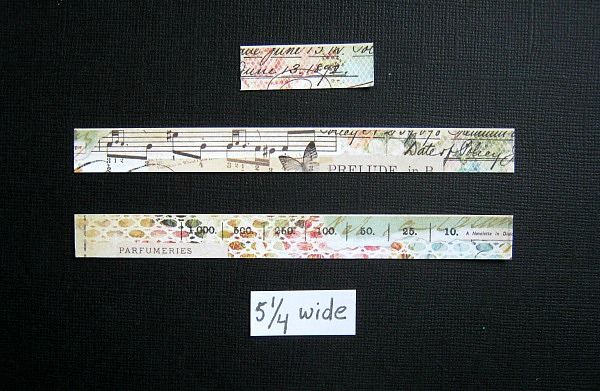
Then the barcode strip (of the same paper I used) was cut in 2 strips of 5.1/4 inch wide.
the little piece at the top is an excess piece.
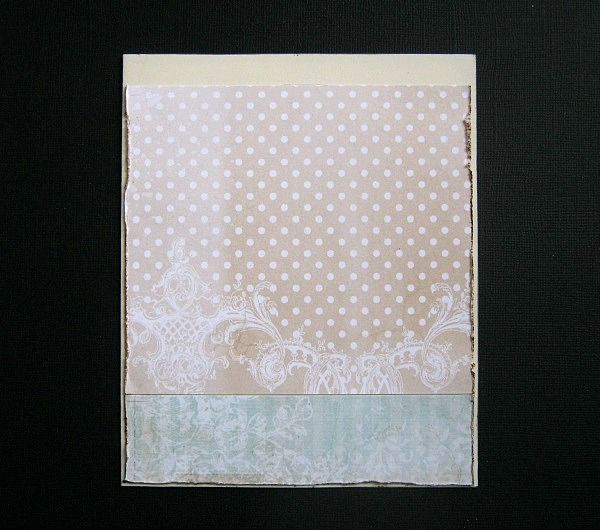
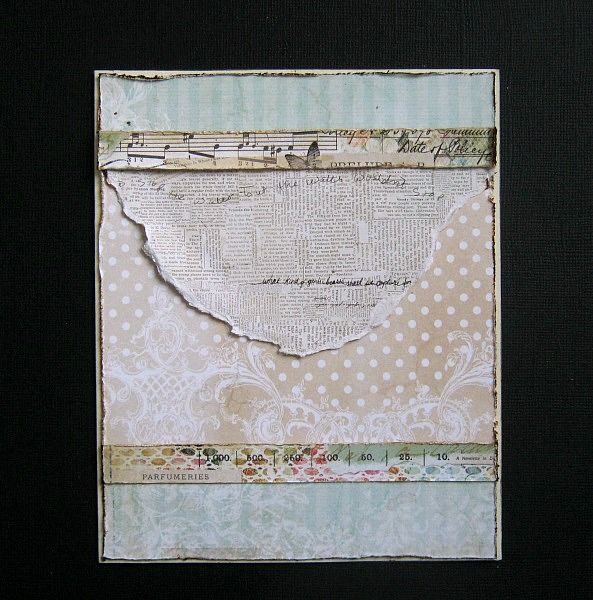
I slightly distressed the edges of the papers and inked them up, using Vintage Photo Distress ink. Glued them to the base card like this.
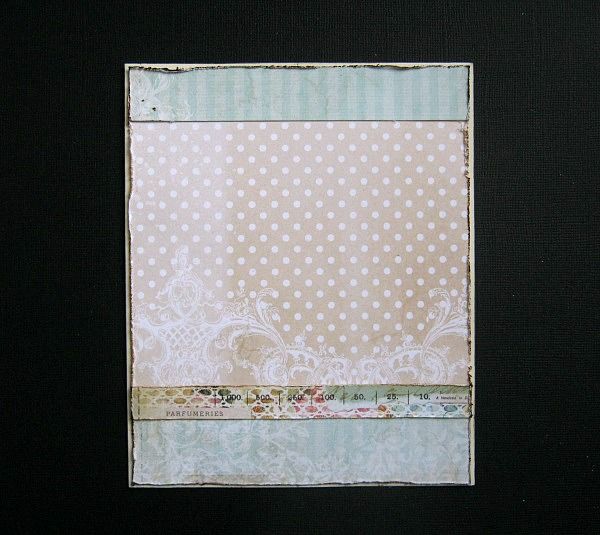
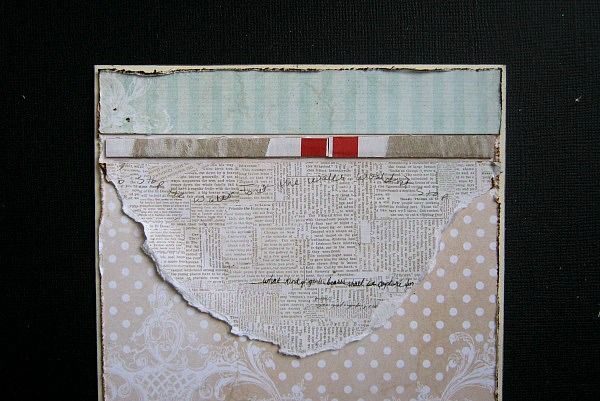
The top strip and 1 of the barcode strips: I got their edges distressed and inked. Glued them down like in the picture.
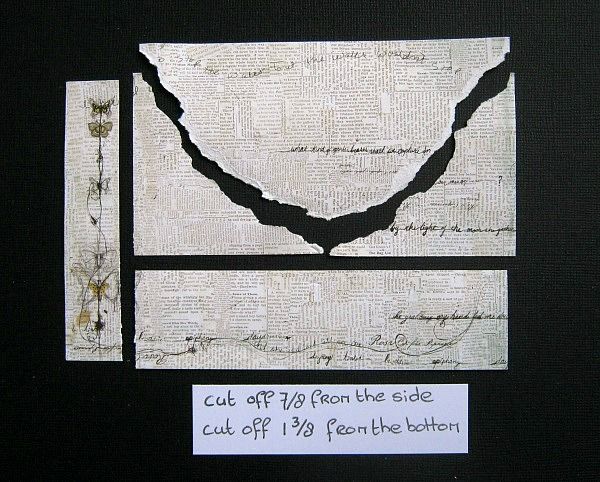
Then I took this note card. I cut 7/8 on an inch off, of the left side and 1.3/8 inch from the bottom. Then I eyeballed the center and tore the paper (towards me) till I recieved a, kind of triangle shape.
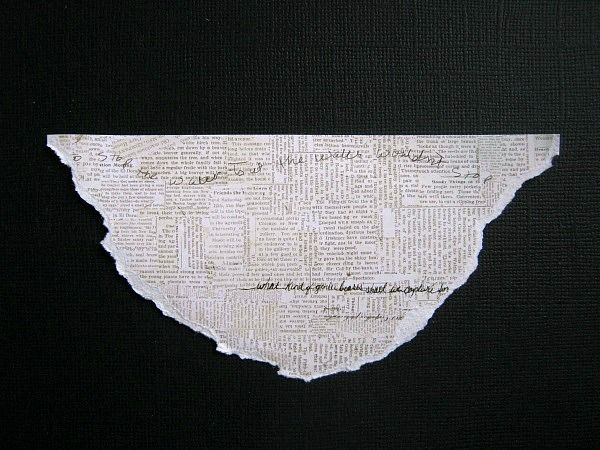
like so
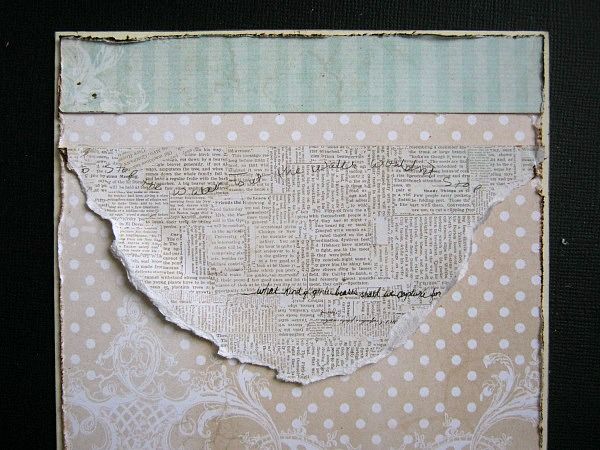
I glued it to the card like this, but didn't add glue all the way to the edges. I wanted to be able to curl/roll some of it up.
The "ïn between" space was filled with a piece of cardboard
And on top of that I glued the second piece of the barcode strip.
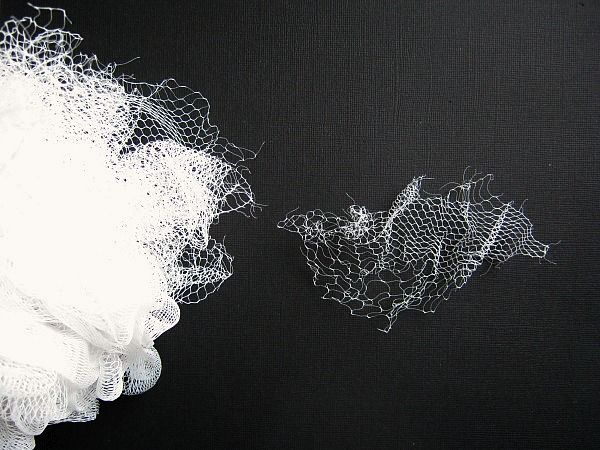
Then I tore off a piece from a mesh bad-sponge for adding texture.
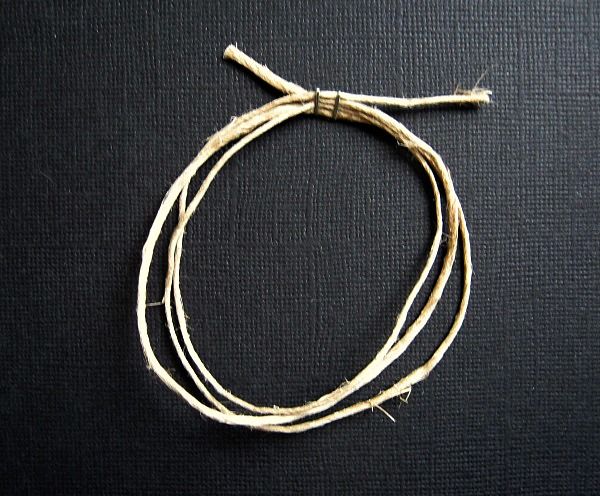
I took some hemp cord, wrapped it around my hand 3 times and stapled it in the middle.

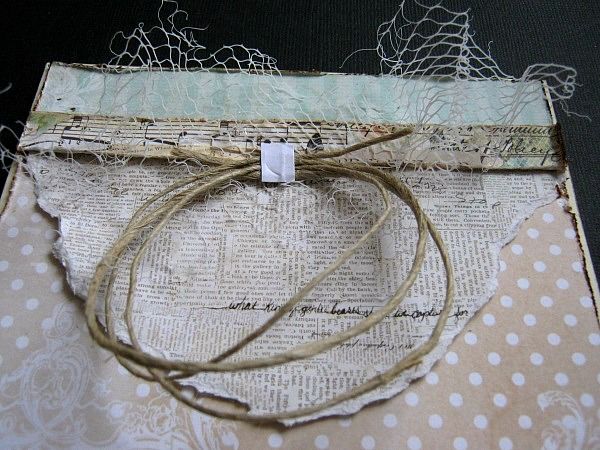
Both the mesh and the hemp cord were glued down like this. The little white piece in the middle is to prevent getting glue on my fingers.
Look at that texture!!!! I love it.

I took 2 of the leaves off of the flowers, that came in the prima flowers pack. Inked their edges and glued them to the top like this.
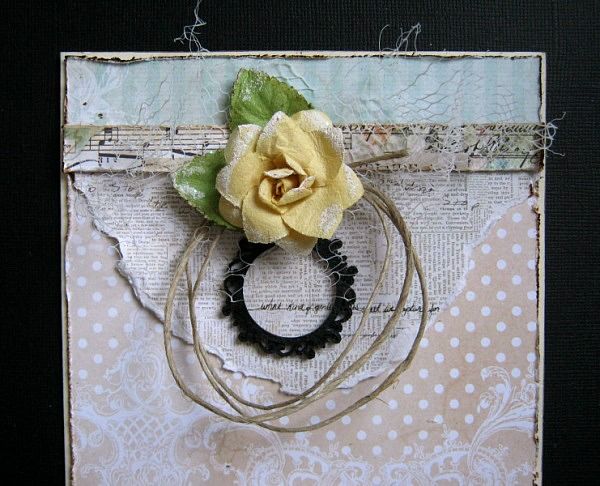
I chose the yellow rose and one of the wooden embellishments to be my focal piece.
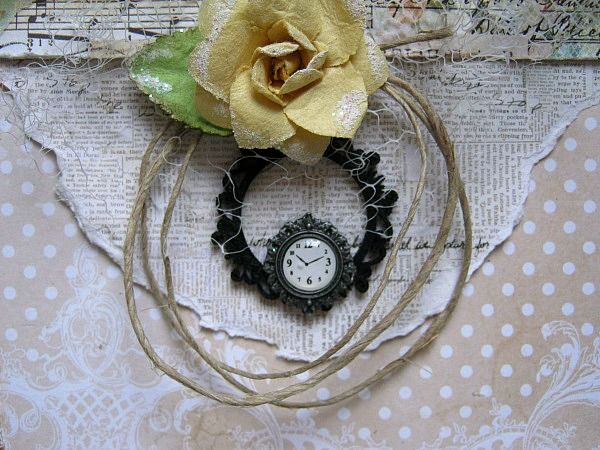
On one of the stickpins that came in the Main kit, you find this little clock. I removed the pin and glued it to the wooden frame like this.
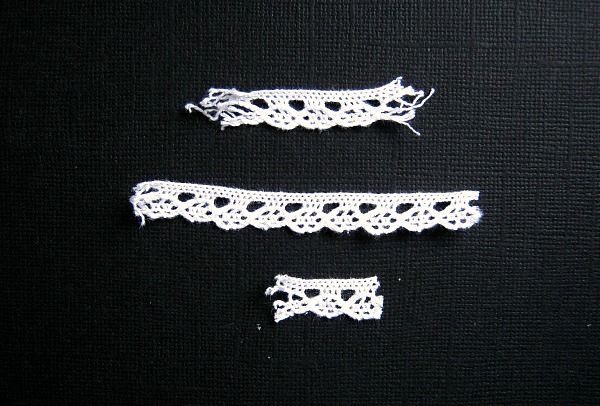
From the lace, I cut 3 little strips.....
and glued them like this. 2 at the right top and one on the left bottom.
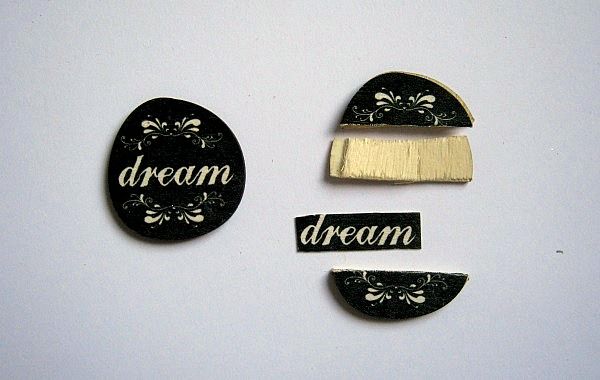
Then I thought that I could cut this wooden embellishment to just use the word "dream"
Well.... "in my dreams" The top layer came off and I thought, oh well, then we only use the top layer. I inked up the edges with walnut stain distress ink, directly from the pad and left it to dry.
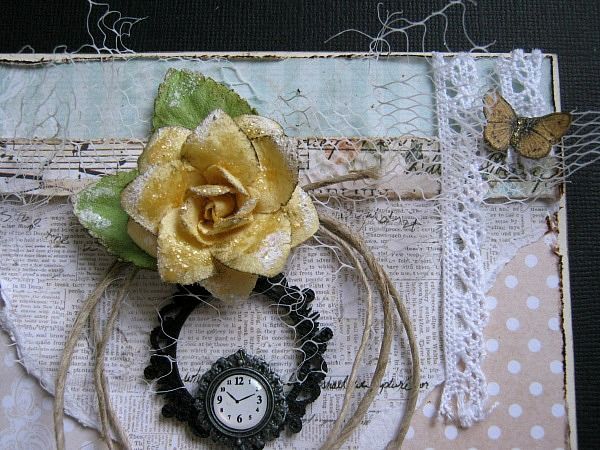
Then I added some distress stickles to my flower and I fussy cut a tiny yellow butterfly which I placed at the right top.
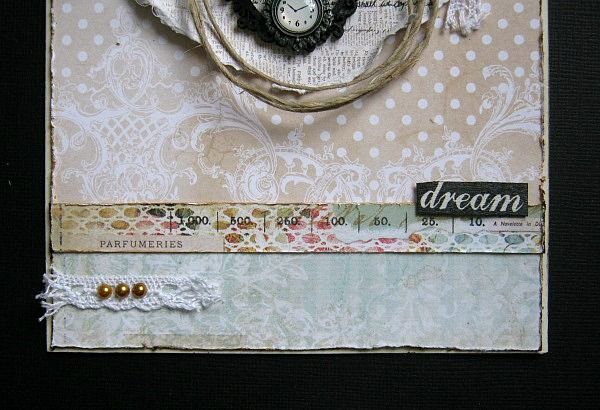
In the meantime the ink had dried, I glued my word "dream" in place. And for the finishing touch I glued 3 golden pearls in the left bottom corner.
And I called it DONE!
I hope you enjoyed this step by step tut!

Then I cut 2 strips of PP. 1 for the bottom, 5.1/4 x 1.1/4 inch and one for the top,
5.1/4 x 7/8 of an inch.

This is the PP I chose for the center piece of my card, and I cut it at 5.1/4 x 4.1/2 inch

Then the barcode strip (of the same paper I used) was cut in 2 strips of 5.1/4 inch wide.
the little piece at the top is an excess piece.

I slightly distressed the edges of the papers and inked them up, using Vintage Photo Distress ink. Glued them to the base card like this.

The top strip and 1 of the barcode strips: I got their edges distressed and inked. Glued them down like in the picture.

Then I took this note card. I cut 7/8 on an inch off, of the left side and 1.3/8 inch from the bottom. Then I eyeballed the center and tore the paper (towards me) till I recieved a, kind of triangle shape.

like so

I glued it to the card like this, but didn't add glue all the way to the edges. I wanted to be able to curl/roll some of it up.

The "ïn between" space was filled with a piece of cardboard

And on top of that I glued the second piece of the barcode strip.

Then I tore off a piece from a mesh bad-sponge for adding texture.

I took some hemp cord, wrapped it around my hand 3 times and stapled it in the middle.

Both the mesh and the hemp cord were glued down like this. The little white piece in the middle is to prevent getting glue on my fingers.

Look at that texture!!!! I love it.

I took 2 of the leaves off of the flowers, that came in the prima flowers pack. Inked their edges and glued them to the top like this.

I chose the yellow rose and one of the wooden embellishments to be my focal piece.

On one of the stickpins that came in the Main kit, you find this little clock. I removed the pin and glued it to the wooden frame like this.

From the lace, I cut 3 little strips.....

and glued them like this. 2 at the right top and one on the left bottom.

Then I thought that I could cut this wooden embellishment to just use the word "dream"
Well.... "in my dreams" The top layer came off and I thought, oh well, then we only use the top layer. I inked up the edges with walnut stain distress ink, directly from the pad and left it to dry.

Then I added some distress stickles to my flower and I fussy cut a tiny yellow butterfly which I placed at the right top.

In the meantime the ink had dried, I glued my word "dream" in place. And for the finishing touch I glued 3 golden pearls in the left bottom corner.
And I called it DONE!
I hope you enjoyed this step by step tut!
Enjoy your weekend!
Subscribe to:
Post Comments (Atom)

Be sure to "LIKE & FOLLOW" Swirlydoos for special FB only deals and promos
Follow this blog with bloglovin

Scrapbook Sketches

see all of our sketches here
Keep Tabs On Our Blog!


Popular Posts
-
 Welcome to Swirlydoos November Kit Reveal Blog Hop BLOCK PARTY!!! That's right, we are having a party and you are all invit...
 -
 Say Hellllllllloooooo to our October kit, Belle Chanson! Welcome to our October kit reveal and Blog Hop. We have some new and exciting...
 -
 Welcome to Swirlydoos' Mystical Winter kit reveal Blog Hop Block Party!! Happy New Year and Welcome!!! This month's kit,...
 -
 Welcome to Swirlydoos December Kit Reveal Blog Hop BLOCK PARTY!!! We are having a party and you are all invited. We have some amazing projec...
 -
 Welcome to Swirlydoos' February Blog Hop Block Party!! Welcome to Swirlydoos February Kit Reveal Blog Hop BLOCK PARTY!!! ...
 -
 Welcome to Swirlydoos' June Kit Reveal Blog Hop Block Party!! We are so pleased to show off our June kit, Antiquities!!! This kit...
 -
 Thank you for joining us today for our ONE DAY blog hop featuring our September kit collection, Gilted Pleasure . **All collec...
 -
 Swirlydoos is PROUD to present our February collection - Upon a Time Be sure to check out a video "tour" of the main kit...
 -
 Boy, oh boy do we have a stellar hop for you this month!! Just when I think that Krissy couldn't possibly created a prettier ki...
 -
 Welcome back! We have a really fun blog hop all set for you today. Our May kit, So Chic , is well.....just that...so chic! This kit is ...
5 comments:
Thank you for this, its beautiful.
This is so gorgeously shabby!!! I love the torn paper and all of the small strips an details that you've scattered throughout this card!!!!
Absolutely gorgeous !
I love all the different textures! Great job! :)
Stunning! xxx