Tuesday, April 29, 2014
Hello Everyone,
Today I want to share my lastest card tutorial with you...
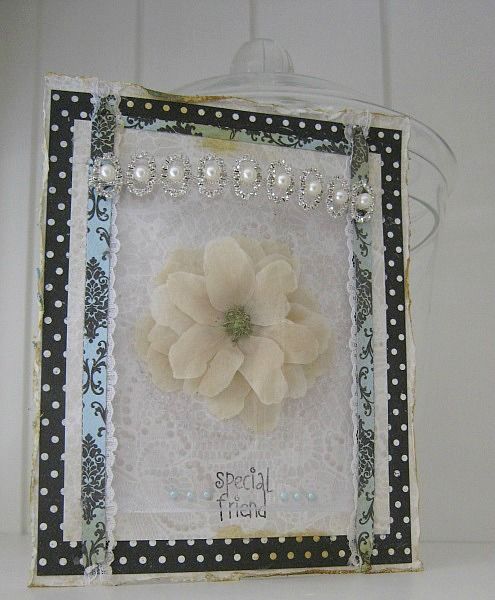
The inspiration for this card, was found whilst doing some garden work. I have this Clematis plant in my garden and oh, how much I love those flowers. Then an idea came to mind, to pick a few flowers and see if I could dry them, and so I did. Of Course, dried flowers are very, very delicate and need some protection, or they will tear. Anyway... this is what I came up with:
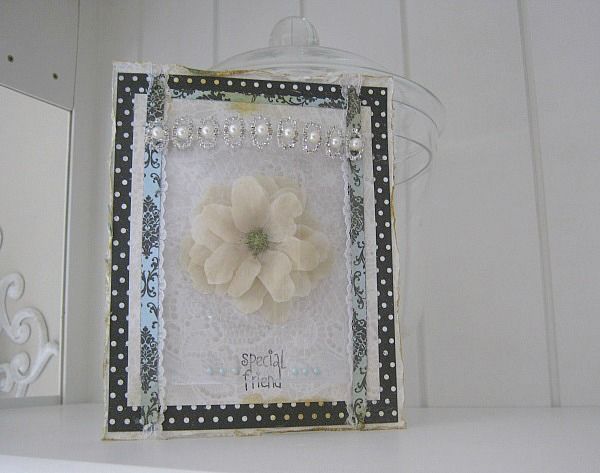
And here's how it came together:
For my base card I folded a A4 piece of white cardstock double and cut it a tad bit smaller than 5.7/8 x 7.4/8
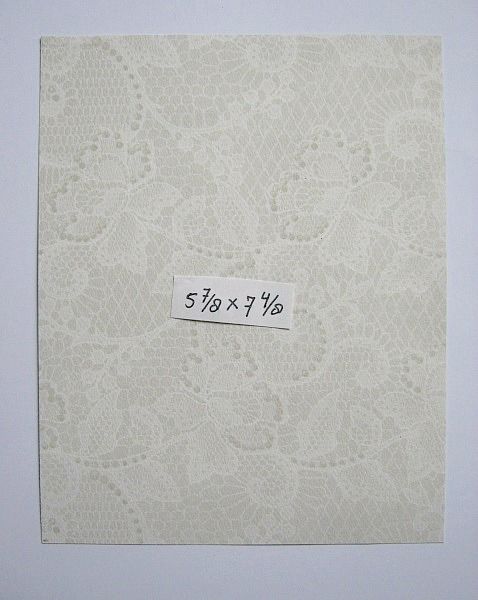
For my first layer I cut a piece of the white lace PP at 5.7/8 x 7.4/8
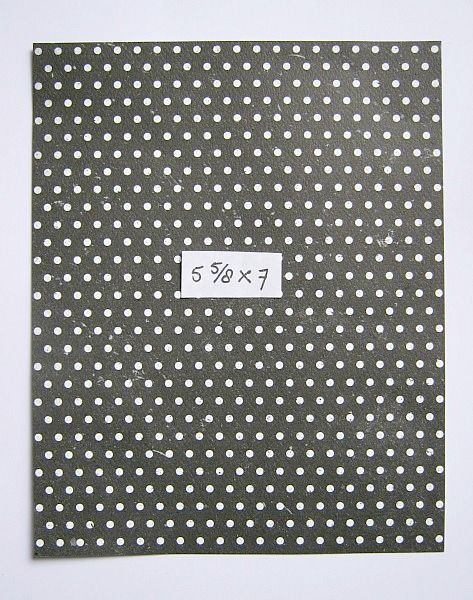
For my second layer I cut a piece of the polka dot PP at 5.5/8 x 7 inch
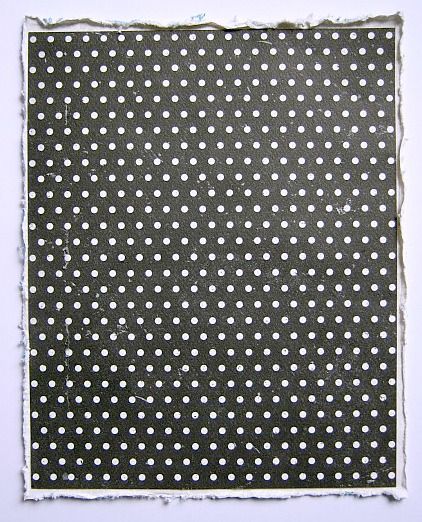
I glued both layers to the base card. I only distressed the first layer.
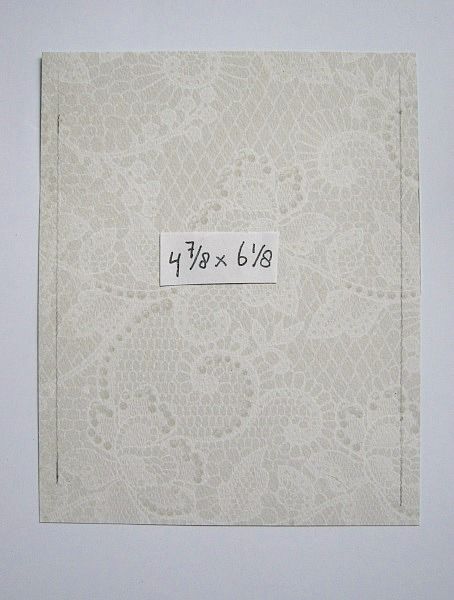
Then I cut a piece of the white lace PP at 4.7/8 x 6.1/8 inch and made a pencil mark at both sides
at 1/4 of an inch
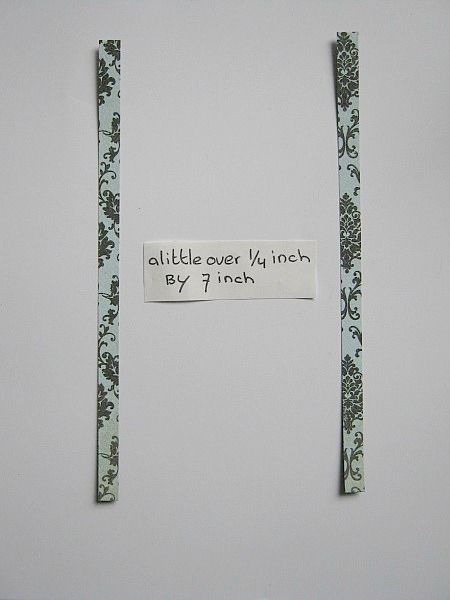
I cut 2 strips of that beautiful teal/black PP
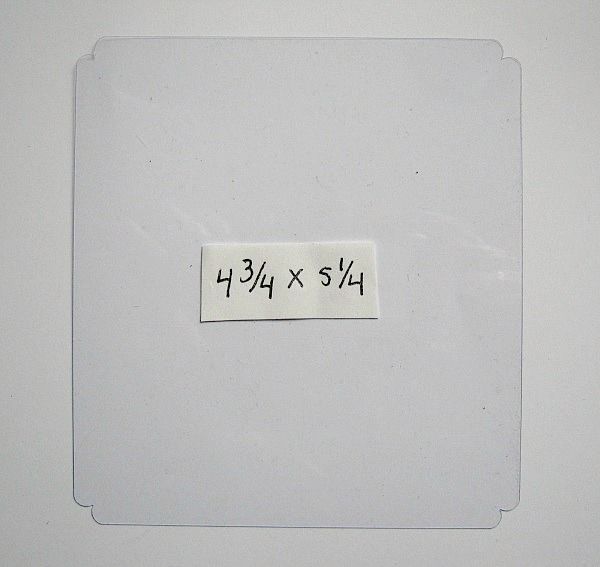
and a piece of acetate at 4.3/4 x 5.1/4 inch. (5.1/4 is the highth) I punched the corners.
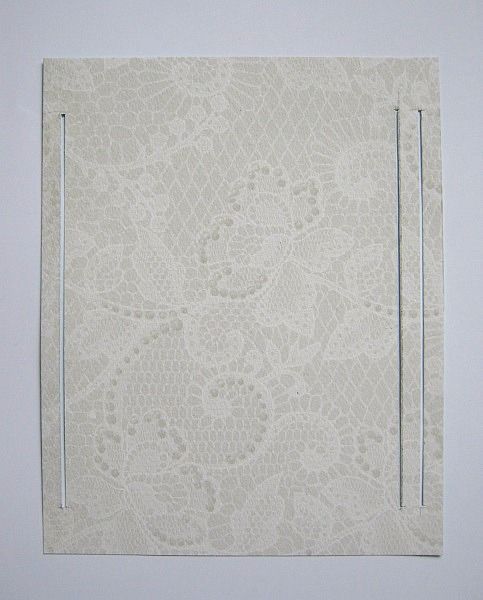
Then on the pencil marks I made cut lines, for the acetate to stick through. LEARN FROM MY MISTAKE ....On the right side you have to go 2/4 of an inch, inwards. So ignore the outer cutline at the right side.
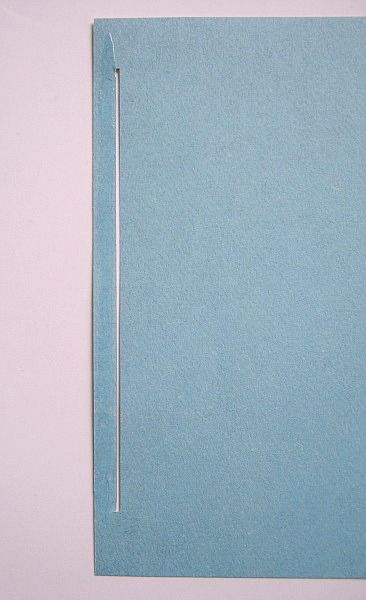
then I flipped the paper over, and if you look closely in the pic, you'll see that I added glue to the left side of the cutline.
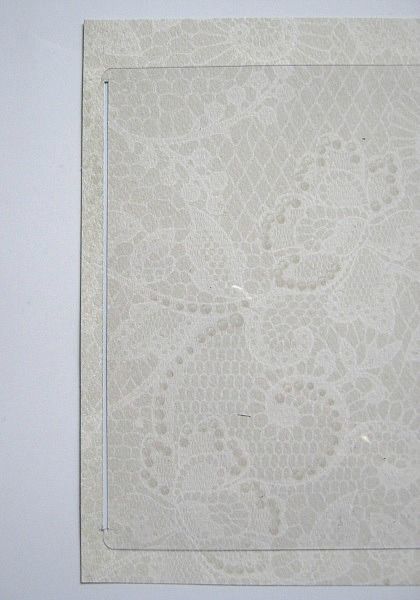
Flip it over again and stick one side of the acetate like in the picture and press the outher edge down.
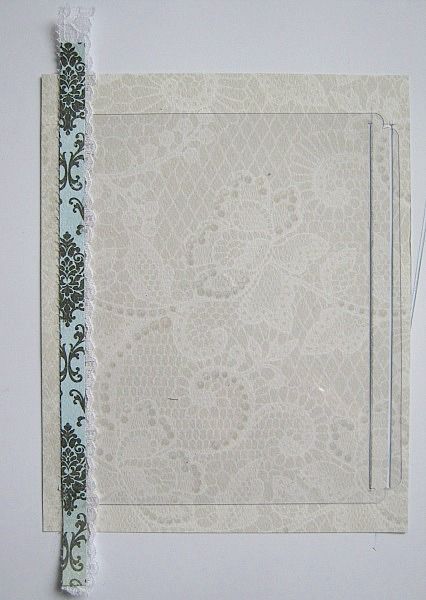
I then added a strip of lace and a strip of the PP. I glued this down using Beacon 3 in 1.
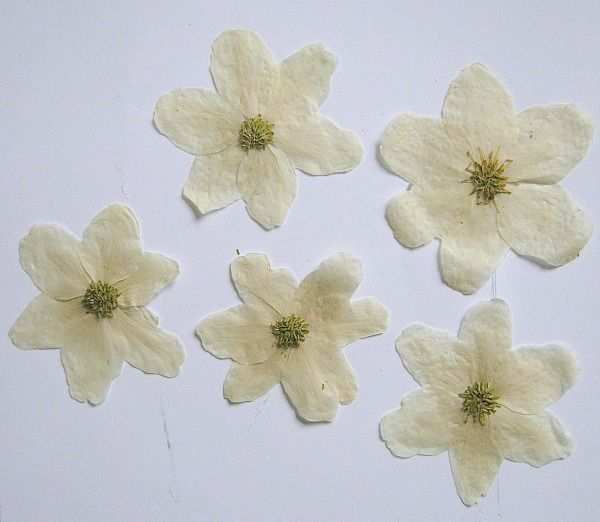
From my garden I took 5 clematis flowers and I wrapped them in paper towel and let them dry for about a week, in an old book. This is how they came out. I want to stack them together.
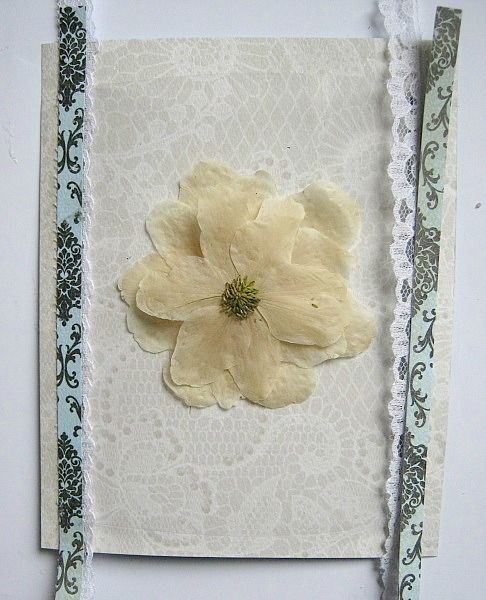
And place them something like this in the center of my card. The acetate will protect this delicate flower.
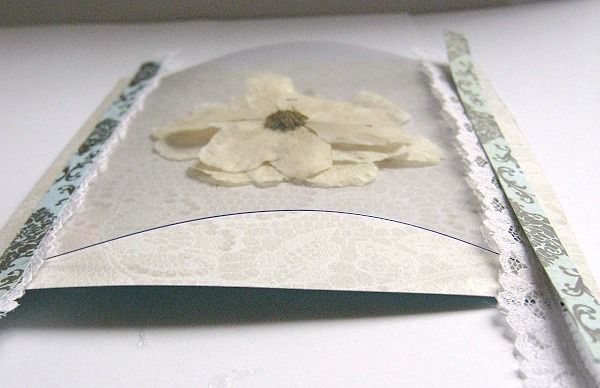
And this is how the acetate will stand out from the card. Okay, back to the flower
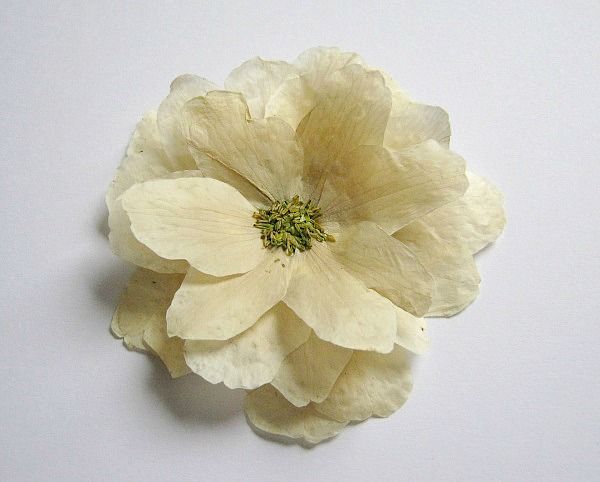
I stacked my flowers together, using Beacon 3 in 1, for the centers..... Isn't that PRETTY?????
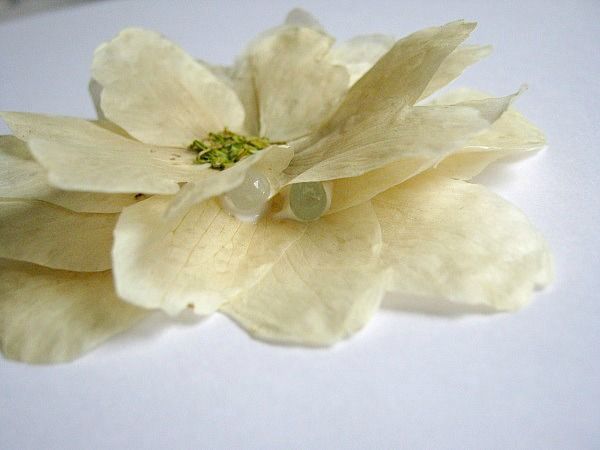
In between the layers I glued some glass beads using Beacon Gem-Tac, for dimension.
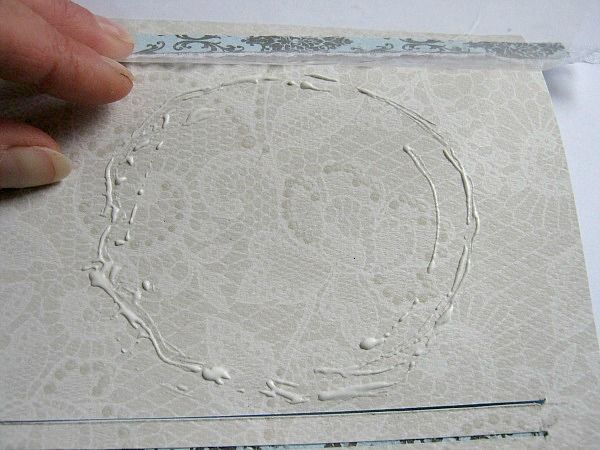
I aslo added a sloppy circle with Beacon Gem-Tac, but you can use Glossy Accents just as well.
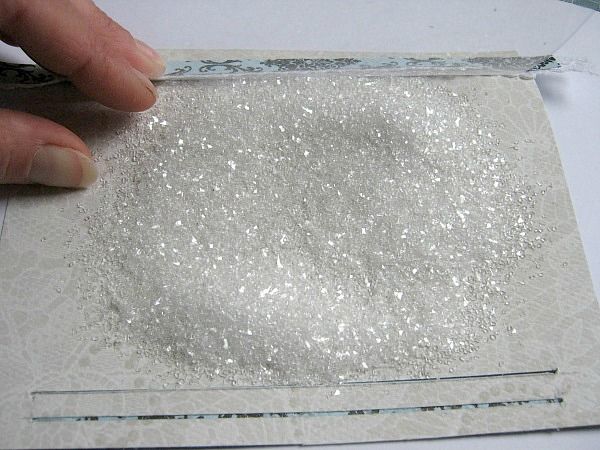
I covered it with Diamond Dust Glass Glitter and on top of that I used a piece of scrap to press the diamond dust into the glue
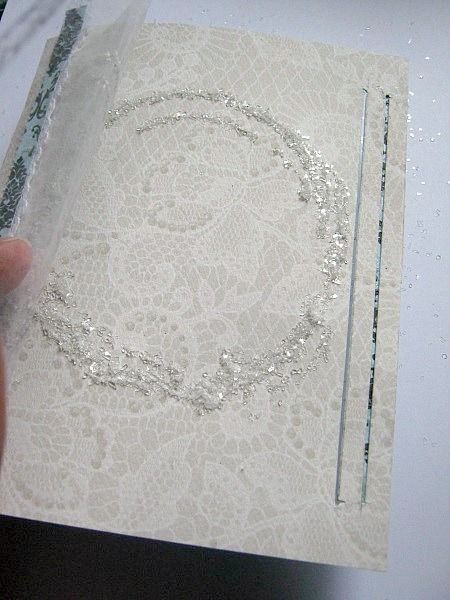
I shook off the excces
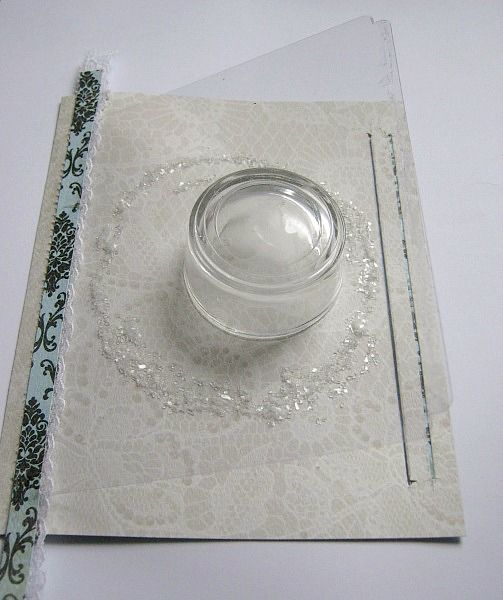
And put a little glass tub in the middle, and left it to dry for about an hour. If you don't have the glass glitter you could use Diamond or chrystal stickles, to make the circle.
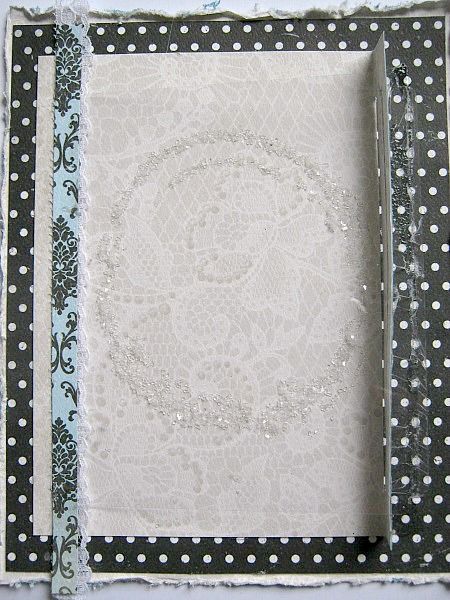
Then I glued this layer, accept for the right side, to the polka dot paper. My acetate leans on the,
folded up, right side.
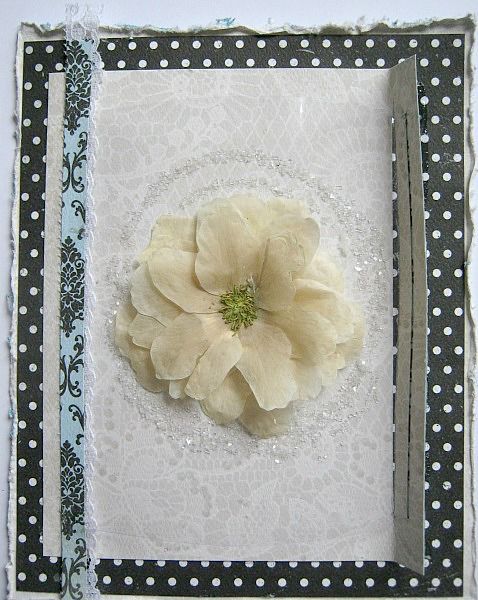
Then I glued my beautiful flower in place. Love how it turned out.
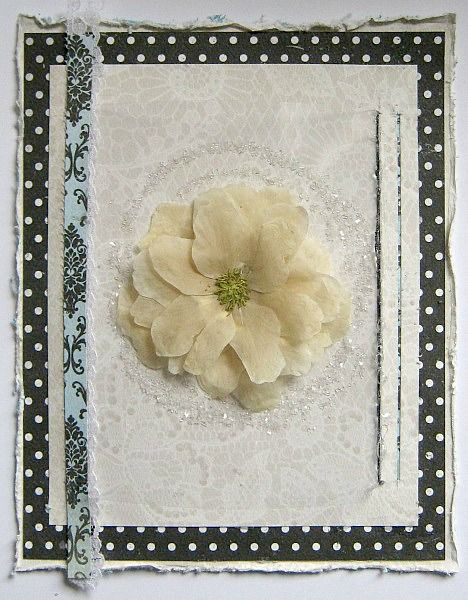
I added glue to the back of the right side, and stick my acetate trough the cutline and pressed everything down.
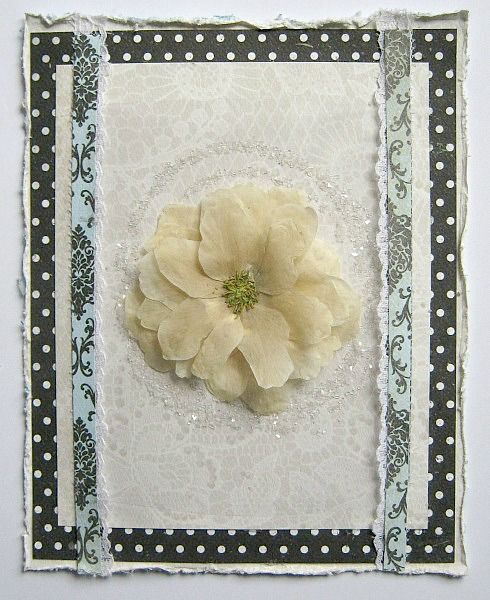
Then I glued my lace and paper strips at the right side, like in the picture.
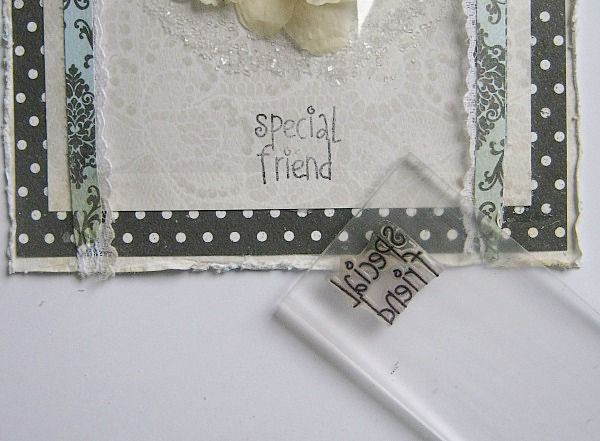
Because of the acetate is standing out, I was able to stamp my sentiment underneath the acetate
using a small stamping-block.
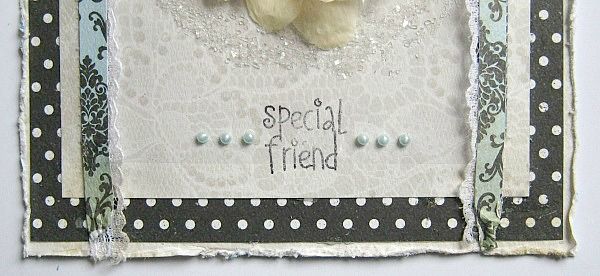
For the finishing touch I added tiny blue pearls on each side of my stamped sentiment.
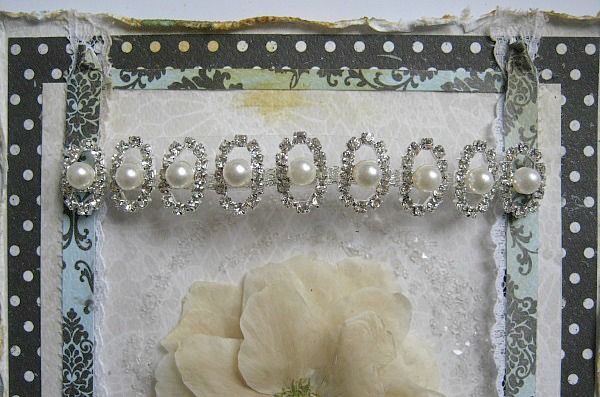
From the Bling AddOn, I had this piece of jewelery left and decieded that it was the perfect match, to top off the acetate. I also added some watered down distress ink (Gathered Twigs) which I applied using a watercolor brush.
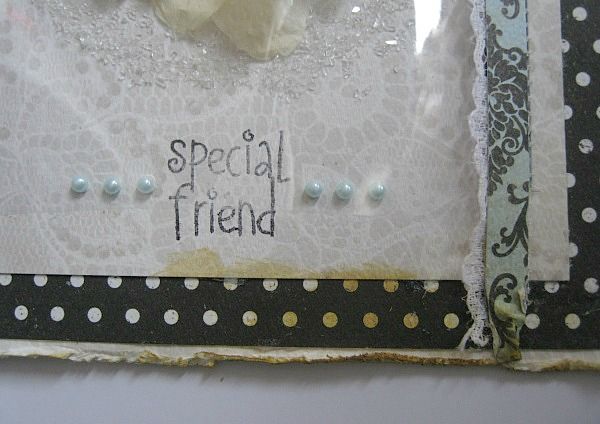
Of course, to balance it out, I added some ink at the bottom too.

I hope you like it and will dry some of those beautiful flowers from your garden.

And here's how it came together:
For my base card I folded a A4 piece of white cardstock double and cut it a tad bit smaller than 5.7/8 x 7.4/8

For my first layer I cut a piece of the white lace PP at 5.7/8 x 7.4/8

For my second layer I cut a piece of the polka dot PP at 5.5/8 x 7 inch

I glued both layers to the base card. I only distressed the first layer.

Then I cut a piece of the white lace PP at 4.7/8 x 6.1/8 inch and made a pencil mark at both sides
at 1/4 of an inch

I cut 2 strips of that beautiful teal/black PP

and a piece of acetate at 4.3/4 x 5.1/4 inch. (5.1/4 is the highth) I punched the corners.

Then on the pencil marks I made cut lines, for the acetate to stick through. LEARN FROM MY MISTAKE ....On the right side you have to go 2/4 of an inch, inwards. So ignore the outer cutline at the right side.

then I flipped the paper over, and if you look closely in the pic, you'll see that I added glue to the left side of the cutline.

Flip it over again and stick one side of the acetate like in the picture and press the outher edge down.

I then added a strip of lace and a strip of the PP. I glued this down using Beacon 3 in 1.

From my garden I took 5 clematis flowers and I wrapped them in paper towel and let them dry for about a week, in an old book. This is how they came out. I want to stack them together.

And place them something like this in the center of my card. The acetate will protect this delicate flower.

And this is how the acetate will stand out from the card. Okay, back to the flower

I stacked my flowers together, using Beacon 3 in 1, for the centers..... Isn't that PRETTY?????

In between the layers I glued some glass beads using Beacon Gem-Tac, for dimension.

I aslo added a sloppy circle with Beacon Gem-Tac, but you can use Glossy Accents just as well.

I covered it with Diamond Dust Glass Glitter and on top of that I used a piece of scrap to press the diamond dust into the glue

I shook off the excces

And put a little glass tub in the middle, and left it to dry for about an hour. If you don't have the glass glitter you could use Diamond or chrystal stickles, to make the circle.

Then I glued this layer, accept for the right side, to the polka dot paper. My acetate leans on the,
folded up, right side.

Then I glued my beautiful flower in place. Love how it turned out.

I added glue to the back of the right side, and stick my acetate trough the cutline and pressed everything down.

Then I glued my lace and paper strips at the right side, like in the picture.

Because of the acetate is standing out, I was able to stamp my sentiment underneath the acetate
using a small stamping-block.

For the finishing touch I added tiny blue pearls on each side of my stamped sentiment.

From the Bling AddOn, I had this piece of jewelery left and decieded that it was the perfect match, to top off the acetate. I also added some watered down distress ink (Gathered Twigs) which I applied using a watercolor brush.

Of course, to balance it out, I added some ink at the bottom too.

I hope you like it and will dry some of those beautiful flowers from your garden.
So Go out into your garden and pick yourself some of the gorgeous flowers,and dry them.
Have a lovely day!
Subscribe to:
Post Comments (Atom)
Swirlydoos Site Links
Pin Us!!
Popular Posts
-
Welcome to Swirlydoos December Kit Reveal Blog Hop BLOCK PARTY!!! We are having a party and you are all invited. We have some amazing projec...
-
Welcome to Swirlydoos' Mystical Winter kit reveal Blog Hop Block Party!! Happy New Year and Welcome!!! This month's kit,...
-
Boy, oh boy do we have a stellar hop for you this month!! Just when I think that Krissy couldn't possibly created a prettier ki...
-
Introducing Vintage Fae Check out our home page for details on the kit and the Add On kits! Welcome to Swirlydoos July Kit Reveal Blog ...
-
Welcome!!! Today is a beautiful day to reveal our April kit, Whispers of Spring. Take a look at how pretty this kit is! I have to tel...
-
Welcome to Swirlydoos' June Kit Reveal Blog Hop Block Party!! We are so pleased to show off our June kit, Antiquities!!! This kit...
-
Welcome back! We have a really fun blog hop all set for you today. Our May kit, So Chic , is well.....just that...so chic! This kit is ...
-
Welcome to: Swirlydoos Kit Club November Kit Reveal & Bloghop! Swirlydoos is proud to bring you our November collection: ...
-
Swirlydoos is PROUD to present our April collection Hello Beautiful! Be sure to check out a video "tour" of the main...
-
Welcome to Swirlydoos' February Blog Hop Block Party!! Welcome to Swirlydoos February Kit Reveal Blog Hop BLOCK PARTY!!! ...
Blog Archive
- 2017 (134)
- 2016 (173)
- 2015 (169)
-
2014
(230)
- December(20)
- November(17)
- October(21)
- September(23)
- August(20)
- July(19)
- June(19)
- May(11)
-
April(19)
- New Design Team Members
- Card tutorial using the April "Tiffany's" Kit
- Layout Of The Week 4/27/2014
- Tiffany's Kit: Start to Finish Layout (Video Tutor...
- More Tiffany's Creations with Angelica
- "Tiffany's" Kit Second Reveal with Tracey
- Creations with the April kit, Tiffany's
- April Challenge Updates!
- Layout of the Week 4/20/2014
- Card tutorial, using the April, Tiffany's kit.
- Salutations Sketch Challenge WINNER!
- April Blog Hop Winners!
- April Reveal and Blog Hop!
- DESIGN TEAM CALL!!!!!!
- April Challenge Highlights!
- LOTW 4/6/14
- Featured Member *Erica Ortiz*
- Altered Library Drawer Tutorial
- March Layout of the Month Winner!
- March(20)
- February(23)
- January(18)
- 2013 (207)
- 2012 (252)
- 2011 (181)
- 2010 (118)
- 2009 (38)


2 comments:
Such a beautiful card, with the dried flowers and so many wonderful techniques, Paulien!!!!
Thanks so much for coming up with this!!!
What a beautiful card, and great tut! Thank you :)
Paula