Saturday, February 15, 2014
You probably have seen this card, during our monthly Blog Hop:
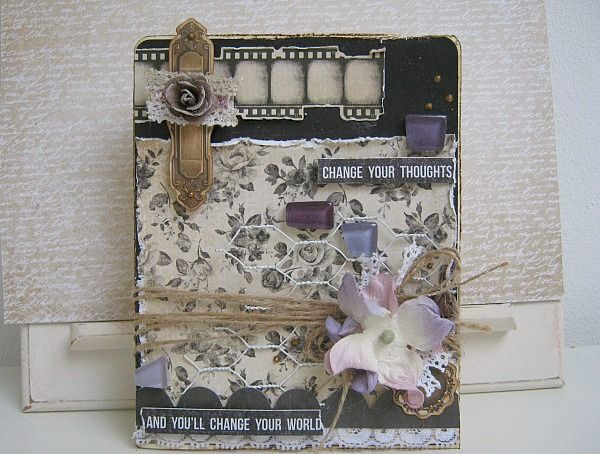
and as promised, I've done a step by step tutorial on it. So here we go:
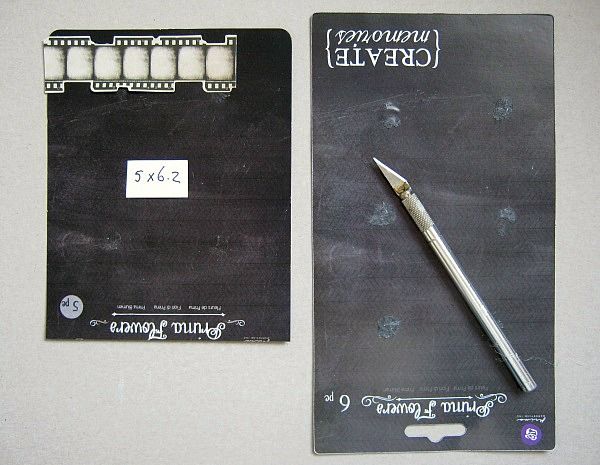
For the back ground of my card I took a Prima packaging, (on the right there's the whole piece)and I cut it down to 5x6.2 At the top I added a piece of the filmstrip sticker.
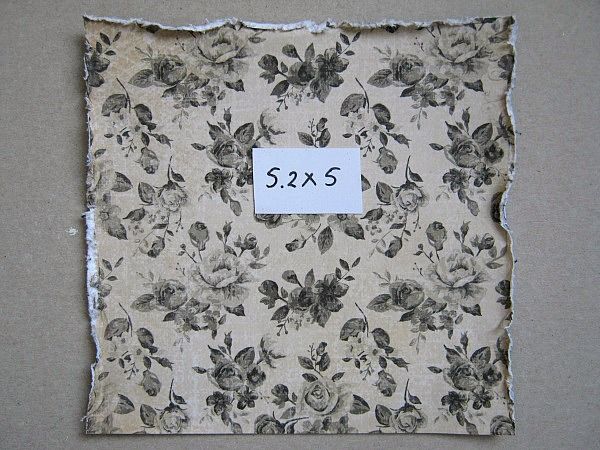
I cut a piece of PP at 5.2x5 Distressed the edges.
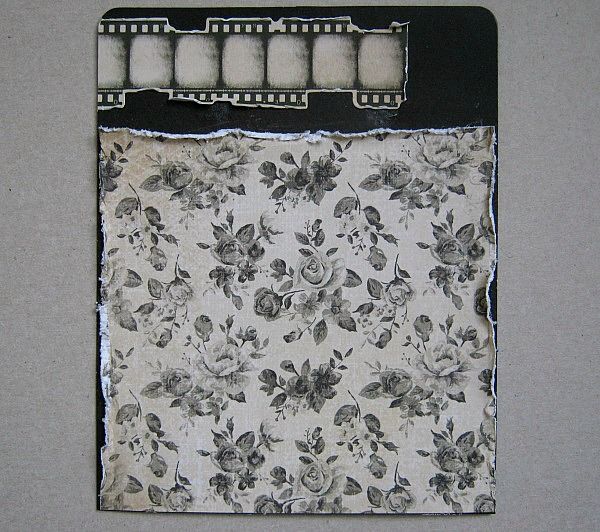
And glued it to my back ground. I also scratched the edges of the filmstrip sticker with my nails.
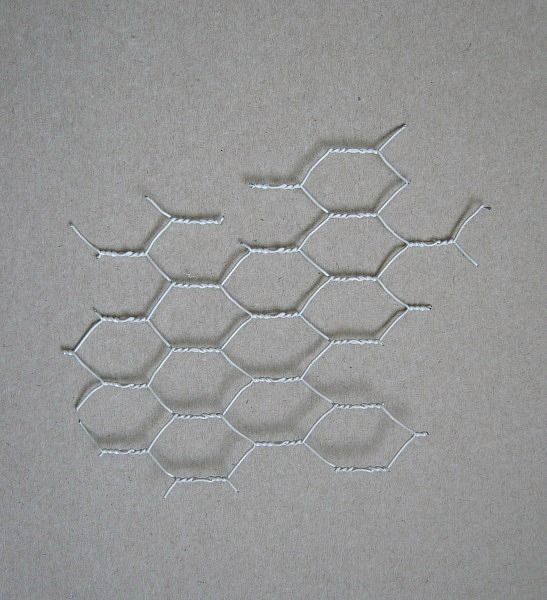
I then cut a piece of chickenwire
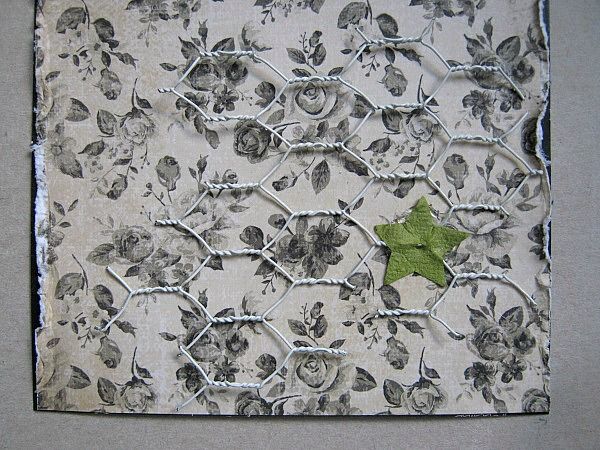
and glued it down with a drop of hot glue and a green piece of the little roses that came in the kit.
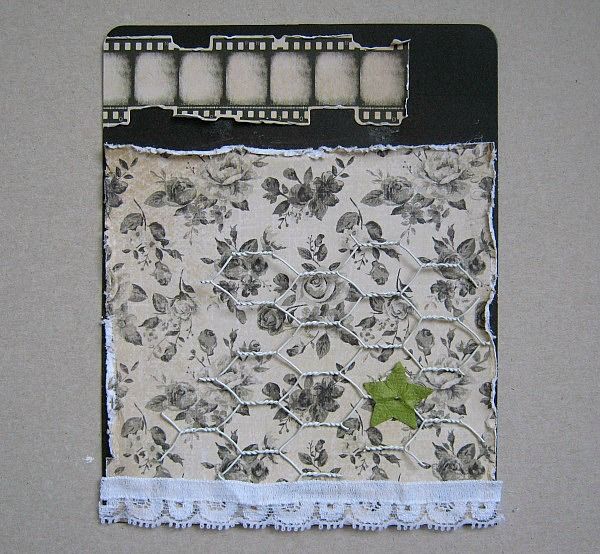
I (hot) glued a strip of lace at the bottom. (This lace came from my stash)
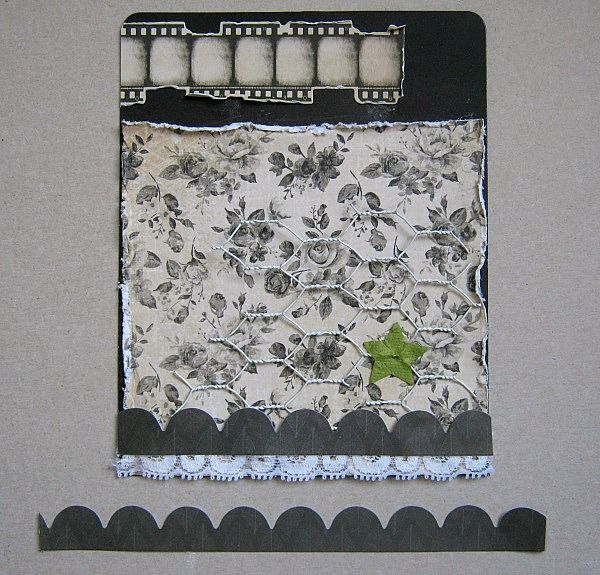
And I cut down the scalloped strip, (you can find this on the sticker sheet also) and glued it in place
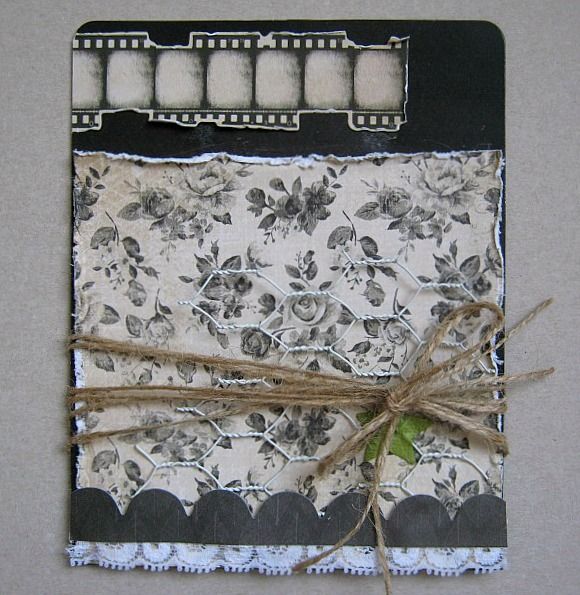
Then I wrapped, generously, some twine around and tied a bow. Time to work on my embellies.
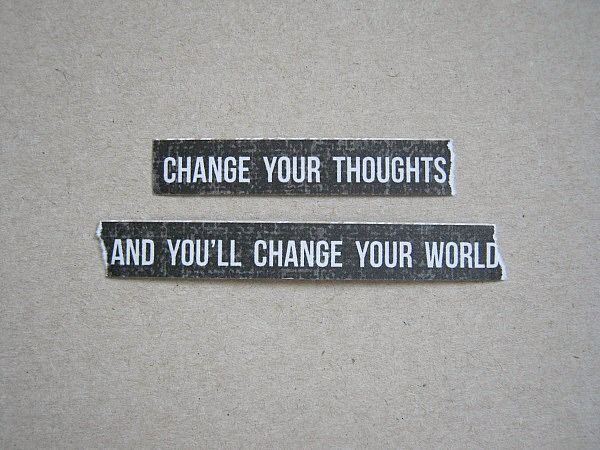
These word strips are going to be my sentiment.
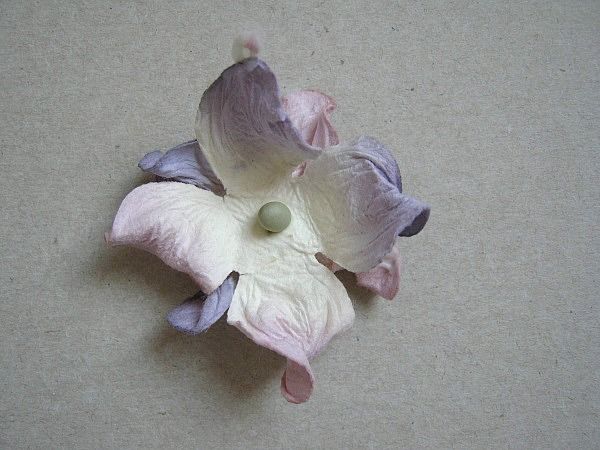
I stacked 2 of the flowers, that came in the kit, together
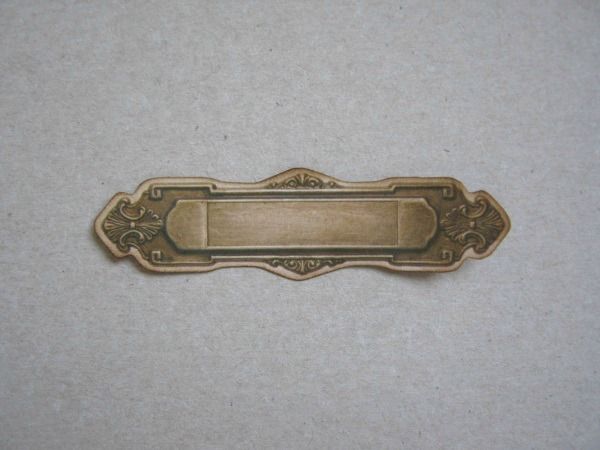
I choose this gorgeous sticker for the top of my card. I inked the edges
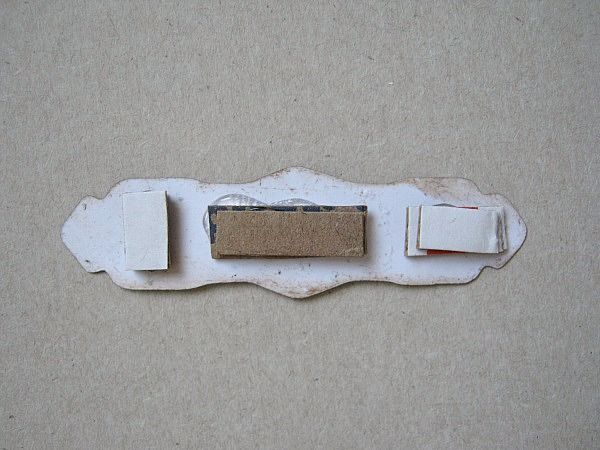
and pop dotted the back. Or in my case... I used the box my kit came in and added 2 layers.
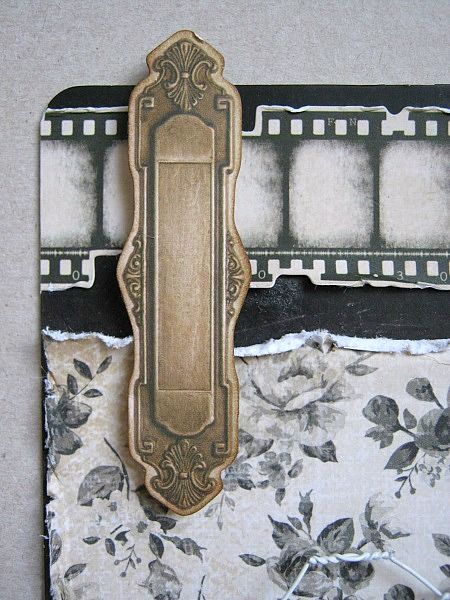
Then glued it in place at the left top of my card.
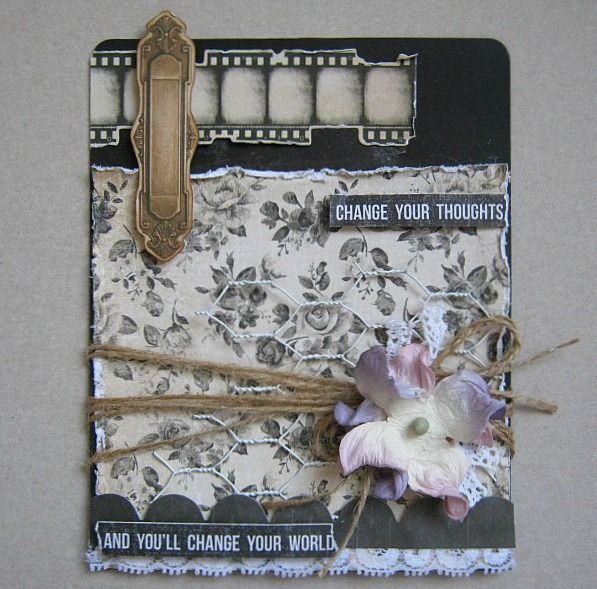
I also pop dotted (1 layer of cardboard) the sentiment strips and glued them in place. Flower also.
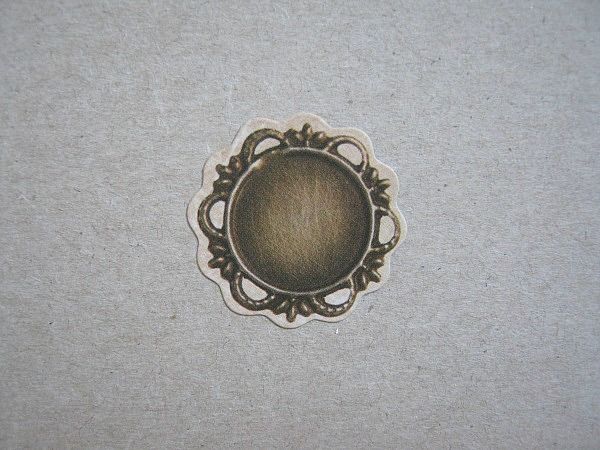
This sticker is going to be dressed up a little.
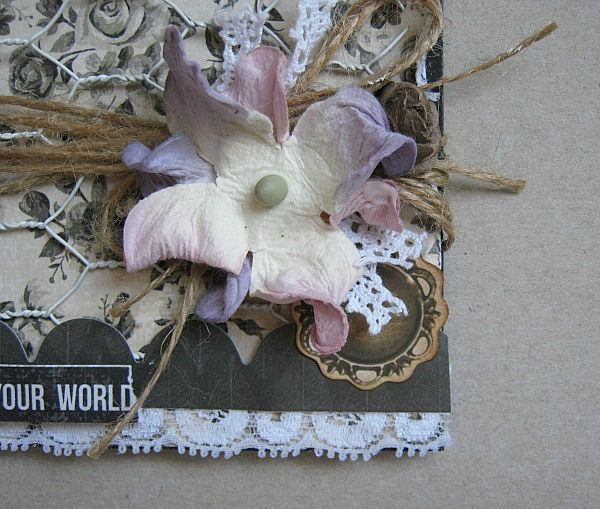
I first inked the edges and glued it in place. I also cut tiny bits of lace that are tucked in under and around the flower.
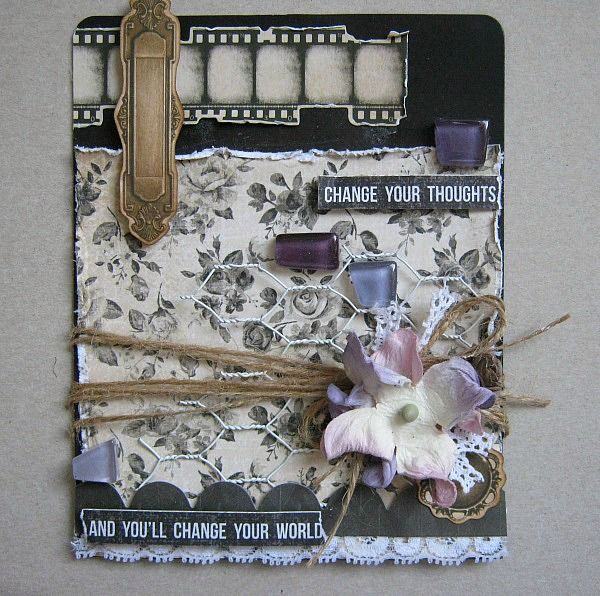
Then I randomly placed some of those fantastic glass tiles, using hot glue.
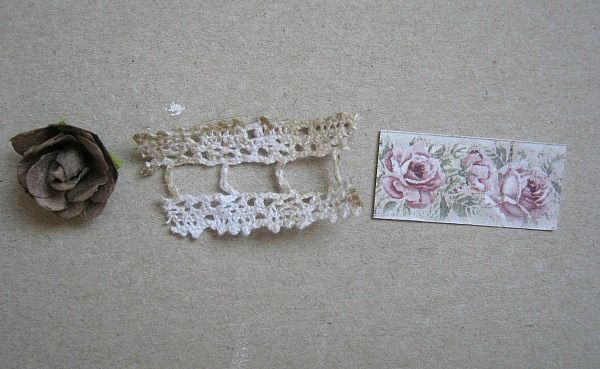
I still found that the left top needed something more. It was too dull, so I choose these 3 elements
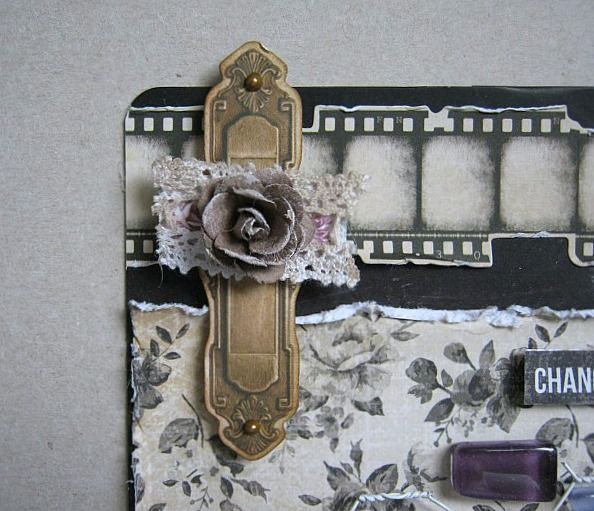
and glued them down on the sticker. First the paper strip, then lace and the rose on top. I also got that bottle of (gorgeous color) liquid pearls and placed some dots at the top and bottom of the sticker.
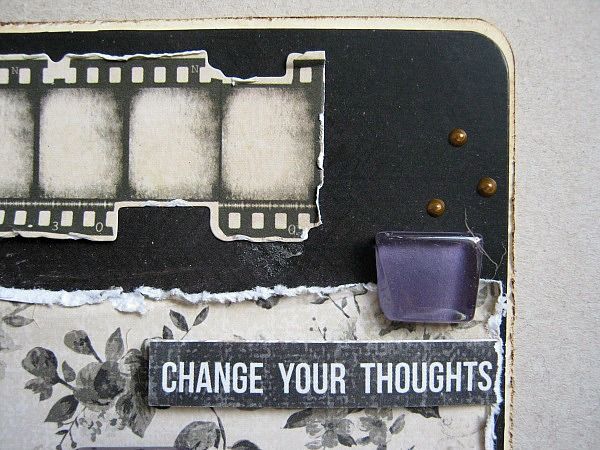
and there
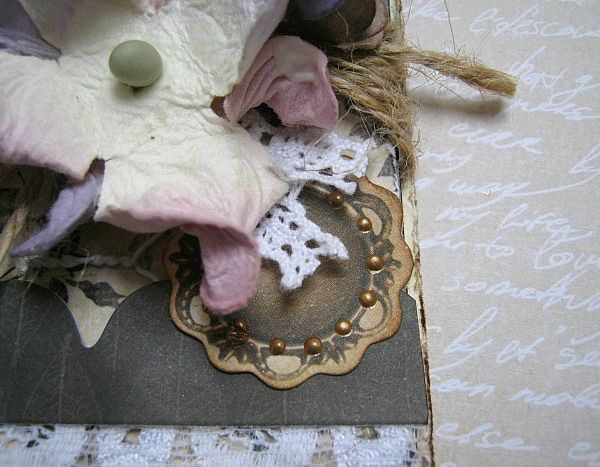
and here
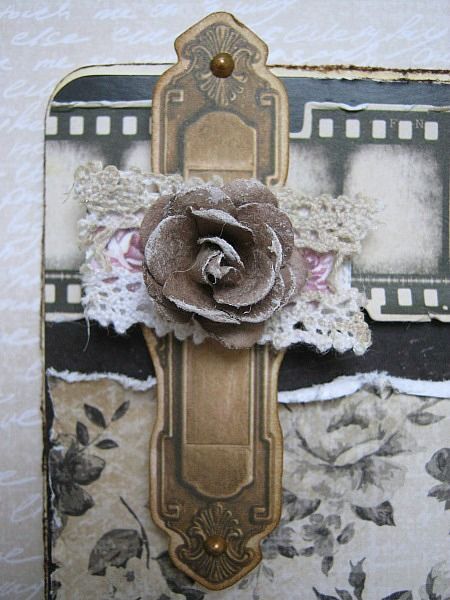
And for the last detail, I lightly added some Gesso to my flowers.
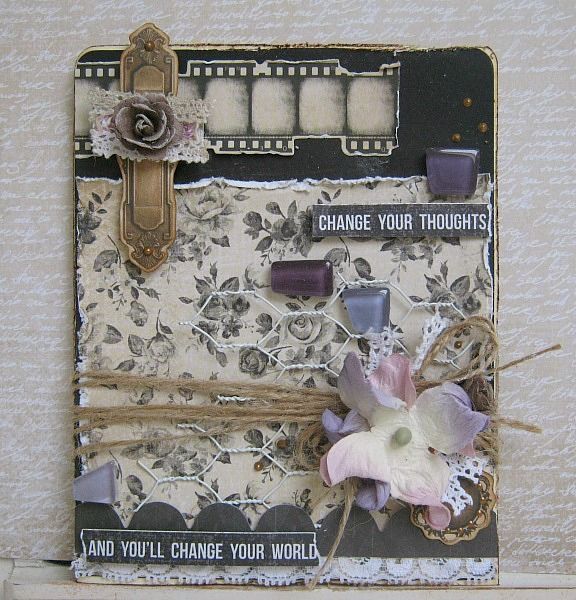
Simple and quick.... Hope you like it and give it a try.

and as promised, I've done a step by step tutorial on it. So here we go:

For the back ground of my card I took a Prima packaging, (on the right there's the whole piece)and I cut it down to 5x6.2 At the top I added a piece of the filmstrip sticker.

I cut a piece of PP at 5.2x5 Distressed the edges.

And glued it to my back ground. I also scratched the edges of the filmstrip sticker with my nails.

I then cut a piece of chickenwire

and glued it down with a drop of hot glue and a green piece of the little roses that came in the kit.

I (hot) glued a strip of lace at the bottom. (This lace came from my stash)

And I cut down the scalloped strip, (you can find this on the sticker sheet also) and glued it in place

Then I wrapped, generously, some twine around and tied a bow. Time to work on my embellies.

These word strips are going to be my sentiment.

I stacked 2 of the flowers, that came in the kit, together

I choose this gorgeous sticker for the top of my card. I inked the edges

and pop dotted the back. Or in my case... I used the box my kit came in and added 2 layers.

Then glued it in place at the left top of my card.

I also pop dotted (1 layer of cardboard) the sentiment strips and glued them in place. Flower also.

This sticker is going to be dressed up a little.

I first inked the edges and glued it in place. I also cut tiny bits of lace that are tucked in under and around the flower.

Then I randomly placed some of those fantastic glass tiles, using hot glue.

I still found that the left top needed something more. It was too dull, so I choose these 3 elements

and glued them down on the sticker. First the paper strip, then lace and the rose on top. I also got that bottle of (gorgeous color) liquid pearls and placed some dots at the top and bottom of the sticker.

and there

and here

And for the last detail, I lightly added some Gesso to my flowers.

Simple and quick.... Hope you like it and give it a try.
Subscribe to:
Post Comments (Atom)
Swirlydoos Site Links
Pin Us!!
Popular Posts
-
Welcome to Swirlydoos December Kit Reveal Blog Hop BLOCK PARTY!!! We are having a party and you are all invited. We have some amazing projec...
-
Welcome to Swirlydoos' Mystical Winter kit reveal Blog Hop Block Party!! Happy New Year and Welcome!!! This month's kit,...
-
Boy, oh boy do we have a stellar hop for you this month!! Just when I think that Krissy couldn't possibly created a prettier ki...
-
Introducing Vintage Fae Check out our home page for details on the kit and the Add On kits! Welcome to Swirlydoos July Kit Reveal Blog ...
-
Welcome!!! Today is a beautiful day to reveal our April kit, Whispers of Spring. Take a look at how pretty this kit is! I have to tel...
-
Welcome to Swirlydoos' June Kit Reveal Blog Hop Block Party!! We are so pleased to show off our June kit, Antiquities!!! This kit...
-
Welcome back! We have a really fun blog hop all set for you today. Our May kit, So Chic , is well.....just that...so chic! This kit is ...
-
Welcome to: Swirlydoos Kit Club November Kit Reveal & Bloghop! Swirlydoos is proud to bring you our November collection: ...
-
Swirlydoos is PROUD to present our April collection Hello Beautiful! Be sure to check out a video "tour" of the main...
-
Welcome to Swirlydoos' February Blog Hop Block Party!! Welcome to Swirlydoos February Kit Reveal Blog Hop BLOCK PARTY!!! ...
Blog Archive
- 2017 (134)
- 2016 (173)
- 2015 (169)
-
2014
(230)
- December(20)
- November(17)
- October(21)
- September(23)
- August(20)
- July(19)
- June(19)
- May(11)
- April(19)
- March(20)
-
February(23)
- More Lady Belle Projects with Georgia
- Layout of the Month: February 2014
- Lady Belle projects with Angelica
- New Design Team Member!
- Layout of the Week 2/23/14
- Lady Belle Wishing Well Tutorial
- February Lady Belle Kit Creations by Amy
- February Blog Hop Winner Update!
- Another Lady Belle Project with Elena
- Shabby Chalet Sketch Challenge Winner!
- More February Challenge Highlights
- Layout of the Week 2/16/14
- Card tutorial using the February *Lady Belle* kit
- Layout of the Week 2/09/14
- Lady Belle Mediums Add On Tutorial
- February Blog Hop Winners!!!!!
- February Kit Reveal and Blog Hop!
- BLOG HOP FEB. 5th 10:30am (mountain time)
- January Layout of the Month
- February Challenge Highlights
- Layout of the Week 2/2/2014: Jan
- Featured Member * Hanne Sinkerud*
- Shabby Chic Mini Shadow Box Tutorial
- January(18)
- 2013 (207)
- 2012 (252)
- 2011 (181)
- 2010 (118)
- 2009 (38)


4 comments:
So delightful - the twine and chicken wire are fabulous!
Alison x
You make it look so easy! This is gorgeous!
I was hoping that you'd show us HOW you made this stunning card!!!!
Fantastic tutorial, Paulien, thanks!!!!!
It's gorgeous!!!! Thanks for tutorial!!!!