Saturday, April 11, 2015
Happy Saturday Everyone!!
I've got something different than a card this time, and I hope you like it.
I've got something different than a card this time, and I hope you like it.

The base of this wall hanging is a heart shaped mdf, but you could also make this on a card base, or even on a layout.
Here's my How To:

Like I said, my base was a mdf heart, which I painted with Prima Blackboard paint (which came in an previous Medium AddOn.

From the March, Main Kit, I used the metal bead chain, and wanted to repeat the heart shape with it.

With a pencil I drew a rough sketchy line, to know where to add glue.

to give the chain a little more stability I re-wired it on metal-wire. I found that the quickest way to do that, was to leave the Original thread in it and just poke through the holes of the beads.

I didn't comit to tie the knots at the end just yet, I gave it some room, because I'd like to be able to shape it.

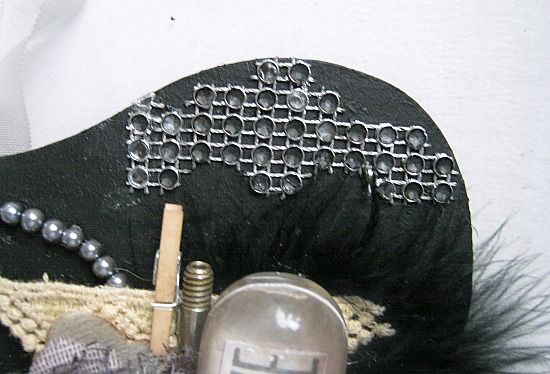
First I add Beacon Gem-Tac to one half, let it sit for 2 minutes.

In the meantime I cut randomly a piece of the bling-sheet we got and spritzed it with the darkest color spray from the medium AddOn. You can also fill the little circles with liquid Pearls or stickles, whatever you like.

Back to the bead-chain. I pressed the beads into the glue, holding it down for a minute and then place something heave on it, and gave it 5 minutes to dry. I repeated this step for the other half as well. I also glued the randomly cut bling to the side of the heart.

These flowers are going to be stack. I inked the edges of the lightest flower

I used Fabri-Tac to glue the flowers together.
(I believe Krissy has these adhesives in the store)
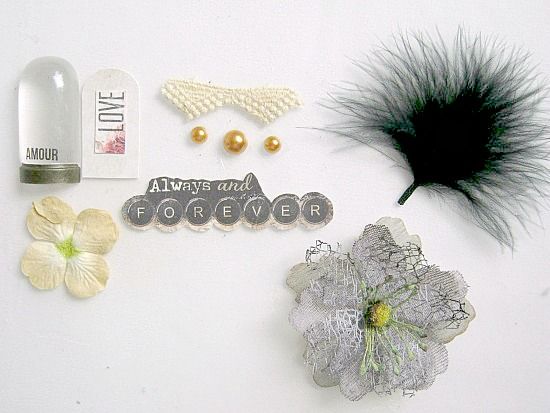
These are the main embellies I'm going to use on my heart shaped base.
I move them around, till I like the way it looks. This process can sometimes take me a lot of time.
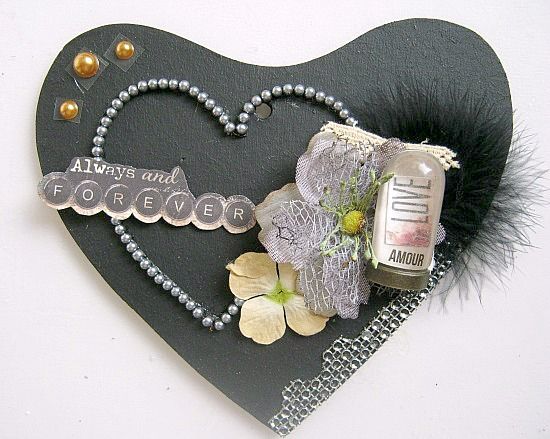
I pretty much stayed to my layout and glued everything down. I still think that there is missing something
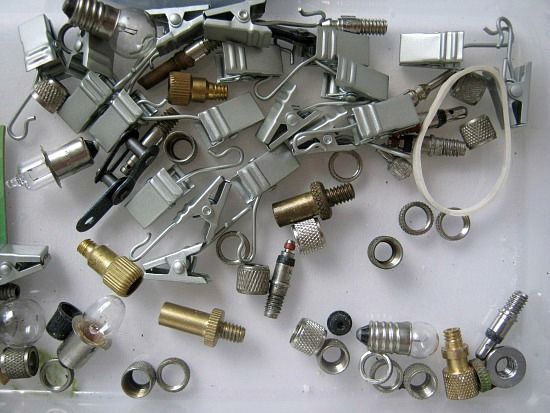
So I got my box of bits of metal pieces
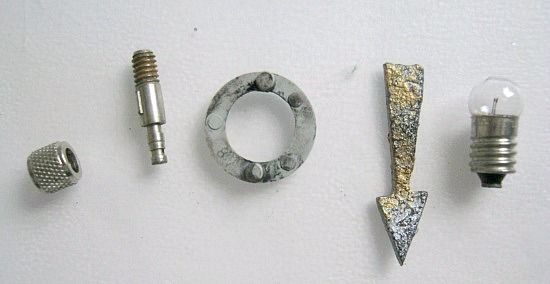
And finally selected these ones. The Arrow is cut from grungeboard and got treated with Silver and Gold Paint Dabbers, and after heatset it, I ran Archival inkpad (Jet Black) over it.
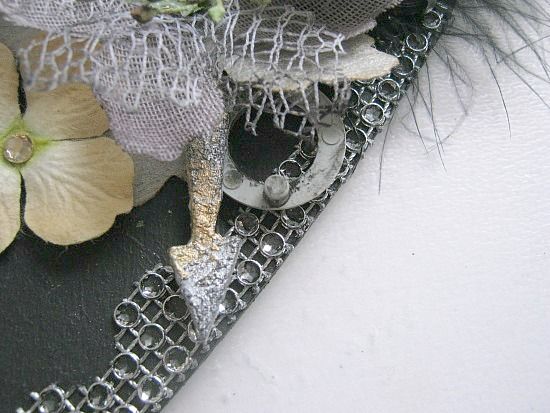
I glued the Arrow and circle right under the Petaloo flower
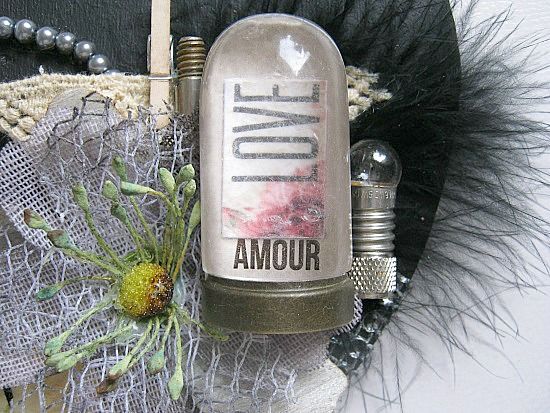
And the other parts around the Prima Antique Cloch.
At the right top, I added another bliece of bling-sheet, and I added a piece of seambinding ribbon, to hang it up.
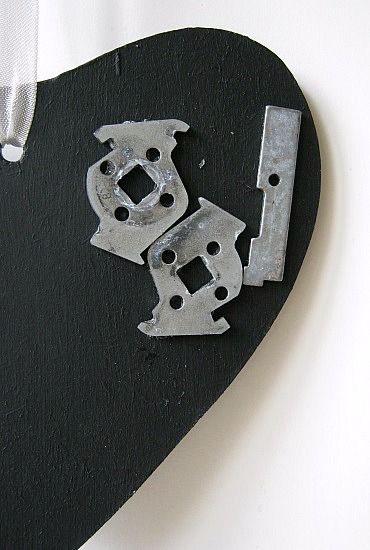
Because all of the adding stuff on the front, I needed to balance it. To do that I glued, flat, metal pieces to the backside. I keep adding till it was balanced out.
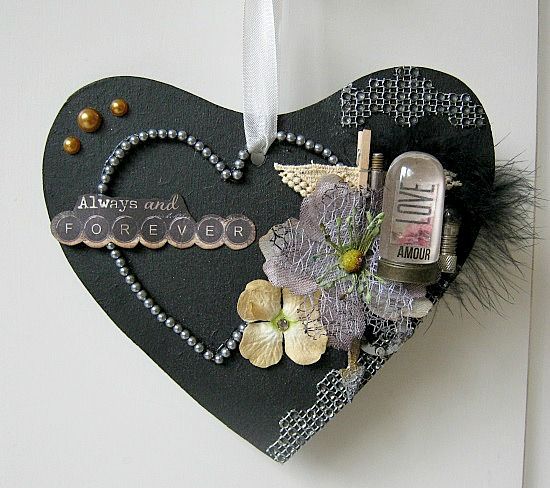
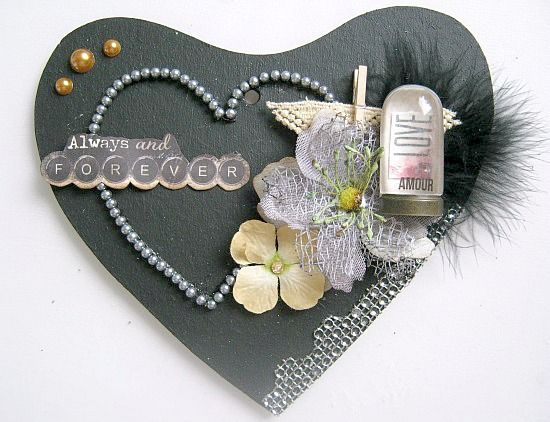
And I called it done. I hope you like it.

These are the main embellies I'm going to use on my heart shaped base.

I move them around, till I like the way it looks. This process can sometimes take me a lot of time.

I pretty much stayed to my layout and glued everything down. I still think that there is missing something

So I got my box of bits of metal pieces

And finally selected these ones. The Arrow is cut from grungeboard and got treated with Silver and Gold Paint Dabbers, and after heatset it, I ran Archival inkpad (Jet Black) over it.

I glued the Arrow and circle right under the Petaloo flower

And the other parts around the Prima Antique Cloch.

At the right top, I added another bliece of bling-sheet, and I added a piece of seambinding ribbon, to hang it up.

Because all of the adding stuff on the front, I needed to balance it. To do that I glued, flat, metal pieces to the backside. I keep adding till it was balanced out.

And I called it done. I hope you like it.
Have a lovely weekend!
Subscribe to:
Post Comments (Atom)

Be sure to "LIKE & FOLLOW" Swirlydoos for special FB only deals and promos
Follow this blog with bloglovin

Scrapbook Sketches

see all of our sketches here
Keep Tabs On Our Blog!


Popular Posts
-
 Welcome to: Swirlydoos Kit Club February Scrapbook Kit Reveal & Blog Hop! Swirlydoos is proud to bring you our beautiful Febr...
 -
 Thank you for joining us today for our ONE DAY blog hop featuring our September kit collection, Gilted Pleasure . **All collec...
 -
 Welcome to Swirlydoos November Kit Reveal Blog Hop BLOCK PARTY!!! That's right, we are having a party and you are all invit...
 -
 Welcome to Swirlydoos' June Kit Reveal Blog Hop Block Party!! We are so pleased to show off our June kit, Antiquities!!! This kit...
 -
 Welcome to Swirlydoos' March Kit Reveal Blog Hop Block Party!! We have some amazing projects for you to see today and as a bonus...
 -
 Welcome to Swirlydoos' Mystical Winter kit reveal Blog Hop Block Party!! Happy New Year and Welcome!!! This month's kit,...
 -
 Welcome to: Swirlydoos Kit Club March Scrapbook Kit Reveal & Blog Hop! Swirlydoos is proud to bring you our beautiful March co...
 -
 SCROLL DOWN FOR THE 12 DAYS OF CHRISTMAS CONTEST: DAY FIVE! Welcome to: Swirlydoos Kit Club December Scrapbook Kit Reveal & Blo...
 -
 Welcome back! We have a really fun blog hop all set for you today. Our May kit, So Chic , is well.....just that...so chic! This kit is ...

0 comments: