Saturday, July 12, 2014
Happy Saturday everyone!
Today I want to share a card I made with this month's GORGEOUS kit
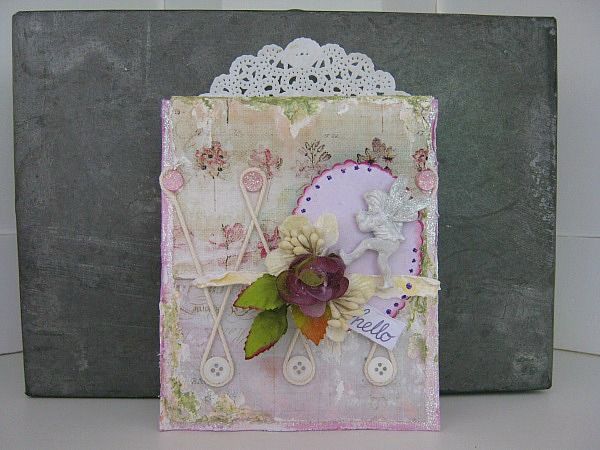
and of course I have photographed each step, for you to see, how it came together.
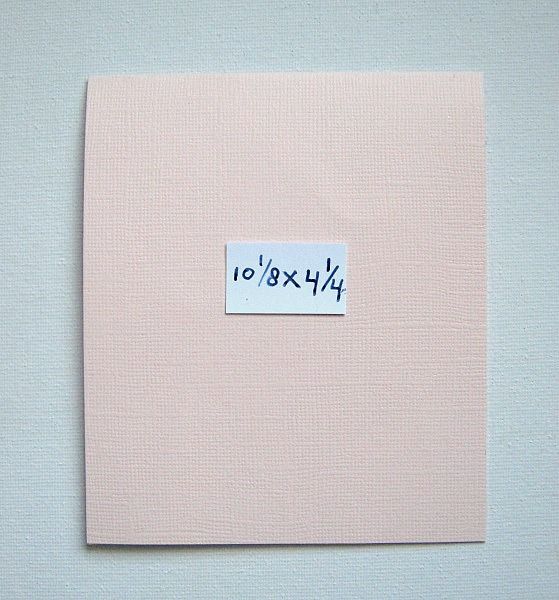
For the base of my card, I cut a piece of cardstock at 10.1/8 x 4.1/4 and folded it double lenght wise. So the fold is at the top.
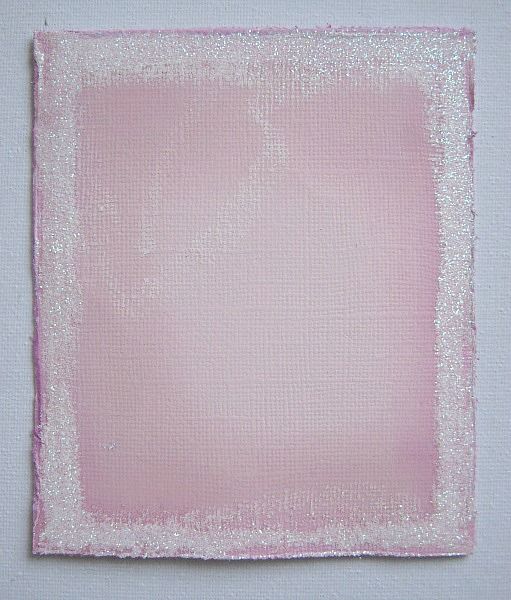
I spritzed my edges with a lilac mist. (which I made using the Izink's that came in the last 2 Medium AddOns) Then I brushed on some white acrylic paint and while the paint was still wet I sprinkled diamond glitter over it. let it dry for about 10 minutes and then fixed the glitter using hairspray.
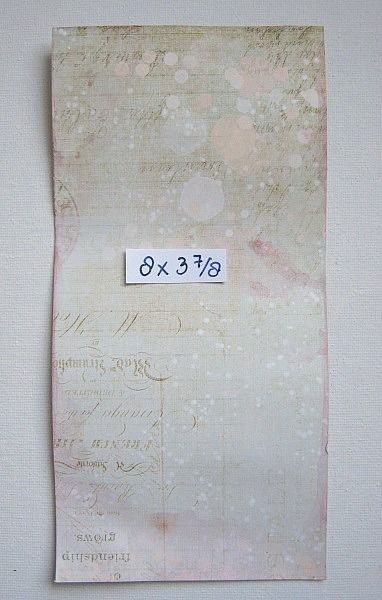
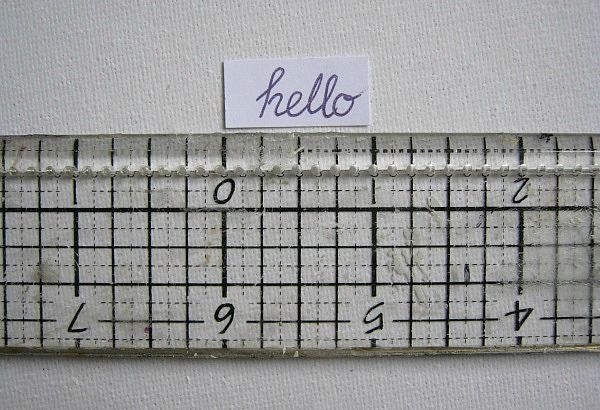
I cut a piece of pattern paper at 8 x 3.7/8

I marked it at 4.5/8 (where the line is) from the bottom and then glued that part to my base card. Like in the picture.
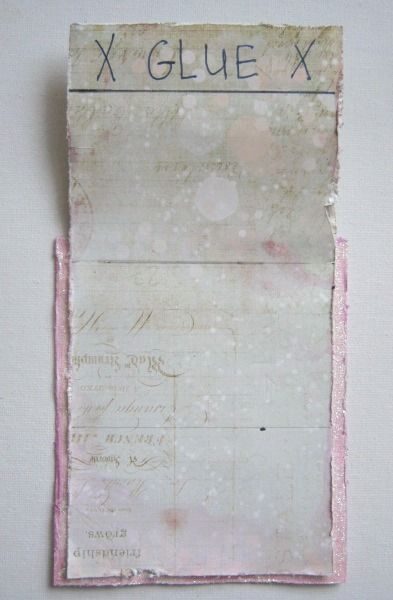
Then I measured about 1 inch from the top, scored it, and added glue to that part.
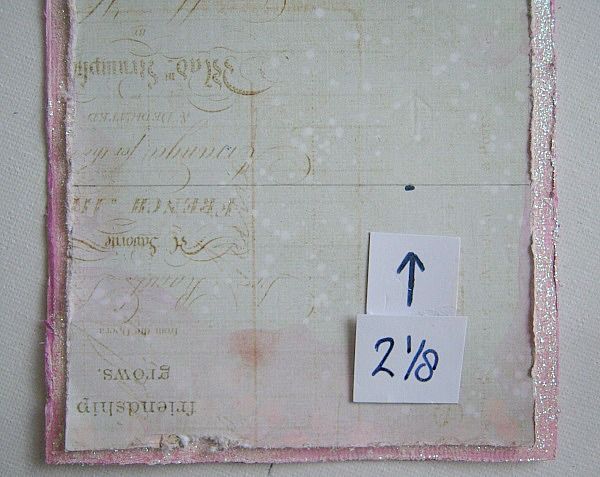
I made a pencil line at 2.1/8 from the bottom

And glued the top part to that line. (and YES, I know the script on the paper is upside down)
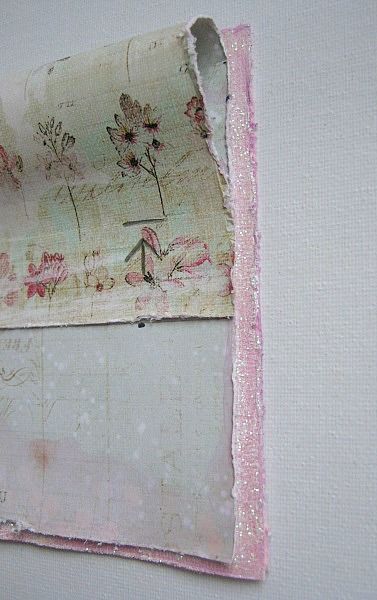
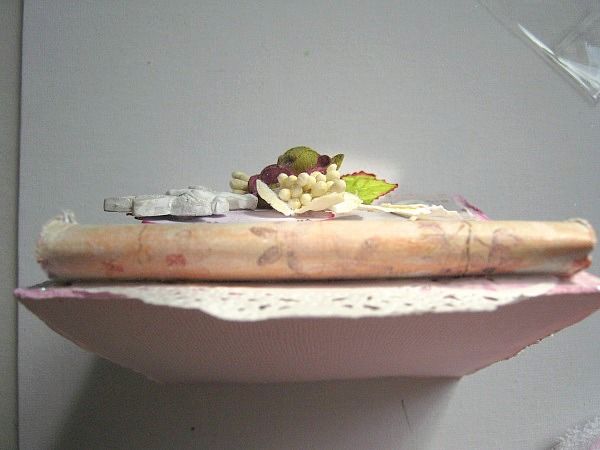
It looked like this from the side vieuw.
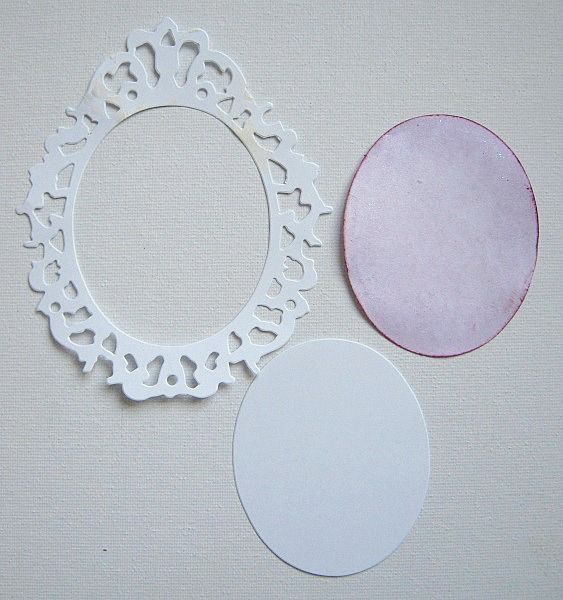
I had die cutted this frame earlier, but I only wanted to use the oval shape from the center. As you can see, I misted it in a lilac shade and added ink around the edge to the one I want to use.
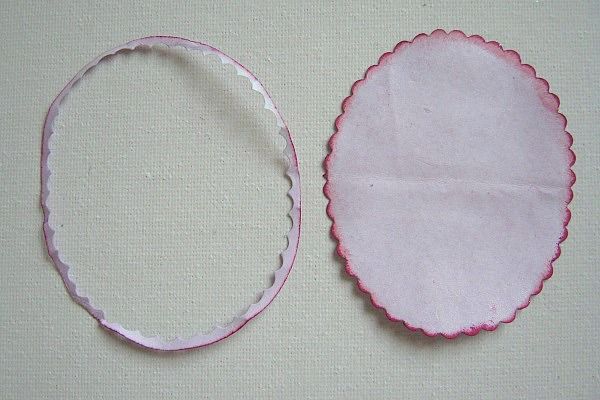
I hold the oval die cut to my base card and thougth it was a little too big. So I folded it double and cut around, using a deco-scissor. (Later on, I decieded that I needed to do that again.) I inked the edges with 2 different shades of lilac. I used colorbox chalk cat's eyes.

I took 1 of the fairies that came in the Main Kit. Gave it a light coat of white acrylic paint, and whilst the paint was still wet, I sprinkled diamond glitter over the wings. Set it aside for later use.
Then, I wanted to use an idea I had earlier: .....>> grab some buttons <<.....
and... ah well let me show you
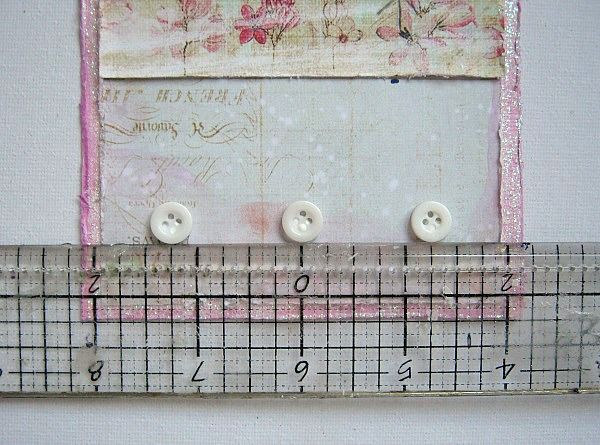
I glued 3 little buttons at the bottom of my card. I used Beacon Gem-Tac for it, as it dries clear.
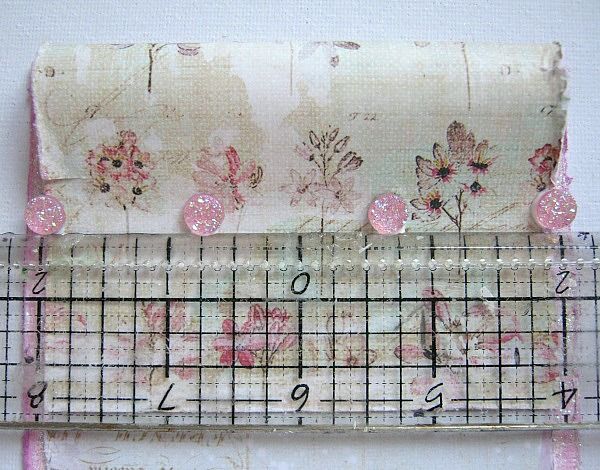
Then I glued 4 sparkles like this. (I later realized that these sparkles came from last month's kit)
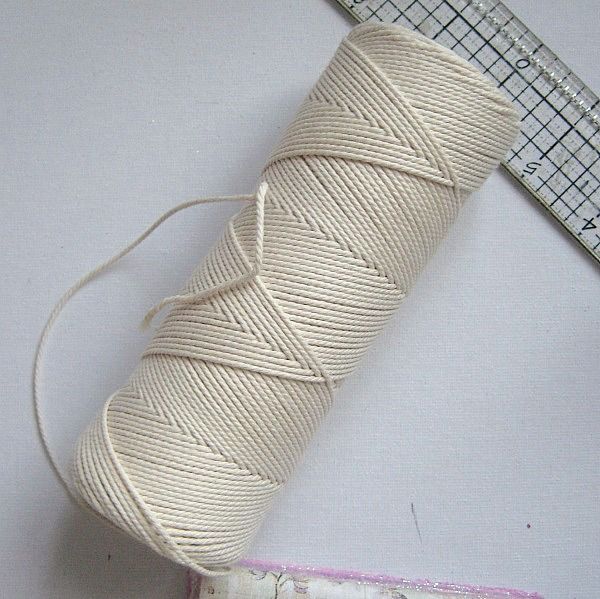
I grabbed my roll of cotton thread..
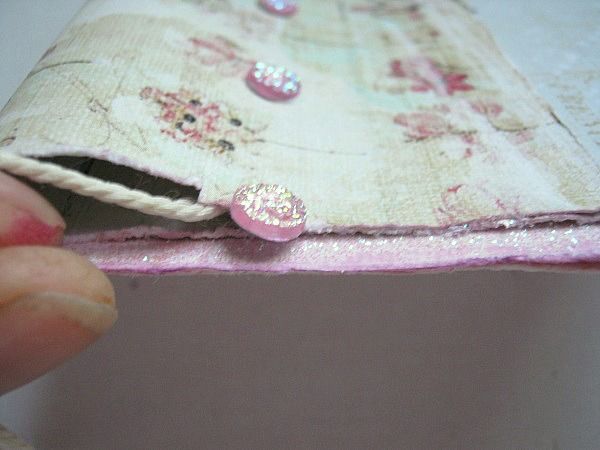
Glued one end in between, like the picture shows.
Added some glue around the sparkle and guided my thread like so
Then I added glue around the button and pushed the thread into the glue like this (Gem-Tac dries clear)
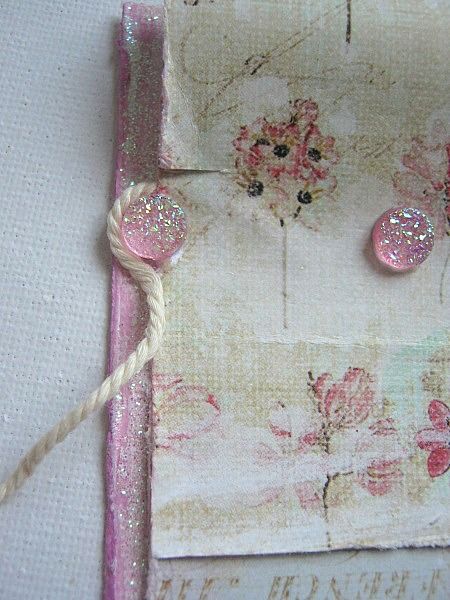
Then I moved my thread up like this, and added glue around the second sparkle.
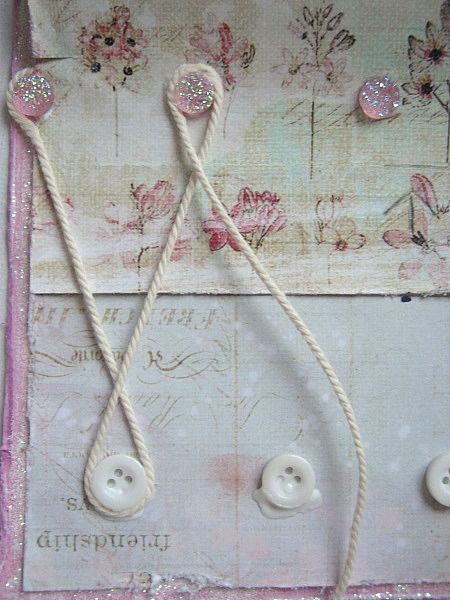
I pushed the thread into the glue and guided my thread towards the second button and repeated the previous steps.
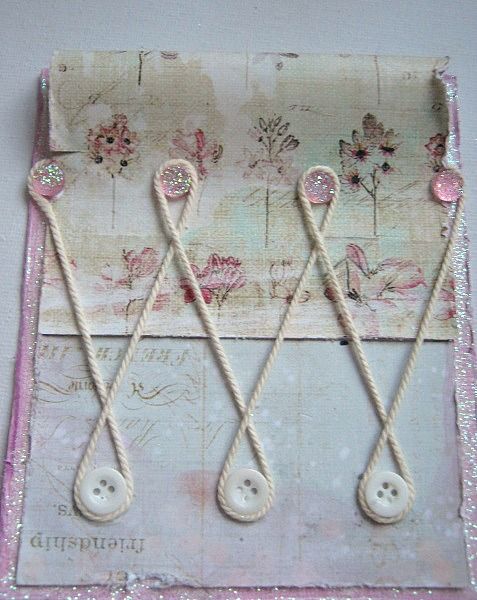
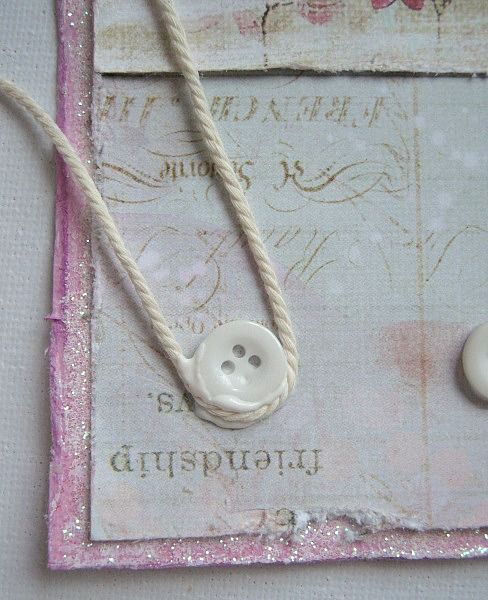
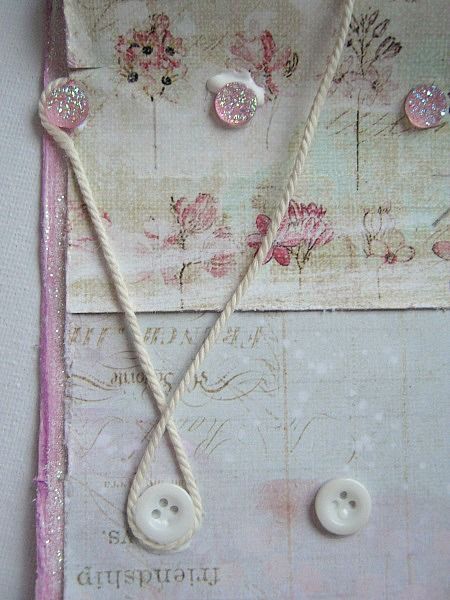
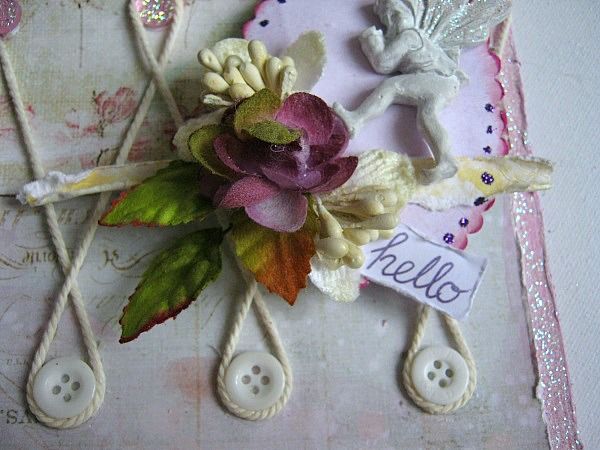
Till I created this pattern. I glued the end of my thread like I did the one, at the begin, on the left side.
I love how this pattern looks on the card. It really adds dimension.

Because I want the oval die cut to stand out from the card, I took a bottle cap and filled it up with foamtape.
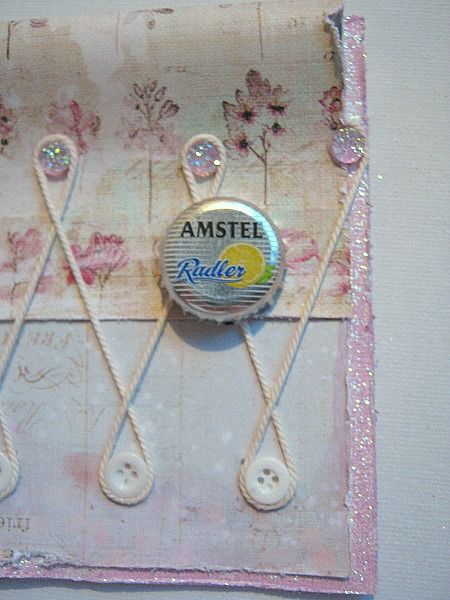
Then I hot glued it to my card. This is going to be the base for the oval shaped die cut. I could have used foamtape alone, but I thought it was taking too much time to go in between the lines of the thread.

Then I took a piece of scrap, which was perfect to go on top of the die cut and be the base for my flowers.
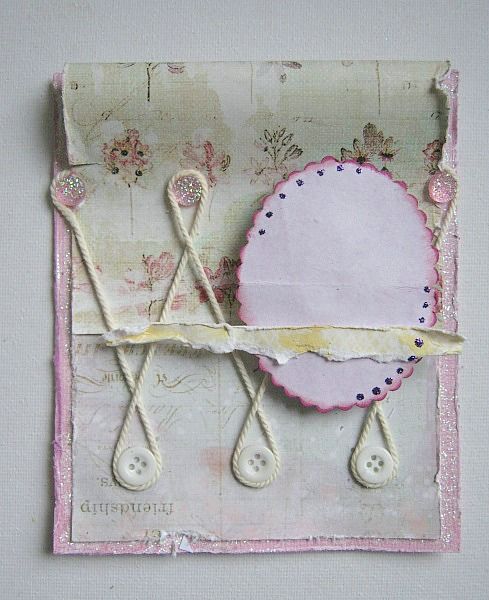
I glued it like this, and I also added a few tiny dots to the die cut, using Stickles in purple.
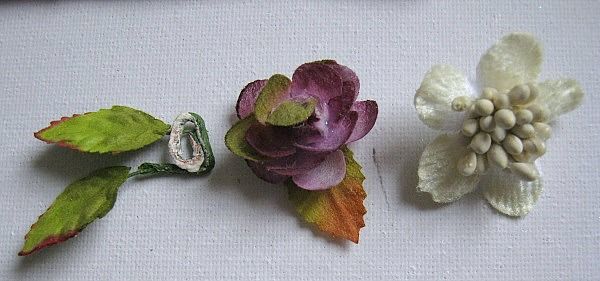
I selected the flowers I wanted to use
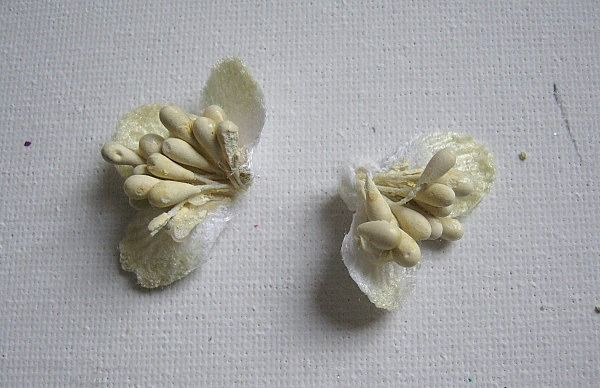
And I gently teared, the white-creamy one, in half. (Krissy has these in the Boutique - Petaloo Botanica Collection mini's)
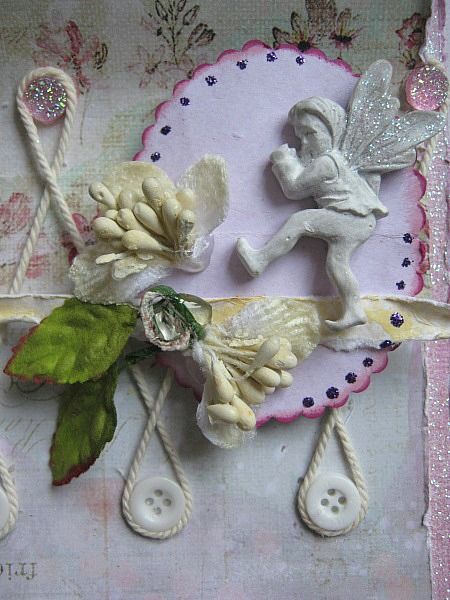
I added the resin fairy, the leaves and the 2, half flowers like this.
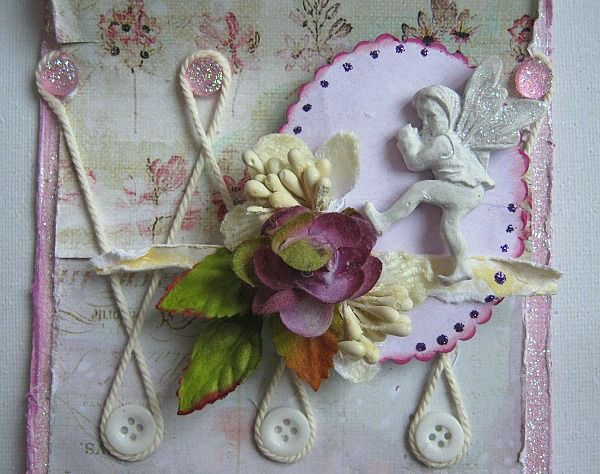
And then the little Petaloo rose that came in the Main Kit.
I wrote my sentiment on a piece of paper
scratched the edges with my nails and glued it in place.

Then I cut a piece of a doily, that came in the Main Kit

And glued it at the top, in between the card base and the PP
Using the Shimmerz Dazzlerz in Dreamcycle, from the Mediums AddOn... I watered it down a bit and, almost dry brushed it to the top. If you didn't get the Mediums AddOn, you can use a deep peachy color water paint for this too. (Don't make it too wet!)
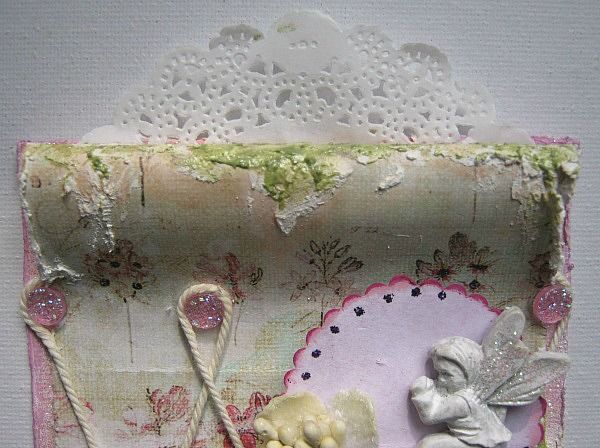
After the Dazzlerz dried, I added some structure paste with a palet knife and let it dry. (this dries fast) Then using the Shimmerz Texturez in Artie-Choked, also from the Mediums AddOn, I dabbed some on top of the structure paste using my finger. If you didn't get the Mediums AddOn, you can use any paint of your liking. The texture is already there because of the structure paste.
***If you don't have structure paste: You can take Gesso and add sand to it, give it a good stir and it is ready to go.***

I also added, some of the above, to the bottom and sides of my card.
And I called it done!
I hope you like it, and picked up a few tips.
Today I want to share a card I made with this month's GORGEOUS kit

and of course I have photographed each step, for you to see, how it came together.

For the base of my card, I cut a piece of cardstock at 10.1/8 x 4.1/4 and folded it double lenght wise. So the fold is at the top.

I spritzed my edges with a lilac mist. (which I made using the Izink's that came in the last 2 Medium AddOns) Then I brushed on some white acrylic paint and while the paint was still wet I sprinkled diamond glitter over it. let it dry for about 10 minutes and then fixed the glitter using hairspray.

I cut a piece of pattern paper at 8 x 3.7/8

I marked it at 4.5/8 (where the line is) from the bottom and then glued that part to my base card. Like in the picture.

Then I measured about 1 inch from the top, scored it, and added glue to that part.

I made a pencil line at 2.1/8 from the bottom

And glued the top part to that line. (and YES, I know the script on the paper is upside down)

It looked like this from the side vieuw.

I had die cutted this frame earlier, but I only wanted to use the oval shape from the center. As you can see, I misted it in a lilac shade and added ink around the edge to the one I want to use.

I hold the oval die cut to my base card and thougth it was a little too big. So I folded it double and cut around, using a deco-scissor. (Later on, I decieded that I needed to do that again.) I inked the edges with 2 different shades of lilac. I used colorbox chalk cat's eyes.

I took 1 of the fairies that came in the Main Kit. Gave it a light coat of white acrylic paint, and whilst the paint was still wet, I sprinkled diamond glitter over the wings. Set it aside for later use.
Then, I wanted to use an idea I had earlier: .....>> grab some buttons <<.....
and... ah well let me show you

I glued 3 little buttons at the bottom of my card. I used Beacon Gem-Tac for it, as it dries clear.

Then I glued 4 sparkles like this. (I later realized that these sparkles came from last month's kit)

I grabbed my roll of cotton thread..

Glued one end in between, like the picture shows.

Added some glue around the sparkle and guided my thread like so

Then I added glue around the button and pushed the thread into the glue like this (Gem-Tac dries clear)

Then I moved my thread up like this, and added glue around the second sparkle.

I pushed the thread into the glue and guided my thread towards the second button and repeated the previous steps.

Till I created this pattern. I glued the end of my thread like I did the one, at the begin, on the left side.
I love how this pattern looks on the card. It really adds dimension.

Because I want the oval die cut to stand out from the card, I took a bottle cap and filled it up with foamtape.

Then I hot glued it to my card. This is going to be the base for the oval shaped die cut. I could have used foamtape alone, but I thought it was taking too much time to go in between the lines of the thread.

Then I took a piece of scrap, which was perfect to go on top of the die cut and be the base for my flowers.

I glued it like this, and I also added a few tiny dots to the die cut, using Stickles in purple.

I selected the flowers I wanted to use

And I gently teared, the white-creamy one, in half. (Krissy has these in the Boutique - Petaloo Botanica Collection mini's)

I added the resin fairy, the leaves and the 2, half flowers like this.

And then the little Petaloo rose that came in the Main Kit.

I wrote my sentiment on a piece of paper

scratched the edges with my nails and glued it in place.

Then I cut a piece of a doily, that came in the Main Kit

And glued it at the top, in between the card base and the PP

Using the Shimmerz Dazzlerz in Dreamcycle, from the Mediums AddOn... I watered it down a bit and, almost dry brushed it to the top. If you didn't get the Mediums AddOn, you can use a deep peachy color water paint for this too. (Don't make it too wet!)

After the Dazzlerz dried, I added some structure paste with a palet knife and let it dry. (this dries fast) Then using the Shimmerz Texturez in Artie-Choked, also from the Mediums AddOn, I dabbed some on top of the structure paste using my finger. If you didn't get the Mediums AddOn, you can use any paint of your liking. The texture is already there because of the structure paste.
***If you don't have structure paste: You can take Gesso and add sand to it, give it a good stir and it is ready to go.***

I also added, some of the above, to the bottom and sides of my card.
And I called it done!
I hope you like it, and picked up a few tips.
Subscribe to:
Post Comments (Atom)

Be sure to "LIKE & FOLLOW" Swirlydoos for special FB only deals and promos
Follow this blog with bloglovin

Scrapbook Sketches

see all of our sketches here
Keep Tabs On Our Blog!


Popular Posts
-
 Welcome to Swirlydoos December Kit Reveal Blog Hop BLOCK PARTY!!! We are having a party and you are all invited. We have some amazing projec...
 -
 Welcome to Swirlydoos' Mystical Winter kit reveal Blog Hop Block Party!! Happy New Year and Welcome!!! This month's kit,...
 -
 Boy, oh boy do we have a stellar hop for you this month!! Just when I think that Krissy couldn't possibly created a prettier ki...
 -
 Introducing Vintage Fae Check out our home page for details on the kit and the Add On kits! Welcome to Swirlydoos July Kit Reveal Blog ...
 -
 Welcome!!! Today is a beautiful day to reveal our April kit, Whispers of Spring. Take a look at how pretty this kit is! I have to tel...
 -
 Welcome to Swirlydoos' June Kit Reveal Blog Hop Block Party!! We are so pleased to show off our June kit, Antiquities!!! This kit...
 -
 Welcome back! We have a really fun blog hop all set for you today. Our May kit, So Chic , is well.....just that...so chic! This kit is ...
 -
 Welcome to: Swirlydoos Kit Club November Kit Reveal & Bloghop! Swirlydoos is proud to bring you our November collection: ...
 -
 Swirlydoos is PROUD to present our April collection Hello Beautiful! Be sure to check out a video "tour" of the main...
 -
 Welcome to Swirlydoos' February Blog Hop Block Party!! Welcome to Swirlydoos February Kit Reveal Blog Hop BLOCK PARTY!!! ...
5 comments:
great pictorial and great ideas!!!! love the card!
Que lindo!
Muito obrigada pelo tutorial.
Abraços,
Fabiana Strehlow
I love the lacing with buttons and bling and the flower that you cut in half. Gorgeous card, great ideas, thanks so much, Paulien!!!
Beautiful mixed media card. Love all the details. Love the lacing. Thanks for sharing.
beautiful card, lovely ideas