Saturday, June 28, 2014
Hello everyone,
Today I have this card to share:
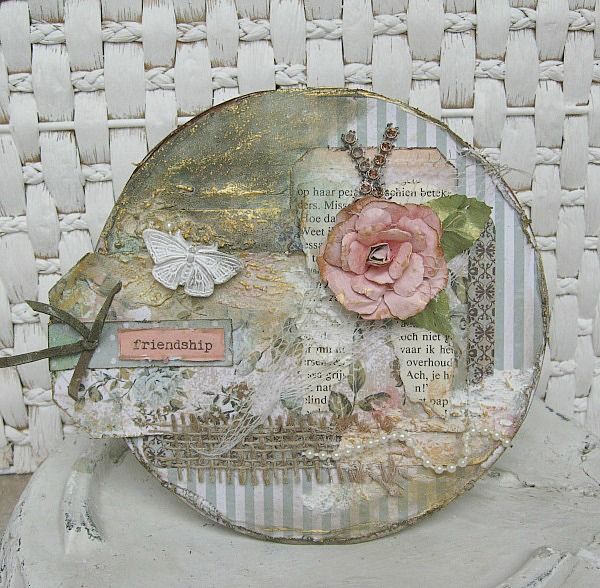
And well.... I can assure you that there were many times, during the creative process, that I thought: You should have left it alone!!!!! But.... we here at Swirlydoos.... we just can't stop adding right?

And well.... I can assure you that there were many times, during the creative process, that I thought: You should have left it alone!!!!! But.... we here at Swirlydoos.... we just can't stop adding right?
So that is exactly what I did, and I'm not too unhappy with it.
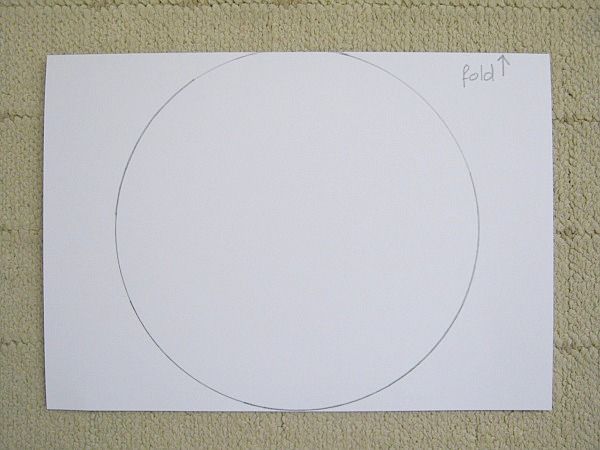
For the base of my card I folded an A4 piece of cardstock double and drew a circle, which at the top, is a little overlapping to create a double round card.
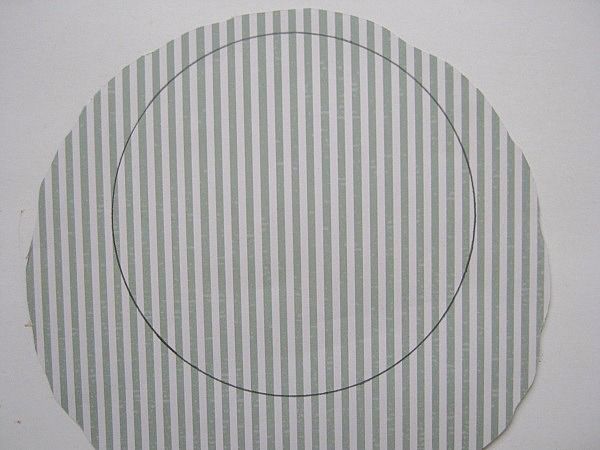
Then I drew another circle (same size as the base card) on PP and cut it out.

For the base of my card I folded an A4 piece of cardstock double and drew a circle, which at the top, is a little overlapping to create a double round card.

Then I drew another circle (same size as the base card) on PP and cut it out.

(Excuse me for the dirty background)
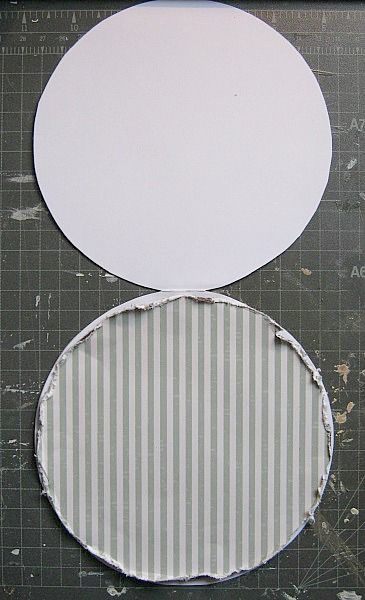
I distressed the edges and glued it onto my opened card base. I find that when you open up your card, you can align it better. Especially helpful with a stripe designed paper.
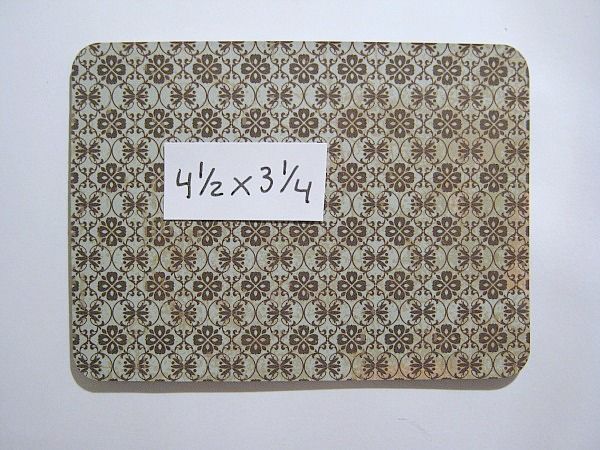
I cut a piece of PP at 4.1/2 x 3.1/4 for my first layer and rounded the corners.
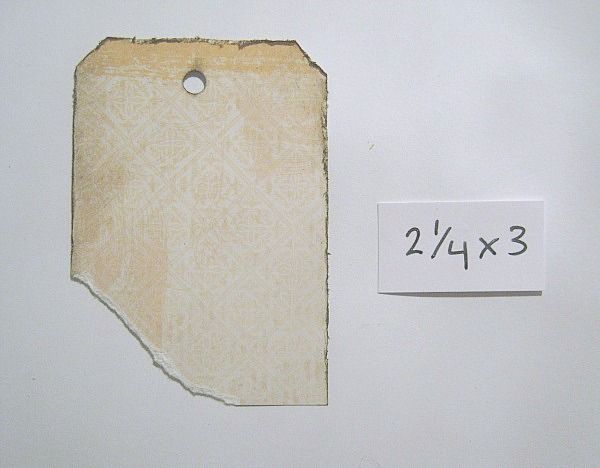
Then, and excuse me for this tag being teared, I cut a tag at 2.1/4 x 3
(that is what you get if you want to use your scrap)
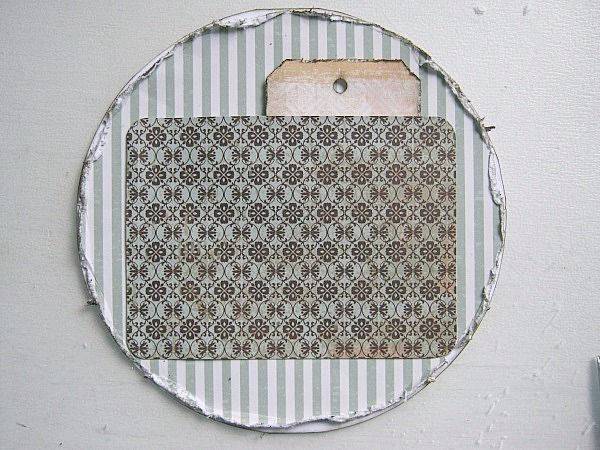
And I placed both pieces like in the picture.
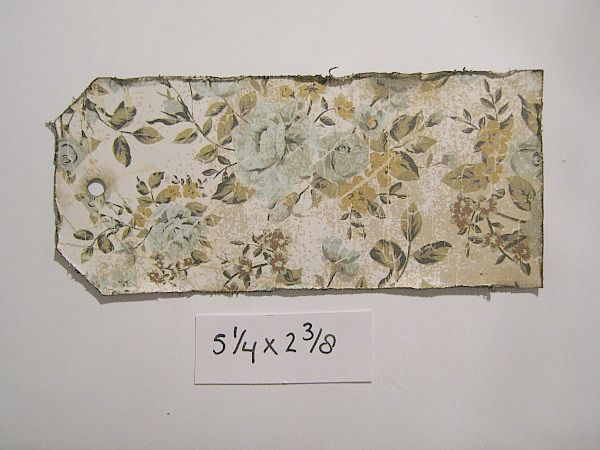
Then I cut another tag from that beautiful rose PP at 5.1/4 x 2.3/8. I distressed and inked the edges.
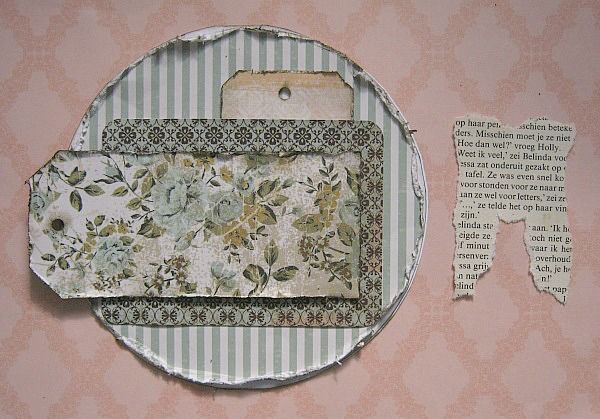
I glued it to the center piece but did raise it a litlle, by using a piece of the box, the kit came in. I also teared, it looks like a letter M to me, from an old book page.
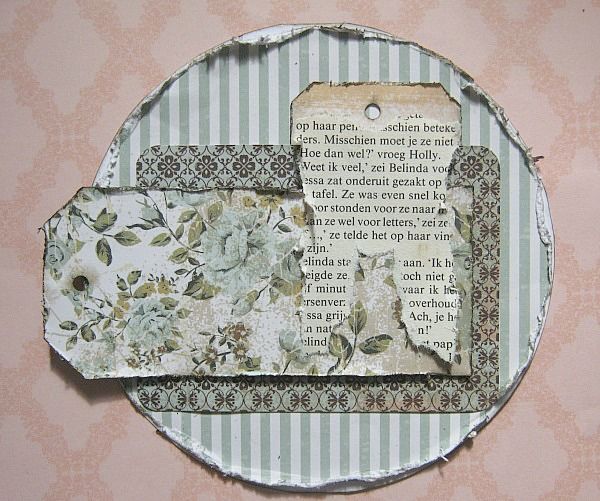
I glued it on top of the frist little tag.
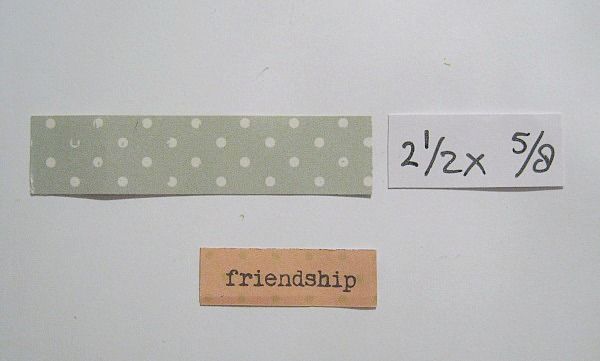
Then I cut a little strip at 2.1/2 x 5/8. This will be a mat for my (from the barcode strip) cut out sentiment *friendship*
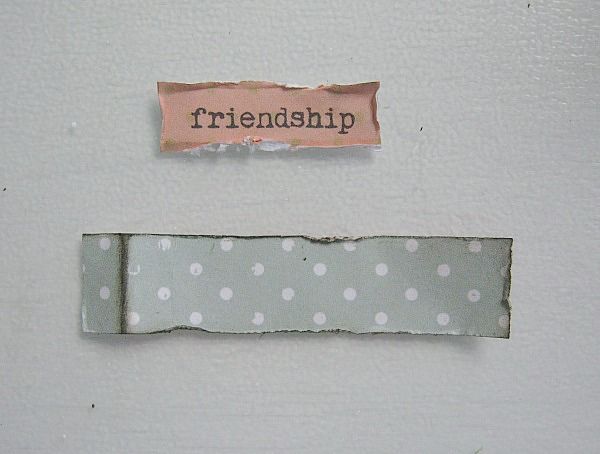
Both pieces got their edges distressed and inked
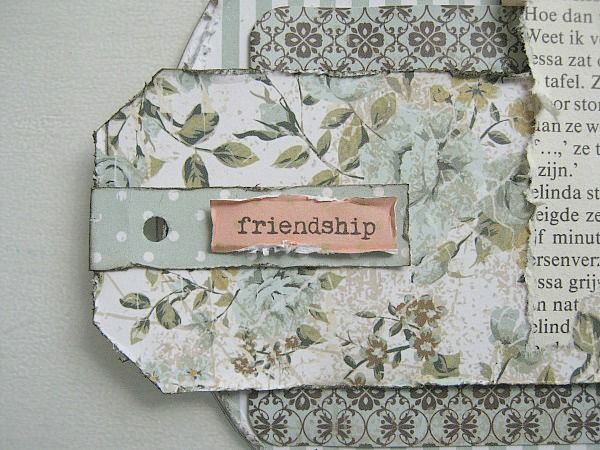
And I glued them to the rose tag like this.
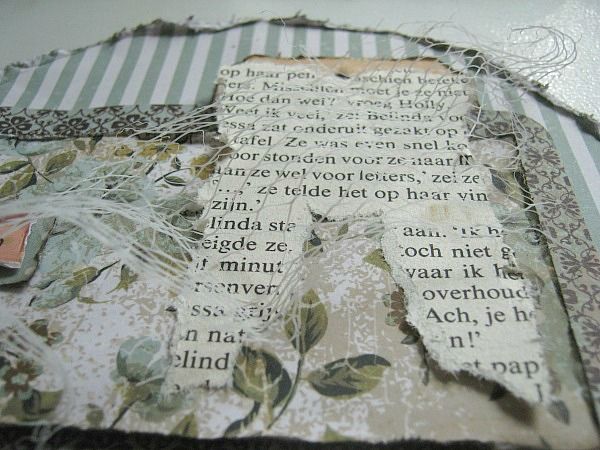
Then I took out a little mesh and placed it over my center. (I made this picture a little darker, for you to see the mesh better)
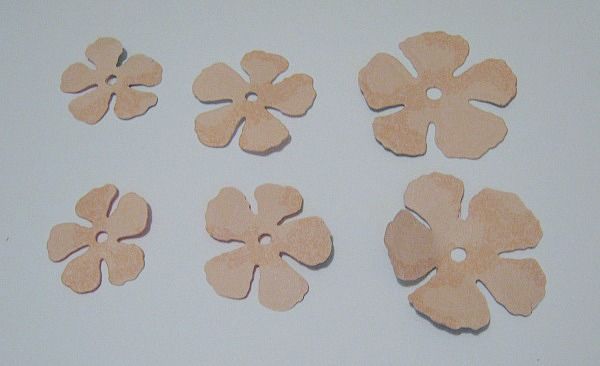
I die cutted some flowers (I used the Spellbinder rose die)
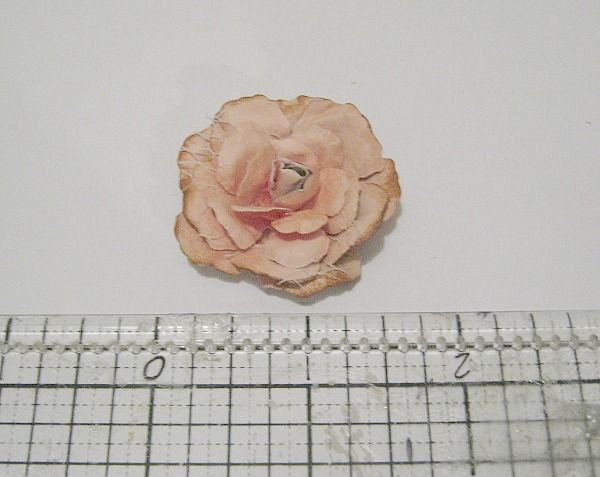
Shaped the edges and turned it into a flower.
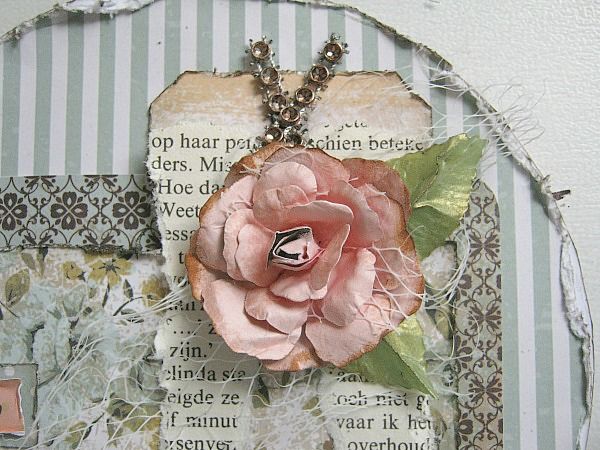
I placed my flower on top of the book-page tag and added some bling which came in the kit and 2 handmade leaves.
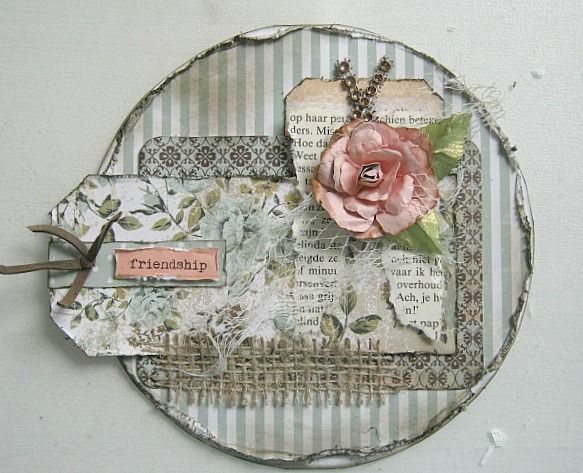
Then I added a little strip of burlap.
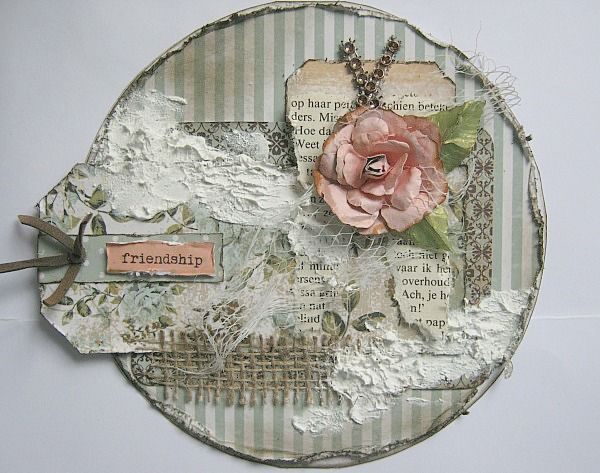
I added some structure paste. (And here's where I thought: I should have left it alone)

Because I wanted to add a few mists, but sadly I grapped the wrong bottle and urgh... It turned out a dark blue instead of a lighter teal. So I added some gold mist and some Papersoft and eventually after everything was dry, I added some inka gold.
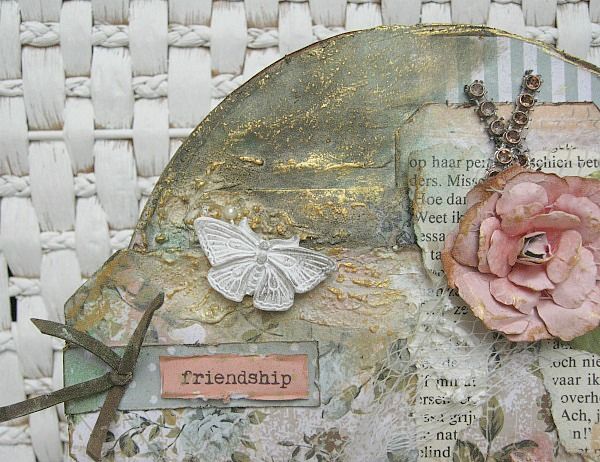
To finish it off, I glued a resin
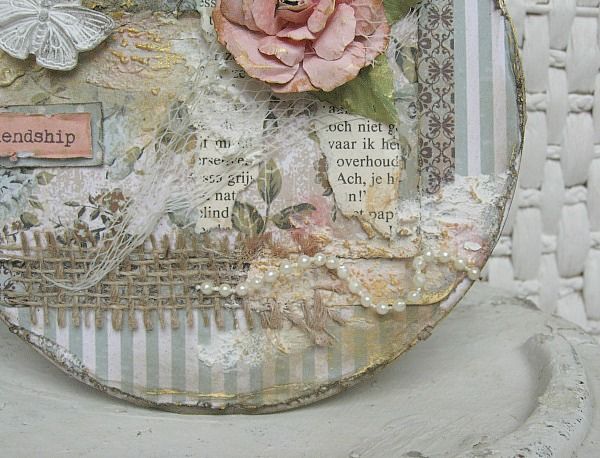
and some pearl strand.
********
SO learn from my mistake and put the bottles of mists you want to use in front of you,
I distressed the edges and glued it onto my opened card base. I find that when you open up your card, you can align it better. Especially helpful with a stripe designed paper.

I cut a piece of PP at 4.1/2 x 3.1/4 for my first layer and rounded the corners.

Then, and excuse me for this tag being teared, I cut a tag at 2.1/4 x 3
(that is what you get if you want to use your scrap)

And I placed both pieces like in the picture.

Then I cut another tag from that beautiful rose PP at 5.1/4 x 2.3/8. I distressed and inked the edges.

I glued it to the center piece but did raise it a litlle, by using a piece of the box, the kit came in. I also teared, it looks like a letter M to me, from an old book page.

I glued it on top of the frist little tag.

Then I cut a little strip at 2.1/2 x 5/8. This will be a mat for my (from the barcode strip) cut out sentiment *friendship*

Both pieces got their edges distressed and inked

And I glued them to the rose tag like this.

Then I took out a little mesh and placed it over my center. (I made this picture a little darker, for you to see the mesh better)

I die cutted some flowers (I used the Spellbinder rose die)

Shaped the edges and turned it into a flower.

I placed my flower on top of the book-page tag and added some bling which came in the kit and 2 handmade leaves.

Then I added a little strip of burlap.

I added some structure paste. (And here's where I thought: I should have left it alone)

Because I wanted to add a few mists, but sadly I grapped the wrong bottle and urgh... It turned out a dark blue instead of a lighter teal. So I added some gold mist and some Papersoft and eventually after everything was dry, I added some inka gold.

To finish it off, I glued a resin

and some pearl strand.
********
SO learn from my mistake and put the bottles of mists you want to use in front of you,
to make sure that you will NOT grab the wrong color mist.
I hope you like it anyway, and have a lovely weekend.
I hope you like it anyway, and have a lovely weekend.
Subscribe to:
Post Comments (Atom)
Swirlydoos Site Links
Pin Us!!
Popular Posts
-
Welcome to Swirlydoos December Kit Reveal Blog Hop BLOCK PARTY!!! We are having a party and you are all invited. We have some amazing projec...
-
Welcome to Swirlydoos' Mystical Winter kit reveal Blog Hop Block Party!! Happy New Year and Welcome!!! This month's kit,...
-
Boy, oh boy do we have a stellar hop for you this month!! Just when I think that Krissy couldn't possibly created a prettier ki...
-
Introducing Vintage Fae Check out our home page for details on the kit and the Add On kits! Welcome to Swirlydoos July Kit Reveal Blog ...
-
Welcome!!! Today is a beautiful day to reveal our April kit, Whispers of Spring. Take a look at how pretty this kit is! I have to tel...
-
Welcome to Swirlydoos' June Kit Reveal Blog Hop Block Party!! We are so pleased to show off our June kit, Antiquities!!! This kit...
-
Welcome back! We have a really fun blog hop all set for you today. Our May kit, So Chic , is well.....just that...so chic! This kit is ...
-
Welcome to: Swirlydoos Kit Club November Kit Reveal & Bloghop! Swirlydoos is proud to bring you our November collection: ...
-
Swirlydoos is PROUD to present our April collection Hello Beautiful! Be sure to check out a video "tour" of the main...
-
Welcome to Swirlydoos' February Blog Hop Block Party!! Welcome to Swirlydoos February Kit Reveal Blog Hop BLOCK PARTY!!! ...
Blog Archive
- 2017 (134)
- 2016 (173)
- 2015 (169)
-
2014
(230)
- December(20)
- November(17)
- October(21)
- September(23)
- August(20)
- July(19)
-
June(19)
- LOTW **Jan**
- Card tutorial using the *Rose Bouquet* kit.
- More June KOM projects - Rose Bouquet
- Rose Bouquet Second Reveal
- "Rose Bouquet" Second Reveal with Tracey
- LOTW June 22,2014 **Christy Houser**
- Altered Box Tutorial
- *Rose Bouquet* second reveal with Kim
- Rose Bouquet, second reveal with Maja
- Bohemian Spring Sketch Challenge Winner!
- LOTW June 15,2014 ***Misha***
- Card Tutorial using the June *Rose Bouquet* kit
- June Blog Hop WINNERS!!!!!
- June Reveal and Blog Hop!
- LOTW **June 8, 2014** Ginny!
- Five Ways to Use Kaiserfusion Markers Tutorial
- May Layout of the Month
- June Challenge Highlights
- Layout of the Week **June 1,2014**
- May(11)
- April(19)
- March(20)
- February(23)
- January(18)
- 2013 (207)
- 2012 (252)
- 2011 (181)
- 2010 (118)
- 2009 (38)


5 comments:
Prachtige creatie.
Leuk zo'n stukje NL krant.
Gr Elly
Paulien, you did wonderful, but I sympathize with you, sometimes we just don't "feel" the piece we've created.
Paula
thank you for this wonderfull tutorial I loooove the result
It's gorgeous! Sometimes mistakes turn out better than intended as was this case :).
LOL, Paulien, I just call them "happy accidents" and go from there.
As you should: this card is gorgeous!!! I love the design and scraps, the gold and shabby, and that beautiful, beautiful handmade flower!!!