Saturday, May 31, 2014
Hello Everyone,
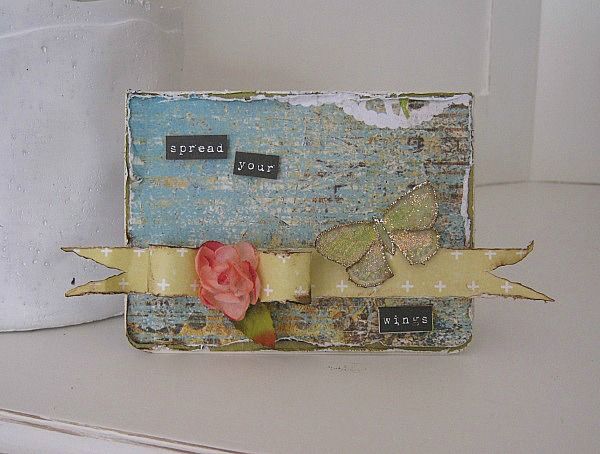
Today I want to share my lastest card tutorial with you...
Using this month's beautiful kit, I created this card with step by step intstructions.
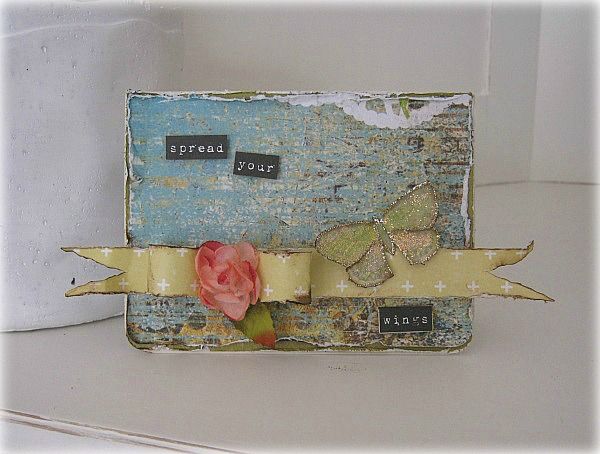
and here's a peek on how it came together.
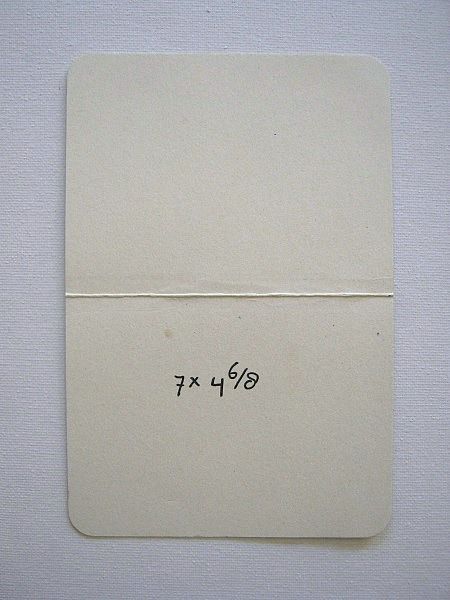
For my base card I cut a piece of cream colored cardstock at 7 x 4.6/8 Rounded the corners and scored in the middle.
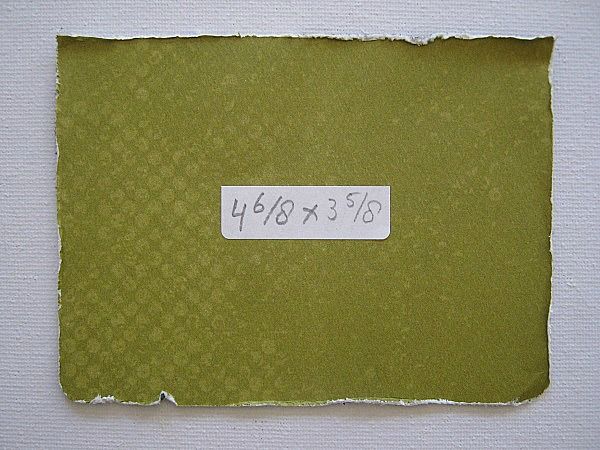
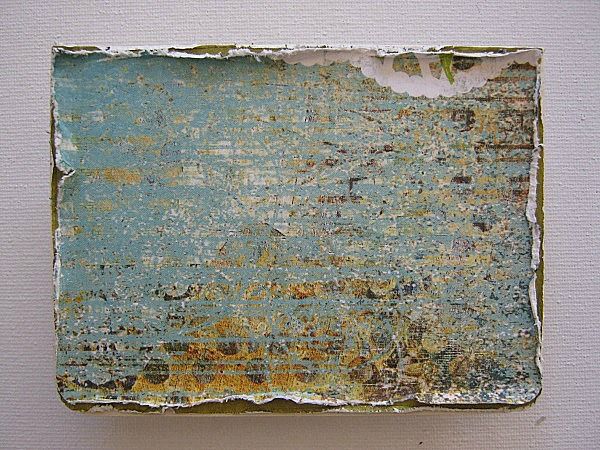
My first layer of pp I cut at 4.6/8 x 3.5/8 and I distressed the edges.
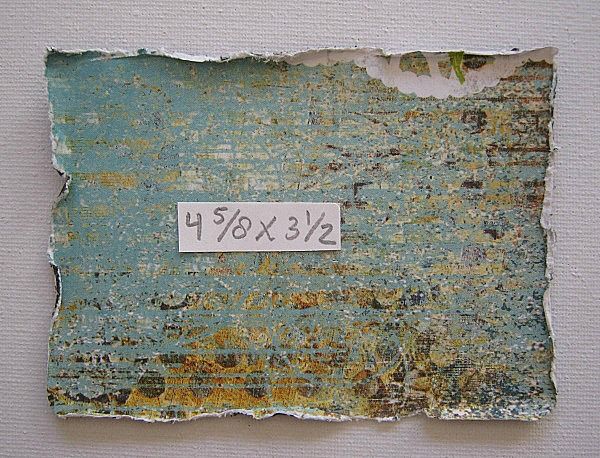
For my second layer I cut a piece of PP at 4.5/8 x 3.1/2 and distressed the edges.
I glued the first 2 layers to my base card.
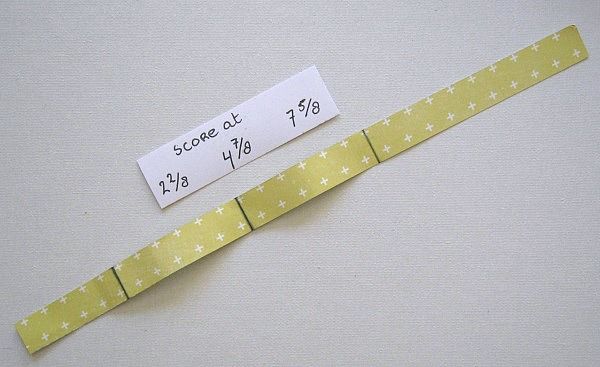
Then I cut a strip of PP at 12 x 3/4 of an inch and scored it at 2.2/8 - 4.7/8 and 7.5/8
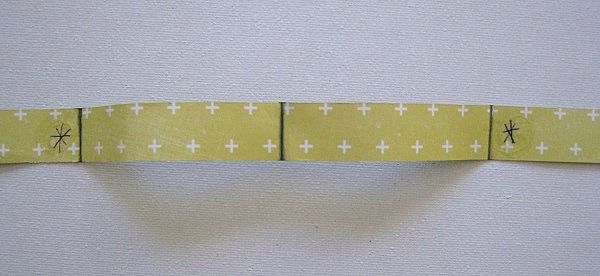
I added a drop of glue at the marked spots.

and glued it like this.
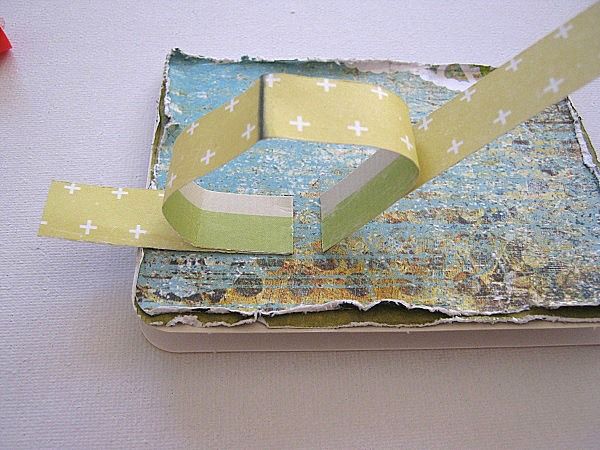
Then I glued the left part of the strip, to my card, like in the picture
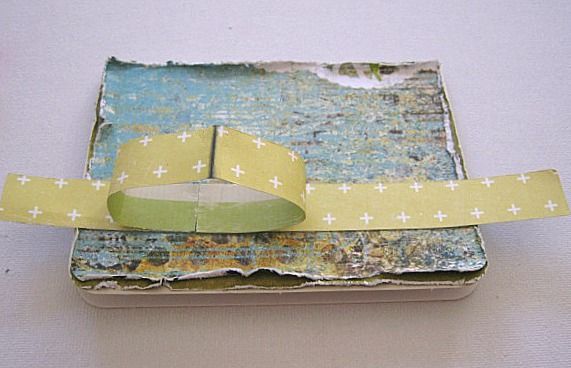
And the right side like this, towards the right side edge
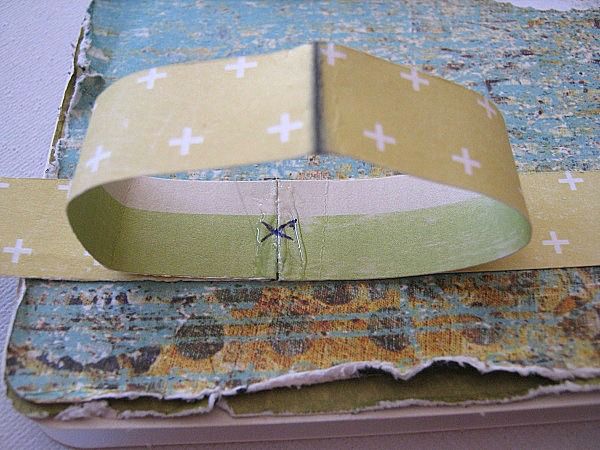
Then, where the mark is, I added a bit of glue
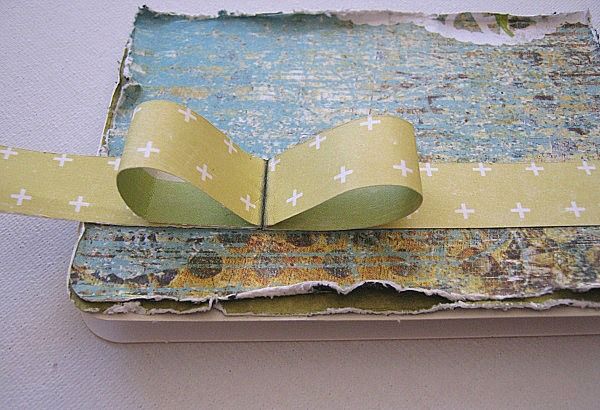
and I pressed the middle down, to create a bow.
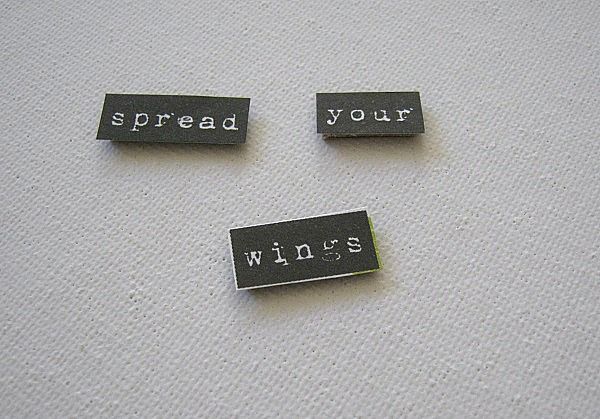
I cut out these words, to form my sentiment. I raised them, by using a piece of cardboard.
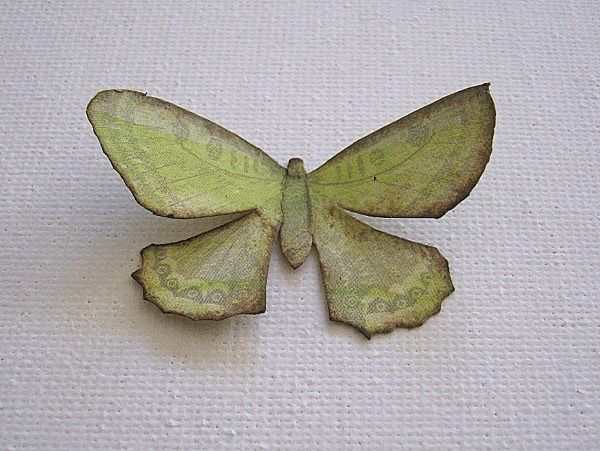
I also fussy cut this butterfly. Inked up the edges and gave the wings a deep cut.
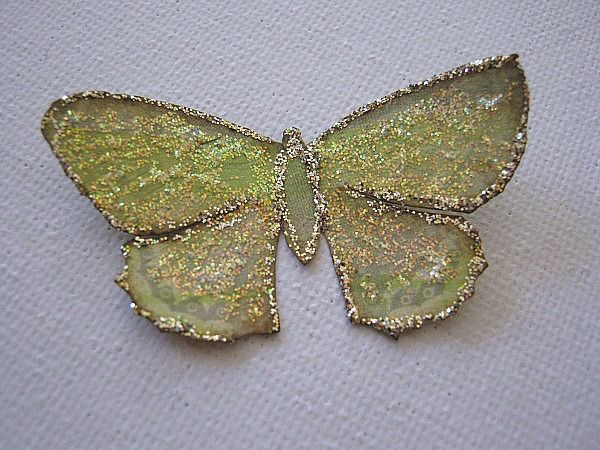
Then I added some stickles (crystical and patina)
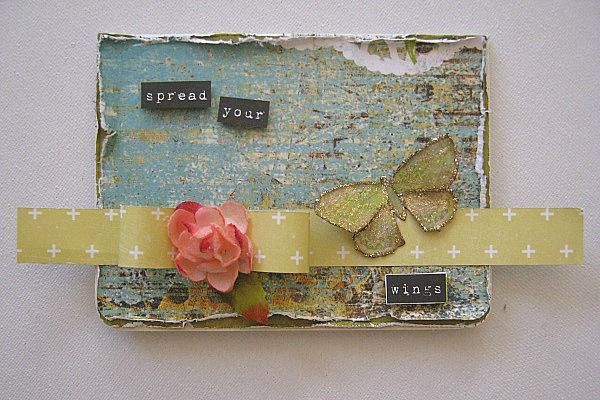
I glued my sentiment and butterfly in place, and selected 1 of the flowers that came in the kit.
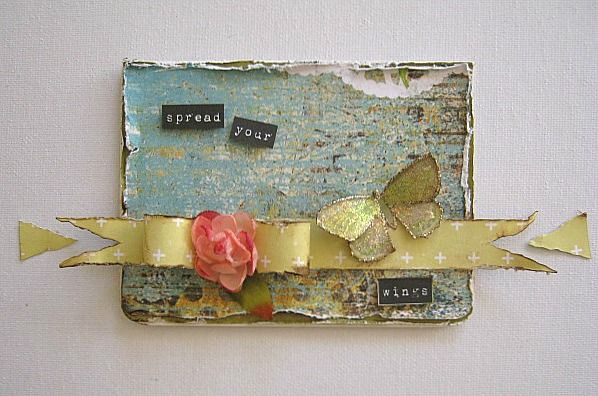
I then cut the strip ends, and inked them up. I also added some (which I should have done before) to the rest of the strip/bow.
And called it done.
I love the simplicity of this card, yet (imo) it has a gorgeous shabby feel to it.
I hope you enjoyed the tutorial, and feel inspired.
Have a lovely weekend.
Using this month's beautiful kit, I created this card with step by step intstructions.

and here's a peek on how it came together.

For my base card I cut a piece of cream colored cardstock at 7 x 4.6/8 Rounded the corners and scored in the middle.

My first layer of pp I cut at 4.6/8 x 3.5/8 and I distressed the edges.

For my second layer I cut a piece of PP at 4.5/8 x 3.1/2 and distressed the edges.

I glued the first 2 layers to my base card.

Then I cut a strip of PP at 12 x 3/4 of an inch and scored it at 2.2/8 - 4.7/8 and 7.5/8

I added a drop of glue at the marked spots.

and glued it like this.

Then I glued the left part of the strip, to my card, like in the picture

And the right side like this, towards the right side edge

Then, where the mark is, I added a bit of glue

and I pressed the middle down, to create a bow.

I cut out these words, to form my sentiment. I raised them, by using a piece of cardboard.

I also fussy cut this butterfly. Inked up the edges and gave the wings a deep cut.

Then I added some stickles (crystical and patina)

I glued my sentiment and butterfly in place, and selected 1 of the flowers that came in the kit.

I then cut the strip ends, and inked them up. I also added some (which I should have done before) to the rest of the strip/bow.

And called it done.
I love the simplicity of this card, yet (imo) it has a gorgeous shabby feel to it.
I hope you enjoyed the tutorial, and feel inspired.
Have a lovely weekend.
Subscribe to:
Post Comments (Atom)

Be sure to "LIKE & FOLLOW" Swirlydoos for special FB only deals and promos
Follow this blog with bloglovin

Scrapbook Sketches

see all of our sketches here
Keep Tabs On Our Blog!


Popular Posts
-
 Welcome to: Swirlydoos Kit Club February Scrapbook Kit Reveal & Blog Hop! Swirlydoos is proud to bring you our beautiful Febr...
 -
 Thank you for joining us today for our ONE DAY blog hop featuring our September kit collection, Gilted Pleasure . **All collec...
 -
 Welcome to Swirlydoos November Kit Reveal Blog Hop BLOCK PARTY!!! That's right, we are having a party and you are all invit...
 -
 Welcome to Swirlydoos' June Kit Reveal Blog Hop Block Party!! We are so pleased to show off our June kit, Antiquities!!! This kit...
 -
 Welcome to Swirlydoos' March Kit Reveal Blog Hop Block Party!! We have some amazing projects for you to see today and as a bonus...
 -
 Welcome to Swirlydoos' Mystical Winter kit reveal Blog Hop Block Party!! Happy New Year and Welcome!!! This month's kit,...
 -
 Welcome to: Swirlydoos Kit Club March Scrapbook Kit Reveal & Blog Hop! Swirlydoos is proud to bring you our beautiful March co...
 -
 SCROLL DOWN FOR THE 12 DAYS OF CHRISTMAS CONTEST: DAY FIVE! Welcome to: Swirlydoos Kit Club December Scrapbook Kit Reveal & Blo...
 -
 Welcome back! We have a really fun blog hop all set for you today. Our May kit, So Chic , is well.....just that...so chic! This kit is ...

4 comments:
So lovely and shabby!
The banner, the flower, the fussy cut sentiment and that sweet butterfly all make one gorgeous card!!!!!
This came so pretty Paulien. Love the bow tute :)
Paula
Que lindo!
Gostei muito!
Obrigada pelo tutorial!