Wednesday, January 29, 2014
I created this card using the Shabby Chalet kit:
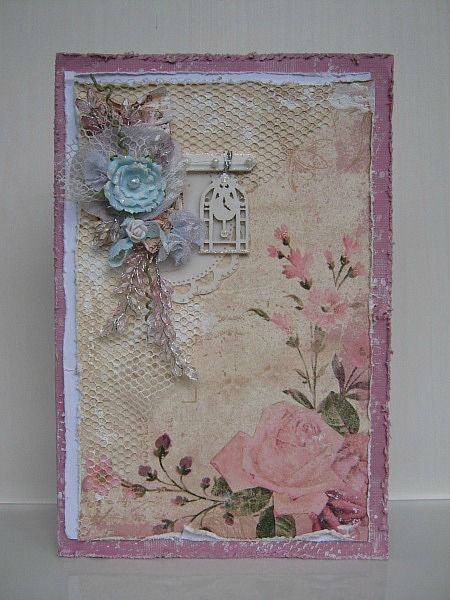
And here is how it came together.
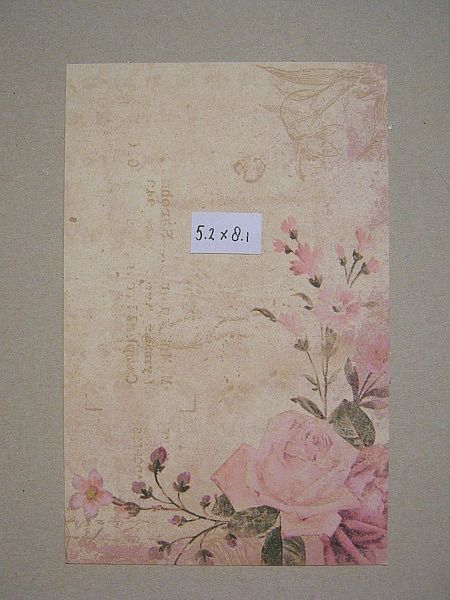
For my first layer I cut a piece of PP at 5.2 x 8.1
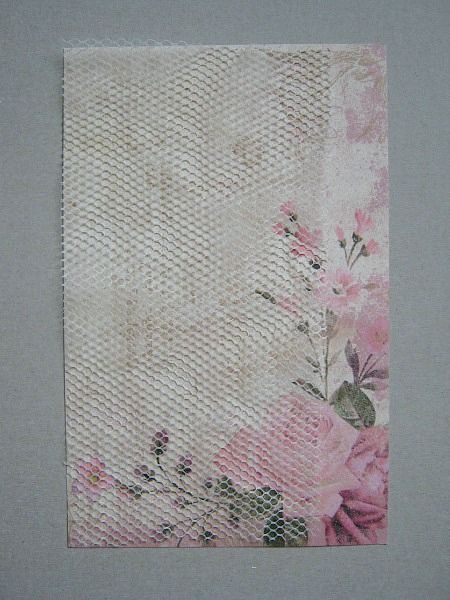
I laid a piece of tulle over my card, like this.
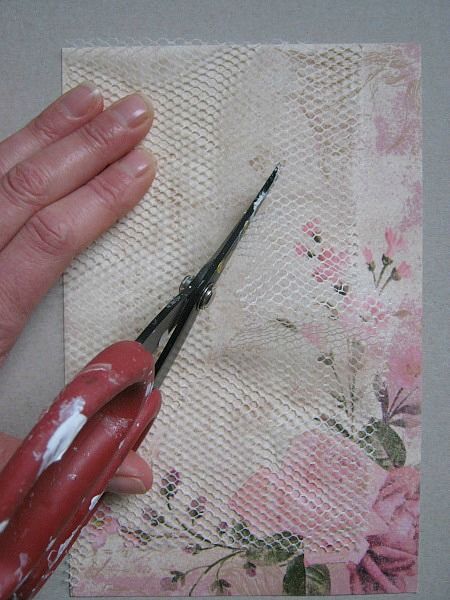
And cut it, holding it in place, and deciding how it should look, as I was cutting along.
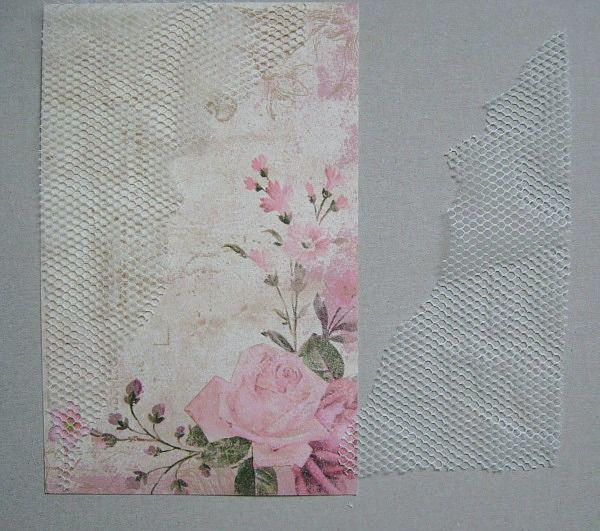
It came out like this. The left over pieces on the right.........
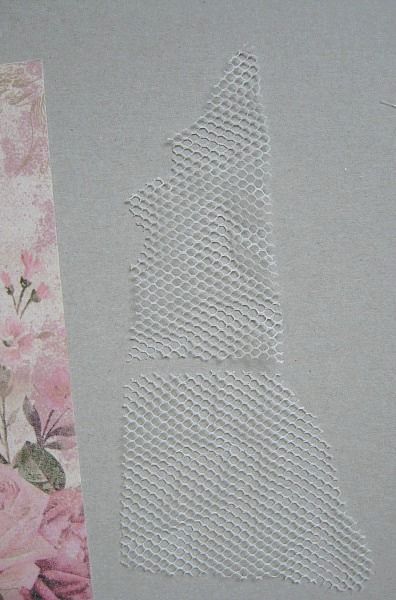
I cut that piece in half and.....
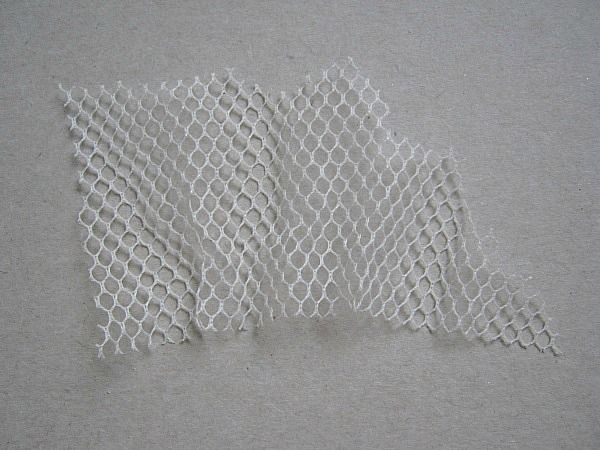
started to ruffle it up
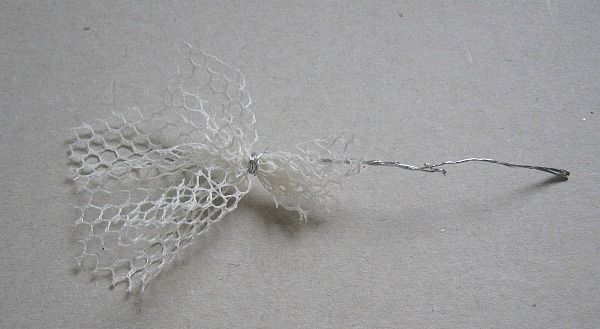
Then I wrapped a wire around it, and afterwards I clipped off the ends.
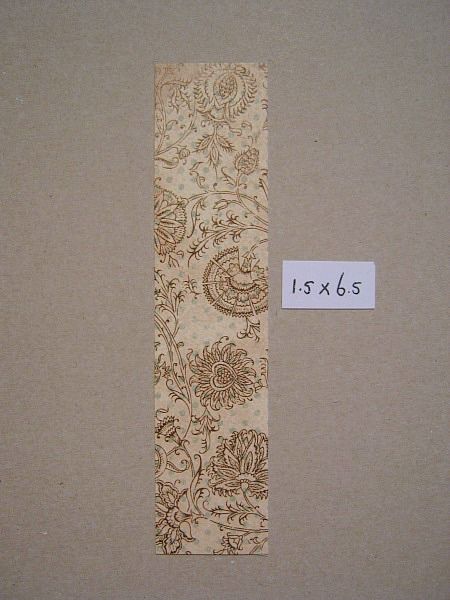
I cut a strip of PP at 1.5 x 6.5
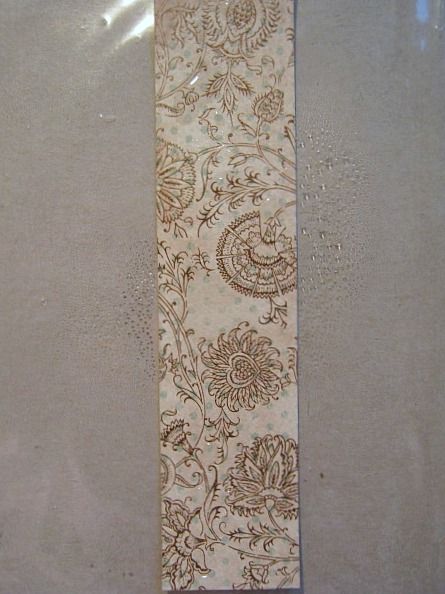
spritzed both front and backside with water and let it sit for a moment.
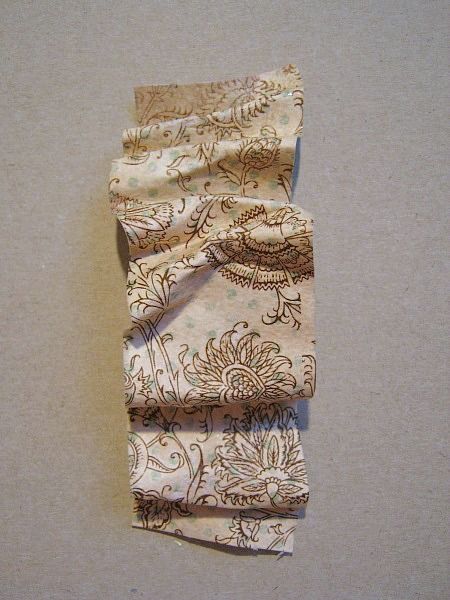
Then I started to ruffle or crumble it up like in the picture. I had to do this carefully, cause the paper easily rips when it is wet.
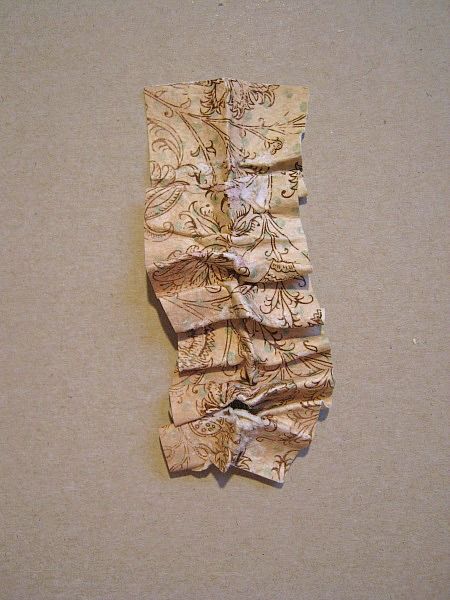
And whilst heat setting my ruffles I pinched the middle.

I distressed the edges of my frist paper layer, glued my tulle on (using Fabri-Tac) and I hot glued my ruffled paper strip on. I only put glue in the middle of the paper strip cause I wanted to be able to tuck things in.
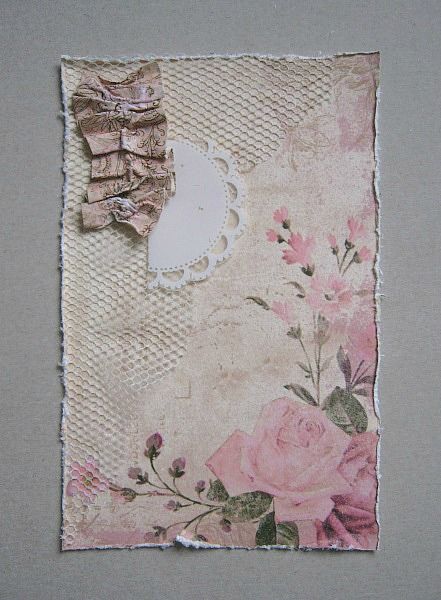
I cut out one of the doilies that was on the prima flower packaging and place it like this.
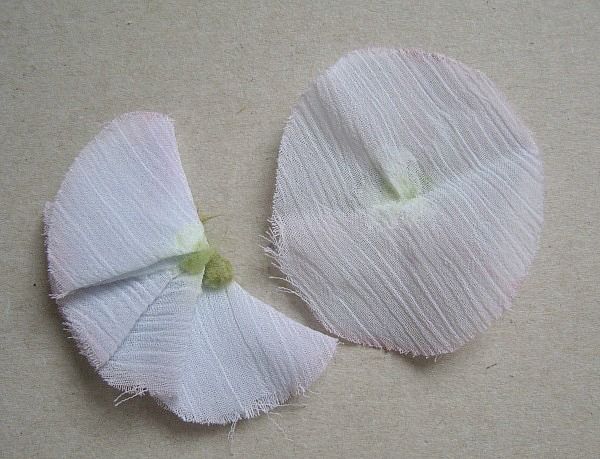
Then I pulled apart one of the prima flowers (that came in the kit)....
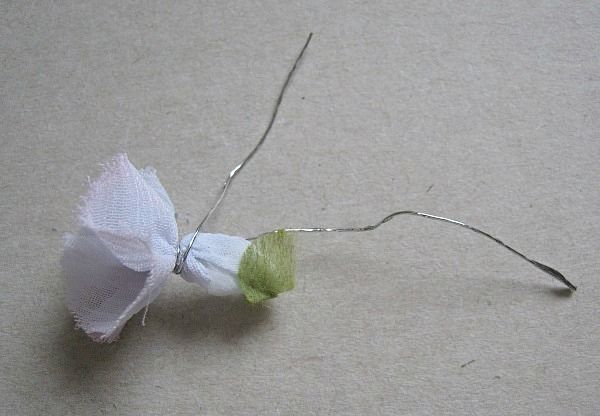
And made some smaller buds out of them. Simply by pinching 1 of the circles together and wrapping some wire around the buds
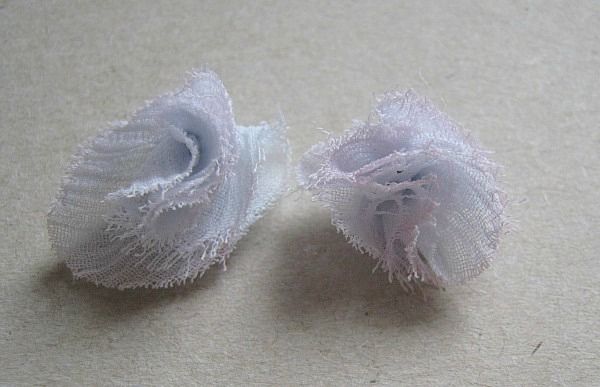
I thought they looked cute!
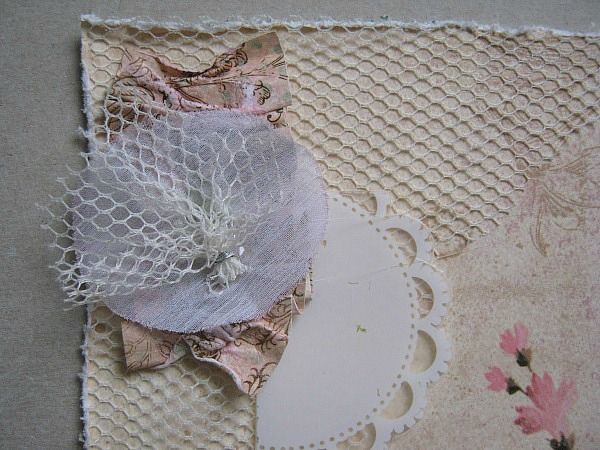
Then I started layering. First 1 of the circles (from the pulled apart flower) and then on top the ruffled tulle, I made earlier.
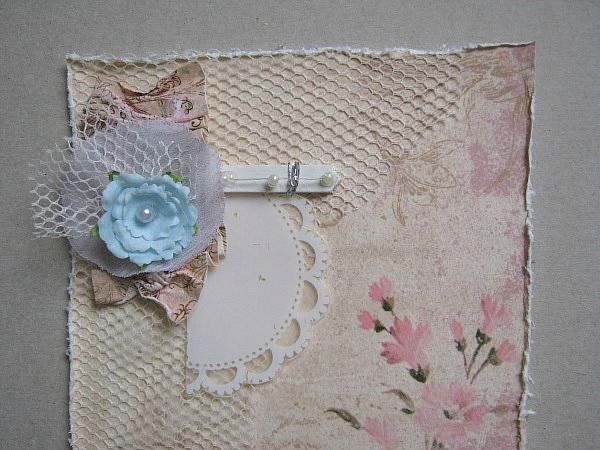
From a previous kit: I had some of that wooden fence left over, so I cut off 1 part and glued it down like in the picture. On top I glued a little piece of the pearl spray that came in the Jan kit. The little blue flower, was the center flower from the flower I took apart. (do I still make sense?)
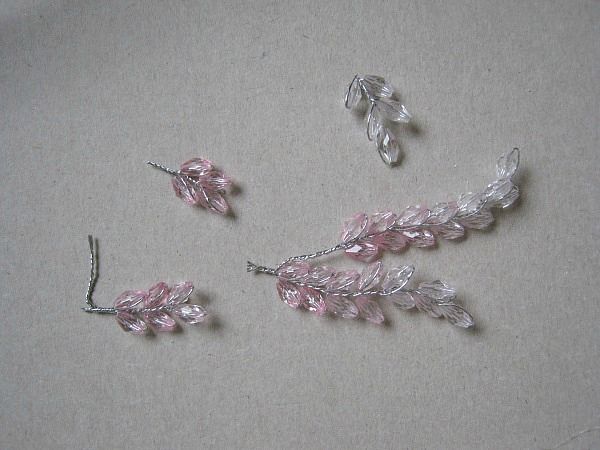
Then I cut a few different sizes from the beaded sprays. I twisted 2 togeter....
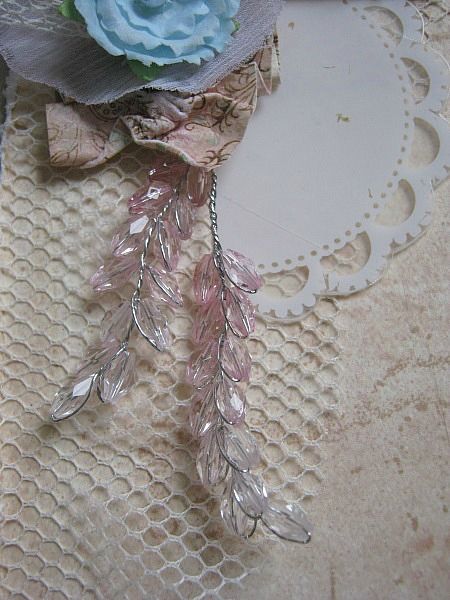
And glued them, hanging beneath my ruffled paper strip.
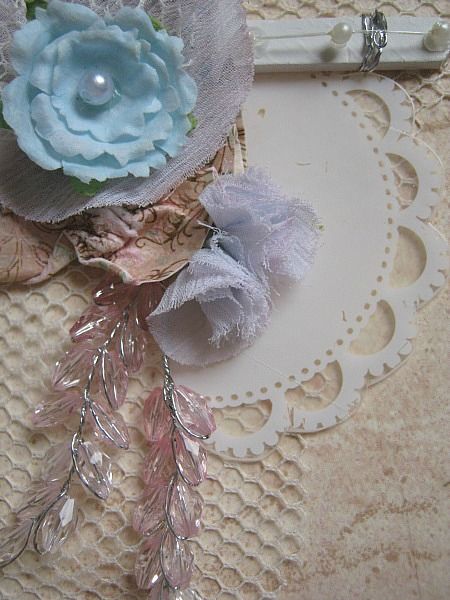
I glued the little flower buds in place
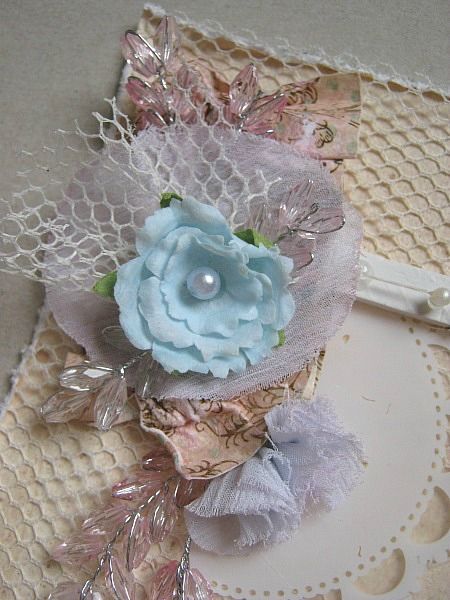
And the other beaded spray, that were cut in different sizes.
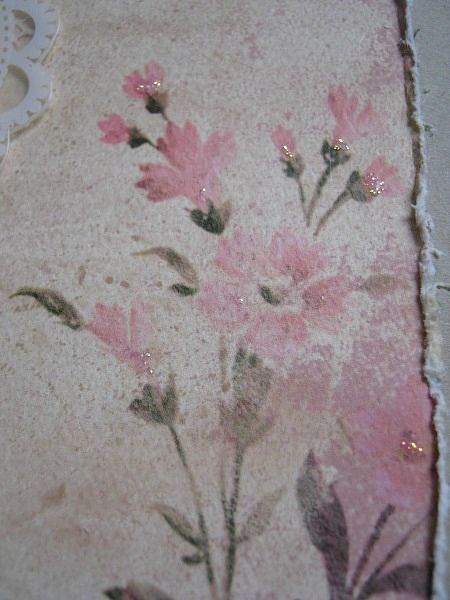
I added some Stickles, in diamond, to the flowers on the paper
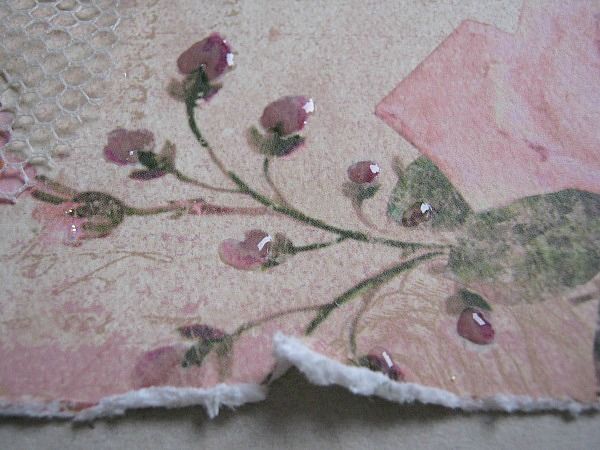
And some glossy accents on the buds that are printed on the paper.
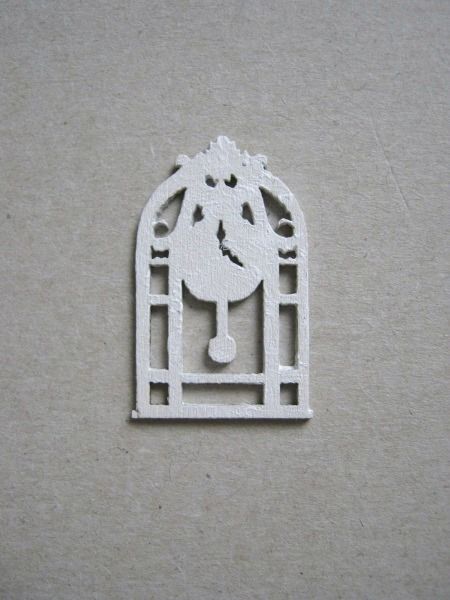
Then I painted a clock icon with white acrylic paint
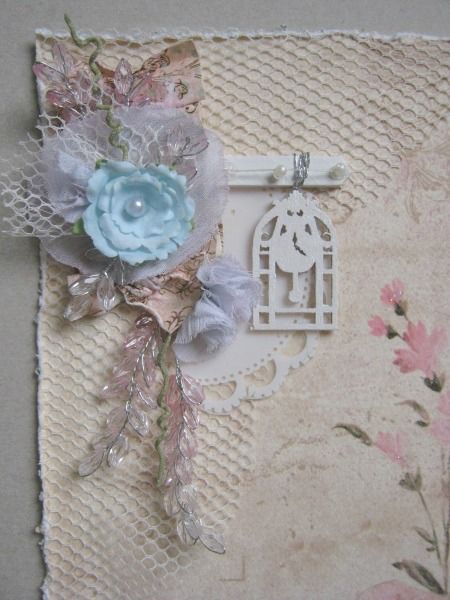
And glued it down, looking like it hangs on that piece of fence. Like a rod.
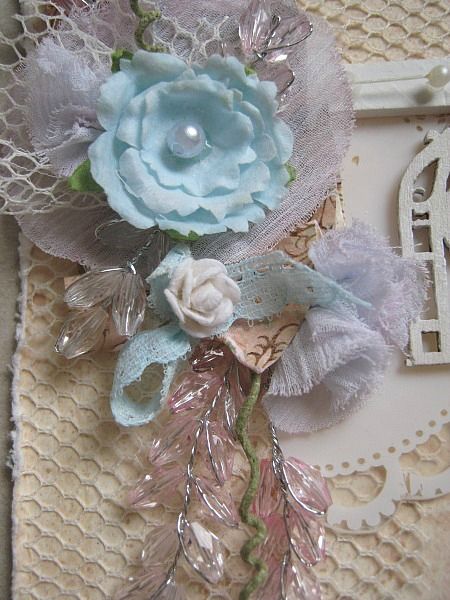
I added a little lace bow and a tiny baby rose.
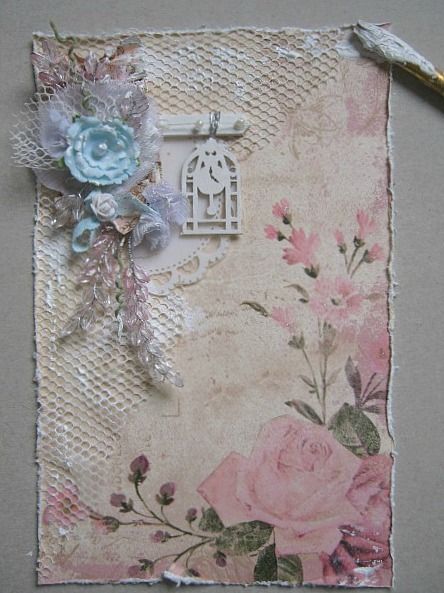
Then I randomly added some gesso
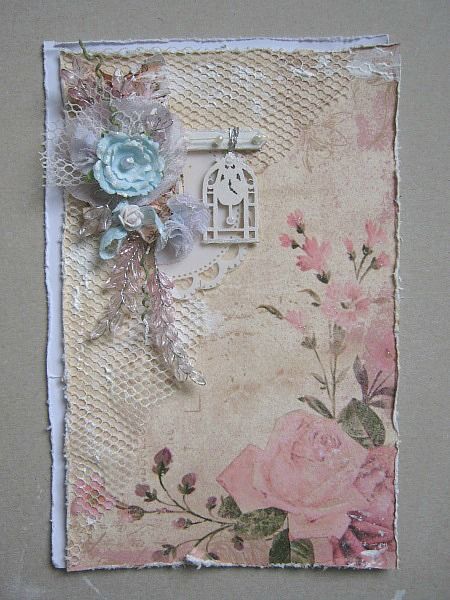
I cut a white mat (3/4) like in the picture and glued it to the back.
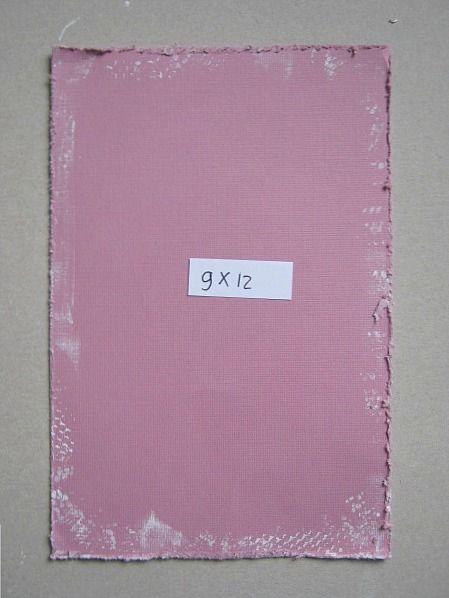
For the base of my card I cut a piece of cardstock at 9 x 12, folded it double, distressed the edges and added some gesso here and there.
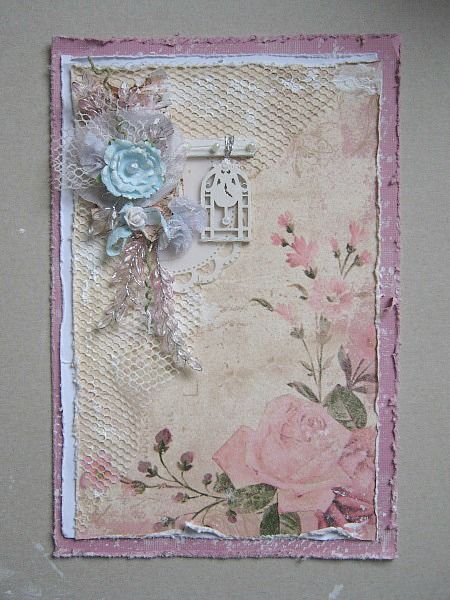
Then I glued everything together.

and called it done! Hope you like it.
Subscribe to:
Post Comments (Atom)
Swirlydoos Site Links
Pin Us!!
Popular Posts
-
Welcome to Swirlydoos December Kit Reveal Blog Hop BLOCK PARTY!!! We are having a party and you are all invited. We have some amazing projec...
-
Welcome to Swirlydoos' Mystical Winter kit reveal Blog Hop Block Party!! Happy New Year and Welcome!!! This month's kit,...
-
Boy, oh boy do we have a stellar hop for you this month!! Just when I think that Krissy couldn't possibly created a prettier ki...
-
Introducing Vintage Fae Check out our home page for details on the kit and the Add On kits! Welcome to Swirlydoos July Kit Reveal Blog ...
-
Welcome!!! Today is a beautiful day to reveal our April kit, Whispers of Spring. Take a look at how pretty this kit is! I have to tel...
-
Welcome to Swirlydoos' June Kit Reveal Blog Hop Block Party!! We are so pleased to show off our June kit, Antiquities!!! This kit...
-
Welcome back! We have a really fun blog hop all set for you today. Our May kit, So Chic , is well.....just that...so chic! This kit is ...
-
Welcome to: Swirlydoos Kit Club November Kit Reveal & Bloghop! Swirlydoos is proud to bring you our November collection: ...
-
Swirlydoos is PROUD to present our April collection Hello Beautiful! Be sure to check out a video "tour" of the main...
-
Welcome to Swirlydoos' February Blog Hop Block Party!! Welcome to Swirlydoos February Kit Reveal Blog Hop BLOCK PARTY!!! ...
Blog Archive
- 2017 (134)
- 2016 (173)
- 2015 (169)
-
2014
(230)
- December(20)
- November(17)
- October(21)
- September(23)
- August(20)
- July(19)
- June(19)
- May(11)
- April(19)
- March(20)
- February(23)
-
January(18)
- Another Card Tutorial by Paulien
- More layouts with the Shabby Chalet Kit
- Layout of the Week 1/26/14
- January Mediums Add On Tutorial: Make Friends with...
- Help Swirlydoos win a small business grant!
- New Card tutorial, using our Beautiful *Shabby Cha...
- More January Challenge Highlights
- Layout of the Year 2013!
- Layout of the Week 1/19/2014
- Flower Tutorial by Amarilys
- Winter CHA Pictures!
- Layout of the Weel 1/13/14
- January Blog Hop Winners!!!!!
- January Kit Reveal and Blog Hop!
- January Challenge Highlights
- LOTW 1/5/2014 Kim Heard
- Featured Member *Misha McClain*
- Distressed Embossed Chipboard Tutorial
- 2013 (207)
- 2012 (252)
- 2011 (181)
- 2010 (118)
- 2009 (38)


7 comments:
Very, very pretty!
Sooooo pretty. I love how you used the tulle and disassembled the flower. Great ideas.
You are truly amazing!!!!!!
is an stunning tutorial, thanks for sharing!
Ok, that was AWESOME!!! Thank you for the tutorial!!! I love this card.
Great job, thanks for making the time to document all the steps.
So gorgeous. Thanks for the tutorial