
Hello Everyone,
Today I want to share my lastest card tutorial with you...
Using this month's beautiful kit, I created this card with step by step intstructions.
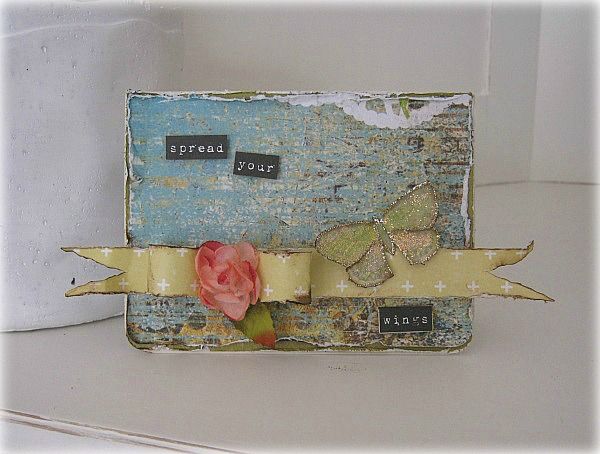
and here's a peek on how it came together.
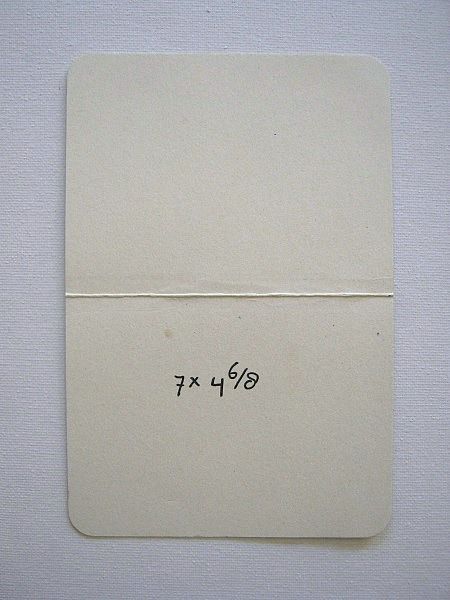
For my base card I cut a piece of cream colored cardstock at 7 x 4.6/8 Rounded the corners and scored in the middle.
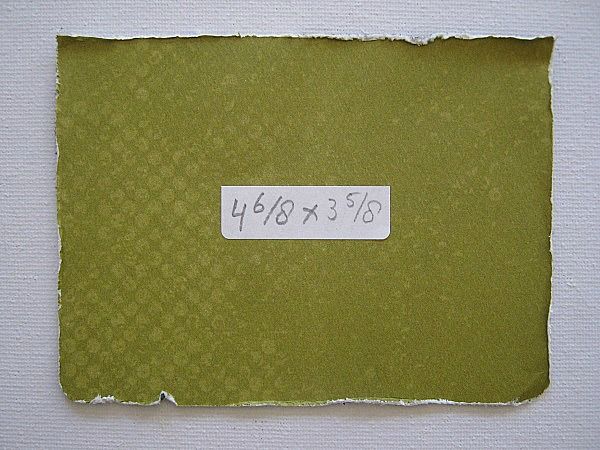
My first layer of pp I cut at 4.6/8 x 3.5/8 and I distressed the edges.
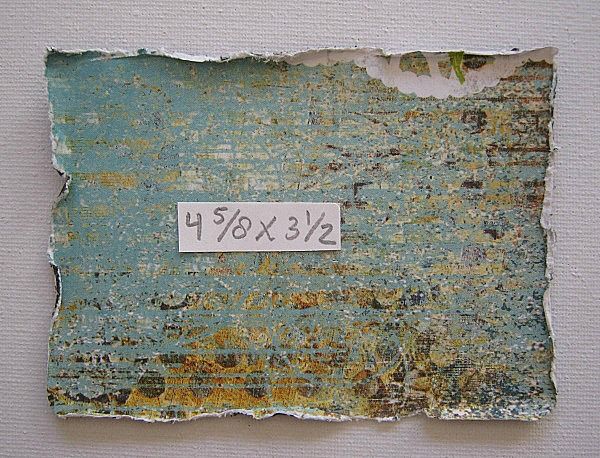
For my second layer I cut a piece of PP at 4.5/8 x 3.1/2 and distressed the edges.
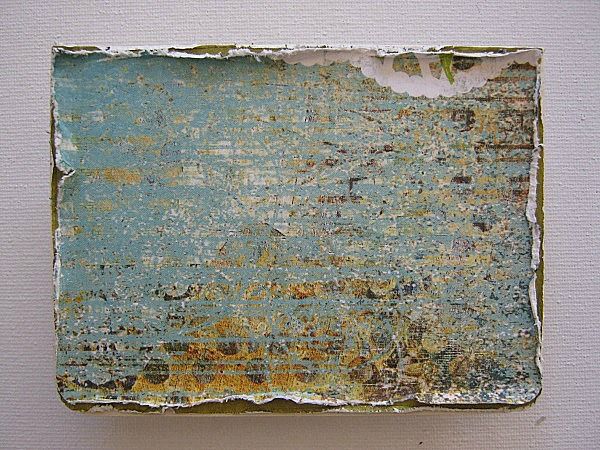
I glued the first 2 layers to my base card.
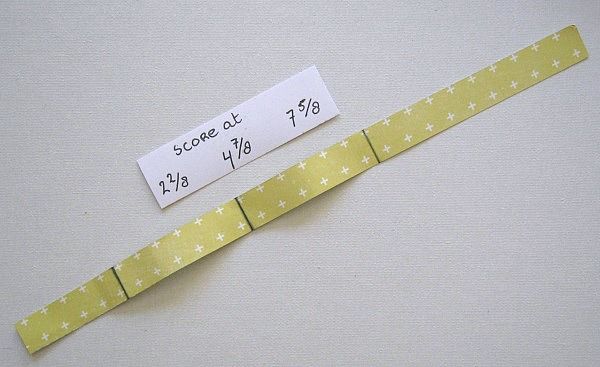
Then I cut a strip of PP at 12 x 3/4 of an inch and scored it at 2.2/8 - 4.7/8 and 7.5/8
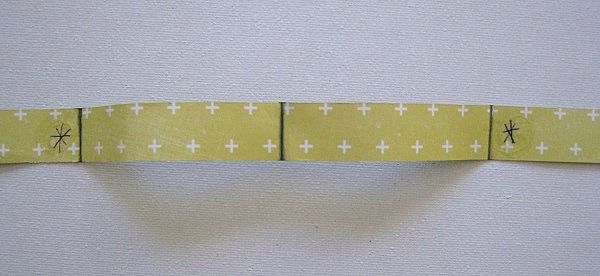
I added a drop of glue at the marked spots.

and glued it like this.
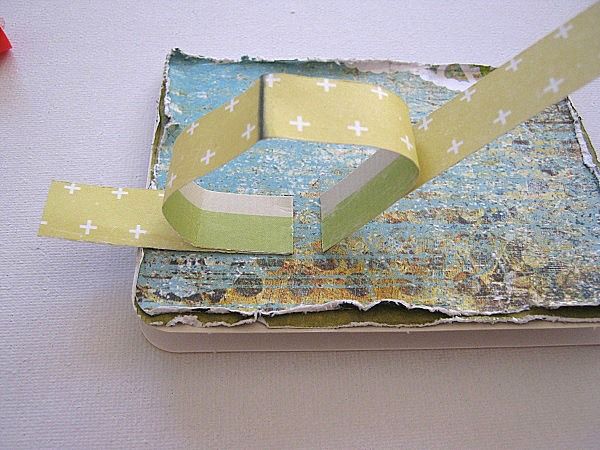
Then I glued the left part of the strip, to my card, like in the picture
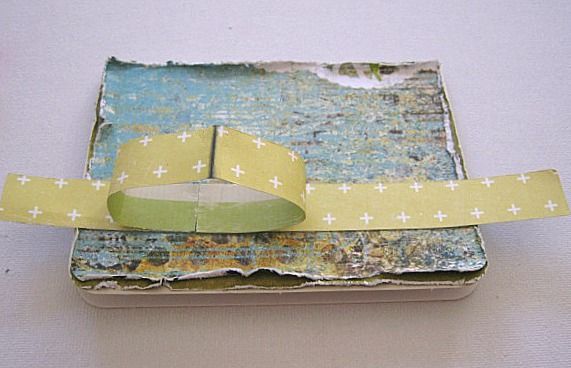
And the right side like this, towards the right side edge
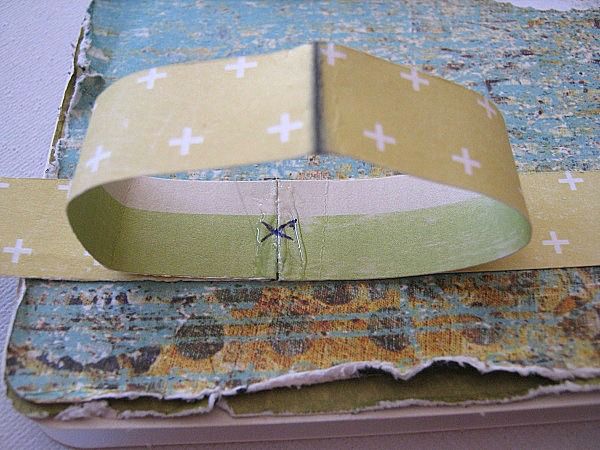
Then, where the mark is, I added a bit of glue
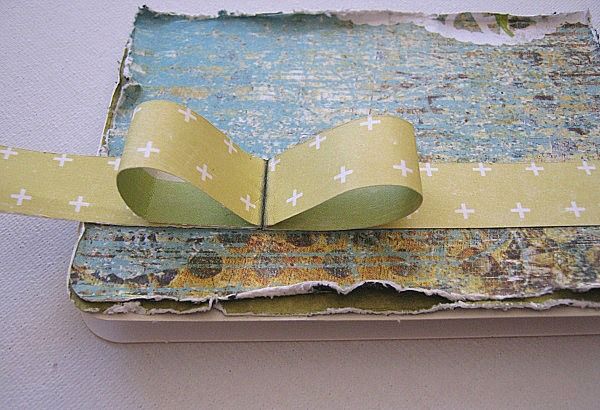
and I pressed the middle down, to create a bow.
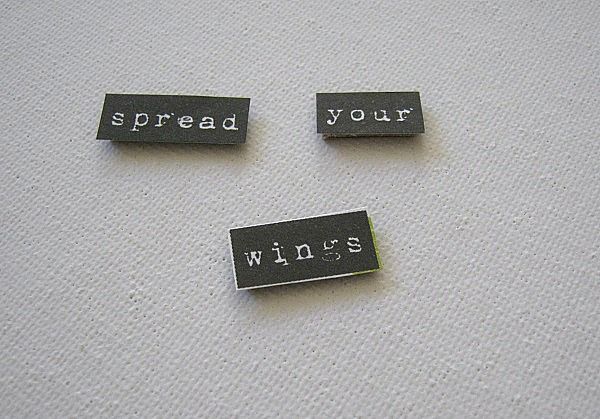
I cut out these words, to form my sentiment. I raised them, by using a piece of cardboard.
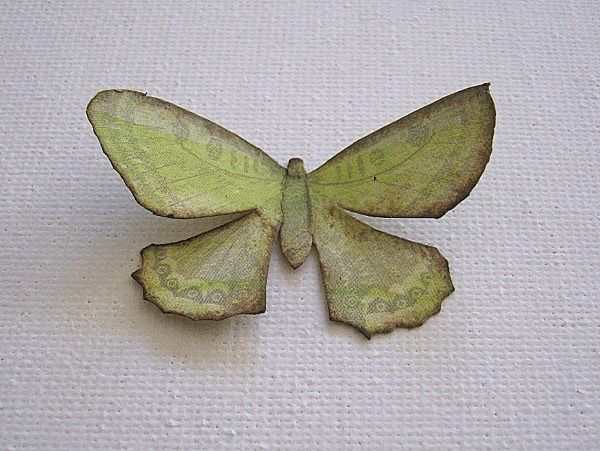
I also fussy cut this butterfly. Inked up the edges and gave the wings a deep cut.
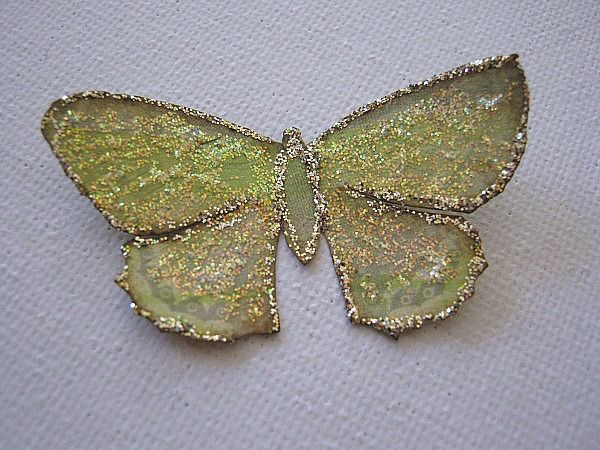
Then I added some stickles (crystical and patina)
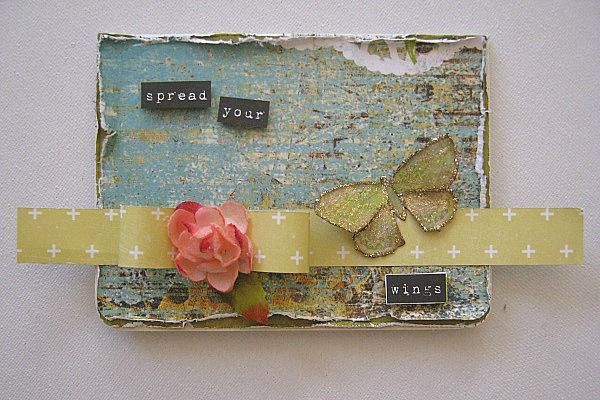
I glued my sentiment and butterfly in place, and selected 1 of the flowers that came in the kit.
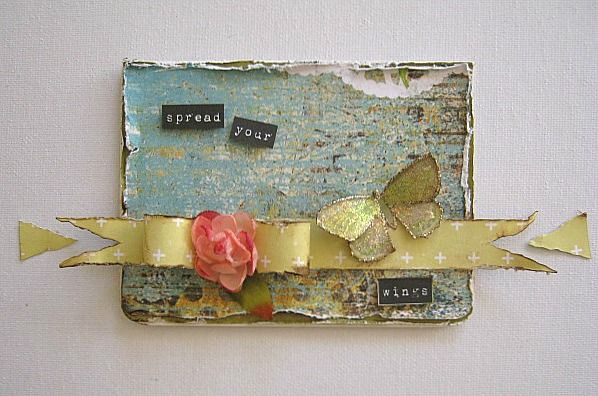
I then cut the strip ends, and inked them up. I also added some (which I should have done before) to the rest of the strip/bow.
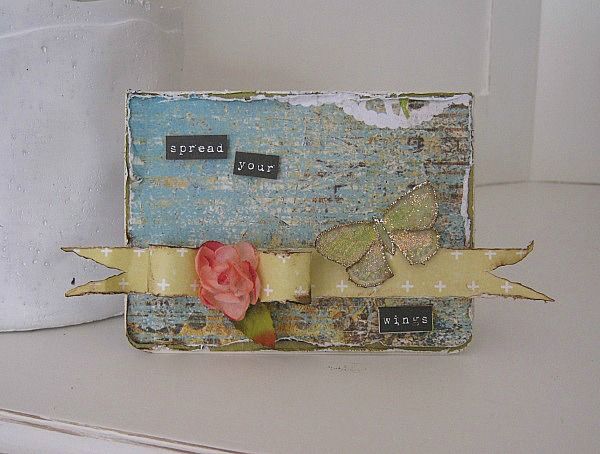
And called it done.
I love the simplicity of this card, yet (imo) it has a gorgeous shabby feel to it.
I hope you enjoyed the tutorial, and feel inspired.
Have a lovely weekend.
So lovely and shabby!
ReplyDeleteThe banner, the flower, the fussy cut sentiment and that sweet butterfly all make one gorgeous card!!!!!
ReplyDeleteThis came so pretty Paulien. Love the bow tute :)
ReplyDeletePaula
Que lindo!
ReplyDeleteGostei muito!
Obrigada pelo tutorial!