Saturday, March 15, 2014
This card was made, using the Beautiful *Salutations* kit.
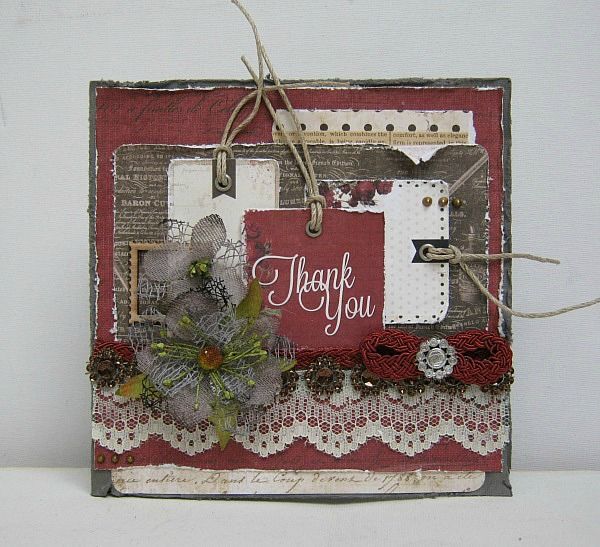
and some close ups:
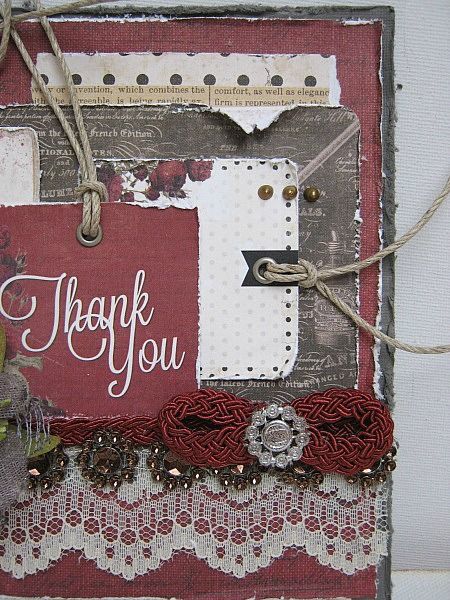
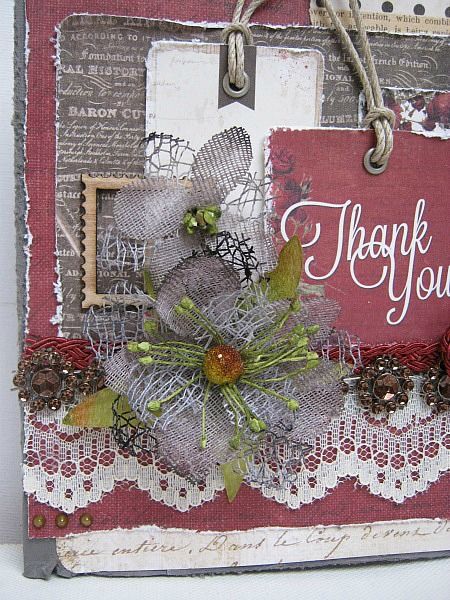
and here's how it came together
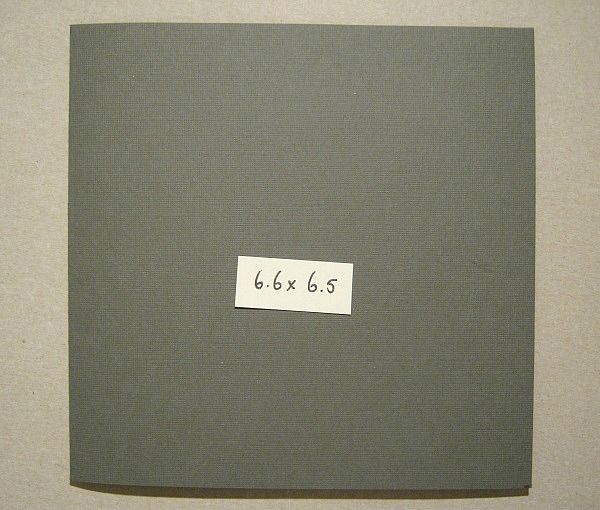
For the base of this card I cut 2 strips of cardstock, which were 6.5# high and 12 long. I glued 2 of the ends together, so that I was able to create a BIG card. After I folded it, it meassured 6.6 x 6.5 I will put the glued line in the front, cause it is going to be covered with paper.
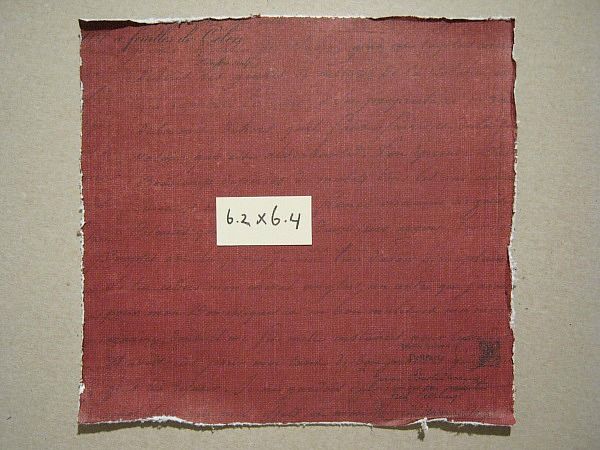
I cut a piece of PP at 6.2 x 6.4. Distressed the edges.
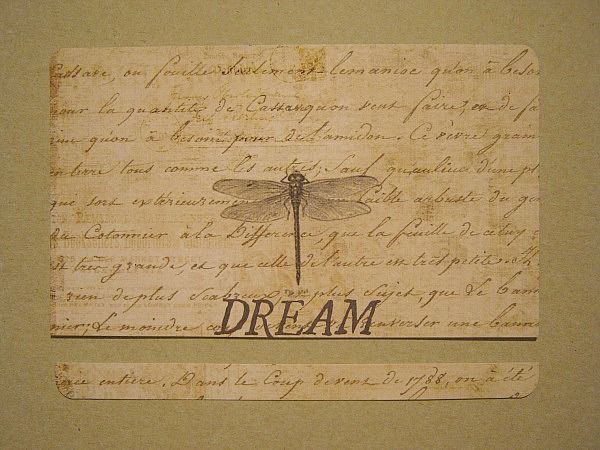
I cut a little strip off this note card and.....
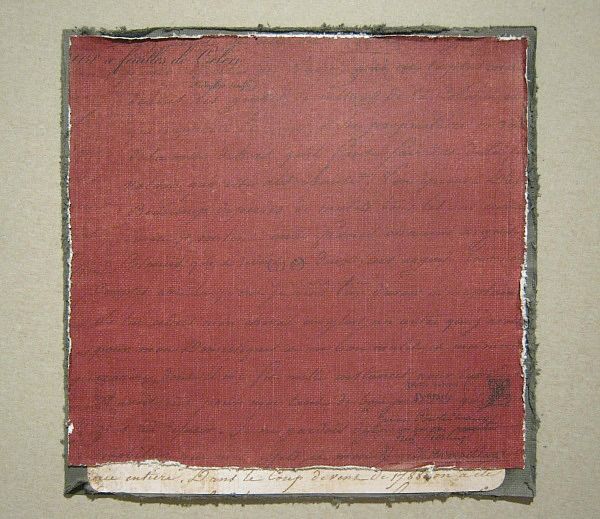
glued my paper and strip to the base card. Like so.
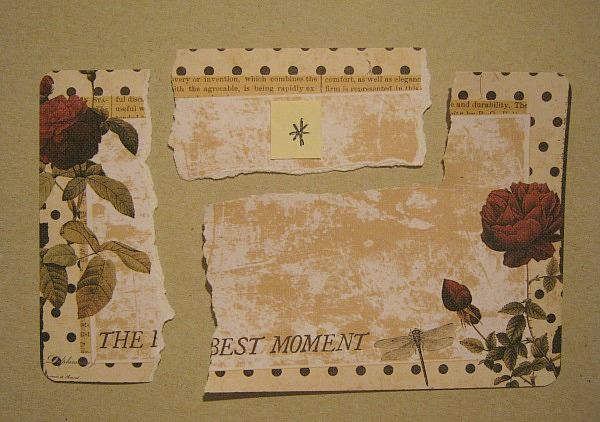
Then from another notecard I teared a little piece off. The one that is marked, I'm going to use.
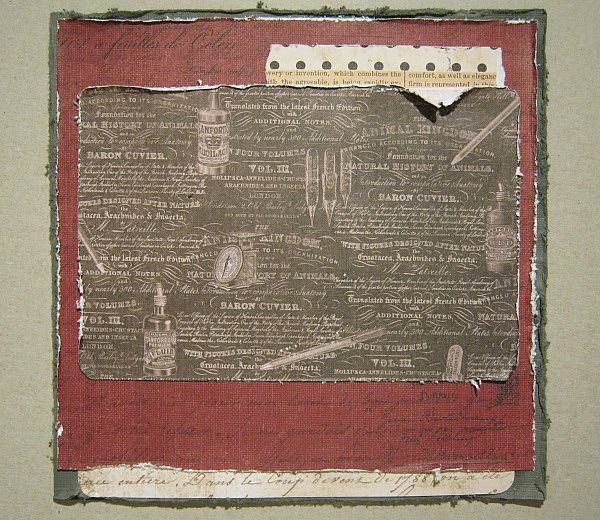
I glued the little piece behind the black, distressed, notecard.
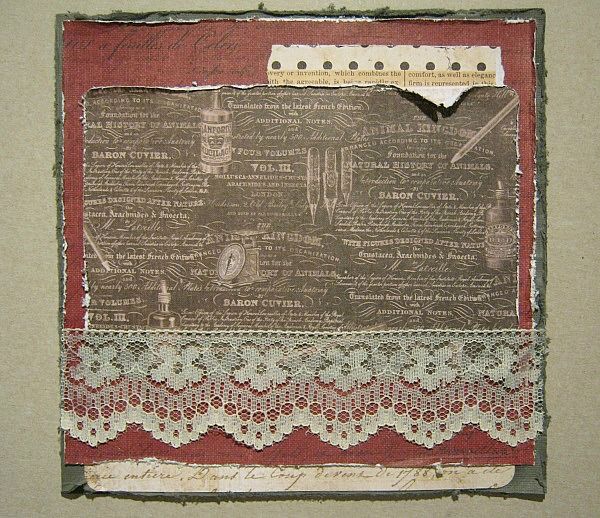
I glued a piece of lace over the bottom of the notecard, using 3 in 1 Craft Glue, (Krissy has these in the BOUTIQUE)
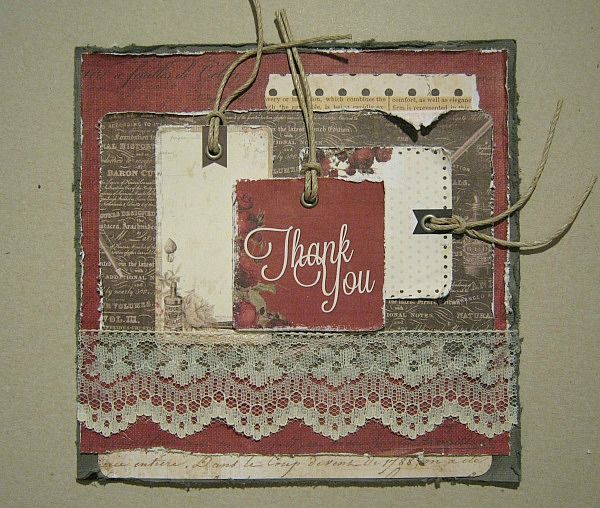
I selected 3 tags, from the bunch we got in the kit, and placed them like this.
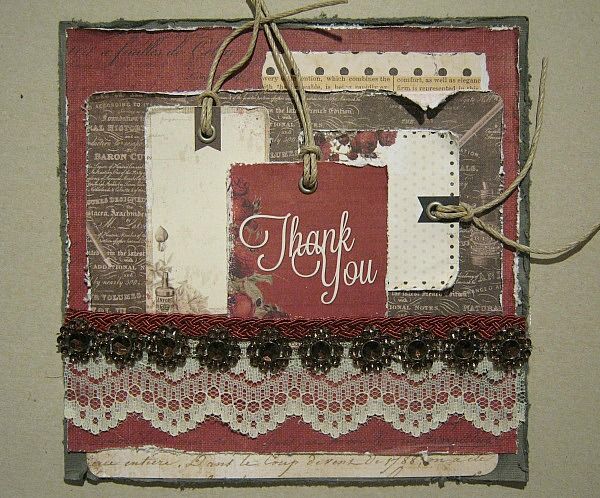
I glued some of the gorgeous red trim (we call that très trim) just above the lace and then a strip of that amazing bling, to cover the line between the lace and red trim.
****TIP****
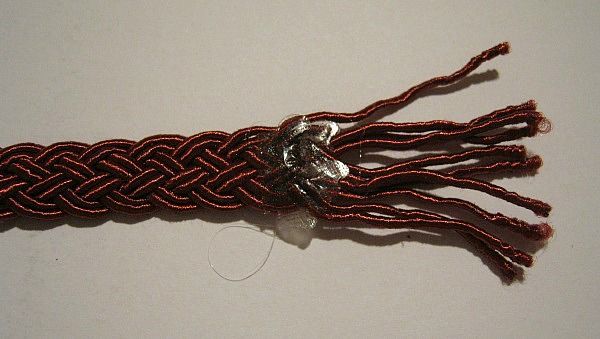
This beautiful red trim, raffles very quickly and to prevent that you have to snip of the raffles all you have to do is, add a dot of glue (I used hot glue) press it down on a non-stck craft mat and after it cooled down..................
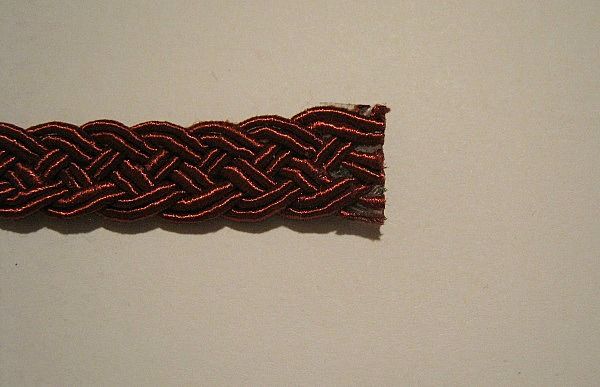
you can easily cut it. This way you won't waste any of the trim .
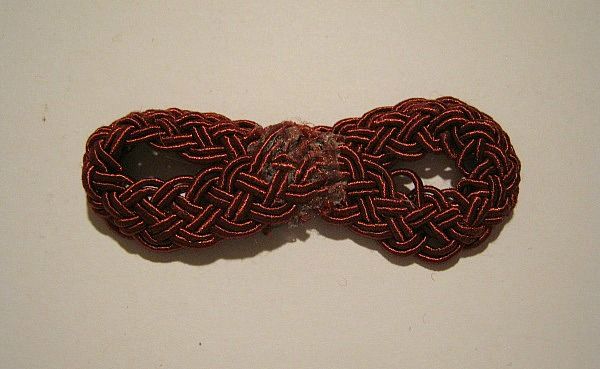
I also folded a figure 8, or bow from the red trim
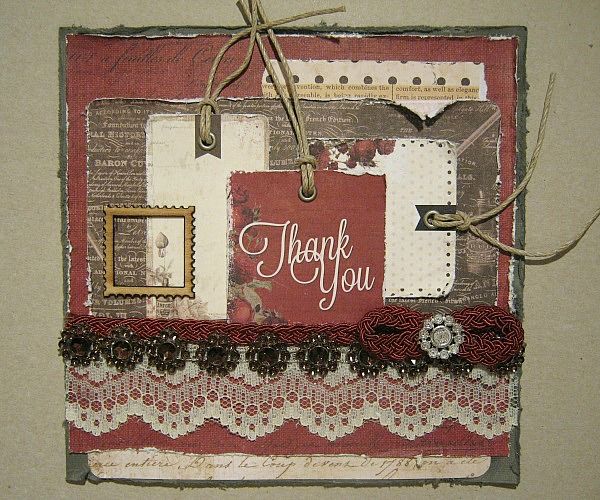
And glued it at the right side of my card. Topped it of with a piece of bling from the kit. I flipped the backside up. Then I added 1 of the Prima wood icon frames....
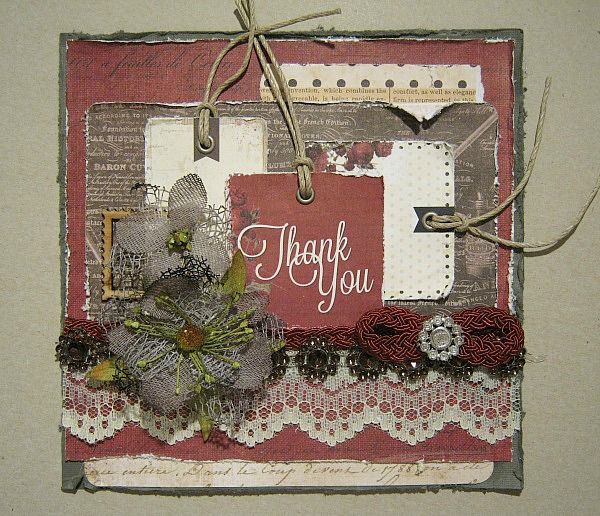
and some of the, love,love,lovely Petaloo flowers.
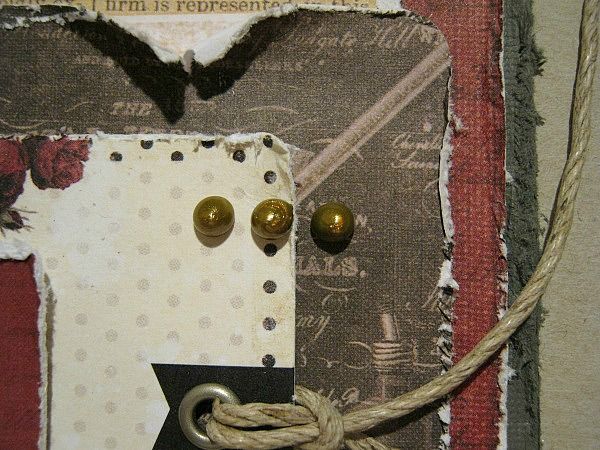
For the finishing touch I added some Liquid Pearls, (at the right top and left bottom) that came in last month's kit.
I had so much fun playing with this GORGEOUS *Salutations* kit... I could go on making lots and lots of cards.

and some close ups:


and here's how it came together

For the base of this card I cut 2 strips of cardstock, which were 6.5# high and 12 long. I glued 2 of the ends together, so that I was able to create a BIG card. After I folded it, it meassured 6.6 x 6.5 I will put the glued line in the front, cause it is going to be covered with paper.

I cut a piece of PP at 6.2 x 6.4. Distressed the edges.

I cut a little strip off this note card and.....

glued my paper and strip to the base card. Like so.

Then from another notecard I teared a little piece off. The one that is marked, I'm going to use.

I glued the little piece behind the black, distressed, notecard.

I glued a piece of lace over the bottom of the notecard, using 3 in 1 Craft Glue, (Krissy has these in the BOUTIQUE)

I selected 3 tags, from the bunch we got in the kit, and placed them like this.

I glued some of the gorgeous red trim (we call that très trim) just above the lace and then a strip of that amazing bling, to cover the line between the lace and red trim.
****TIP****

This beautiful red trim, raffles very quickly and to prevent that you have to snip of the raffles all you have to do is, add a dot of glue (I used hot glue) press it down on a non-stck craft mat and after it cooled down..................

you can easily cut it. This way you won't waste any of the trim .

I also folded a figure 8, or bow from the red trim

And glued it at the right side of my card. Topped it of with a piece of bling from the kit. I flipped the backside up. Then I added 1 of the Prima wood icon frames....

and some of the, love,love,lovely Petaloo flowers.

For the finishing touch I added some Liquid Pearls, (at the right top and left bottom) that came in last month's kit.
I had so much fun playing with this GORGEOUS *Salutations* kit... I could go on making lots and lots of cards.
Subscribe to:
Post Comments (Atom)
Swirlydoos Site Links
Pin Us!!
Popular Posts
-
Welcome to Swirlydoos' Mystical Winter kit reveal Blog Hop Block Party!! Happy New Year and Welcome!!! This month's kit,...
-
It's the big re ve al ! Say hello to our December kit! Be sure to check out a video "tour" of the main kit, kit add ons an...
-
Welcome!!! Today is a beautiful day to reveal our April kit, Whispers of Spring. Take a look at how pretty this kit is! I have to tel...
-
Say Hellllllllloooooo to our October kit, Belle Chanson! Welcome to our October kit reveal and Blog Hop. We have some new and exciting...
-
It's time to unveil our April Swirlyhues Challenge! Your beautiful hostess this month is the uber talented Paulien! Here is the ...
-
We KNOW you love to scrapbook, BUT, do you have a gift for sharing your ideas and techniques with others? Are you a multi-talented multi-t...
-
Today is the last day that you can submit projects for our December SwirlyHues Challenge. The DT will begin voting tomorrow and the winne...
-
Welcome to Swirlydoos' June Kit Reveal Blog Hop Block Party!! We are so pleased to show off our June kit, Antiquities!!! This kit...
-
Welcome to Swirlydoos' March Kit Reveal Blog Hop Block Party!! We have some amazing projects for you to see today and as a bonus...
-
Today we are unveiling our June SwirlyHues Challenge, and announcing our Blog Hop Winners!!! This month's SwirlyHues Hostess is non...
Blog Archive
- 2017 (134)
- 2016 (173)
- 2015 (169)
-
2014
(230)
- December(20)
- November(17)
- October(21)
- September(23)
- August(20)
- July(19)
- June(19)
- May(11)
- April(19)
-
March(20)
- Layout Of The Week 3/30/14
- All About Deli Paper Tutorial with Guest Educator ...
- A new Card tutorial using the March ***Salutations...
- More Projects by Amy made with the Salutations Kit
- More Salutation Projects with Angelica
- Layout Of The Week 3/9/14, 3/16/14 and 3/23/14
- More Salutations Creations by Georgia
- Burlap Butterfly Tutorial
- More Salutations Projects with Elena
- More Salutations Projects with Tracey
- More March Challenge Highlights
- Card tutorial using the March *Salutations* kit
- New Design Team Member!
- March Blog Hop Winners!
- March Mediums Add On Tutorial
- March Reveal and Blog Hop
- Layout Of The Week 3/2/14
- March Challenge Highlights
- Featured Member *Jodie Herr*
- Embossing with Masks Tutorial
- February(23)
- January(18)
- 2013 (207)
- 2012 (252)
- 2011 (181)
- 2010 (118)
- 2009 (38)


2 comments:
Love all the layers and gorgeous trims, Paulien!!!
Thanks so much for the tutorial!!!
Paulien, I love your tutorials. It really helps to see how you do it, step by step. Thank you for sharing your expertise with us.